How to Build Countertop to Ceiling Built Ins in the Kitchen
March 29, 2023
Share this
Building custom counter-to-ceiling shelving in the basement kitchenette.
This is the last project I recently finished up in our basement kitchenette
project -- it added so much character and function to this space!
I've been building this room from scratch for the past few months, and this
was one of the fun DIYs that really made the whole space feel finished and so
custom!
If you'd like to catch up, you can see a
comparison of big box store cabinets
and why I chose the unassembled option, our
LVP flooring and some installation tips, and the
butcher block countertop, sink and faucet installation.
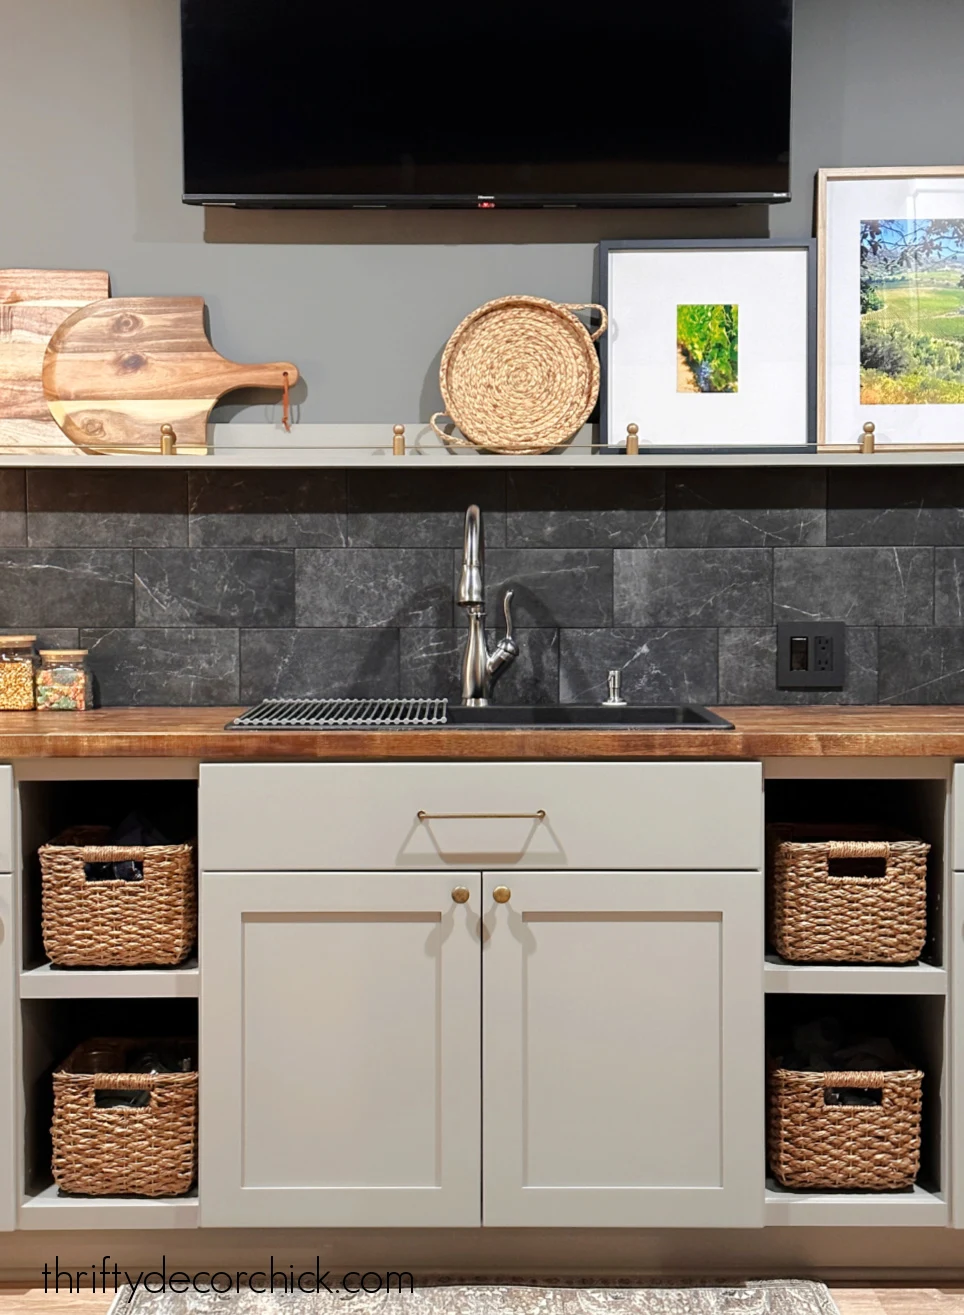
When we left this room last, I had installed the
DIY faux brass gallery rail
on the picture ledge above the sink:
This post may contain affiliate links for your convenience.
I may earn a small commission when you make a purchase through links.
See my policies and disclosure page for more information.
What you didn't see was that I stopped the ledge and tile about a foot from
the corner on the left side of the room:
I had big plans for that spot!
We didn't install any upper cabinets on that left wall because I didn't want
to close in the room too much. We don't need a ton of storage anyway, so I
figured doing something fun (but still functional) would be a better use of
the space.
I've always had a curved arch detail in mind for this wall, and toyed around
with a few ideas over the past few months. I figured the easiest way to
implement something like that was to build something tall on both sides so I
could add the arch in between.
Our new counter to ceiling built ins were the perfect solution!
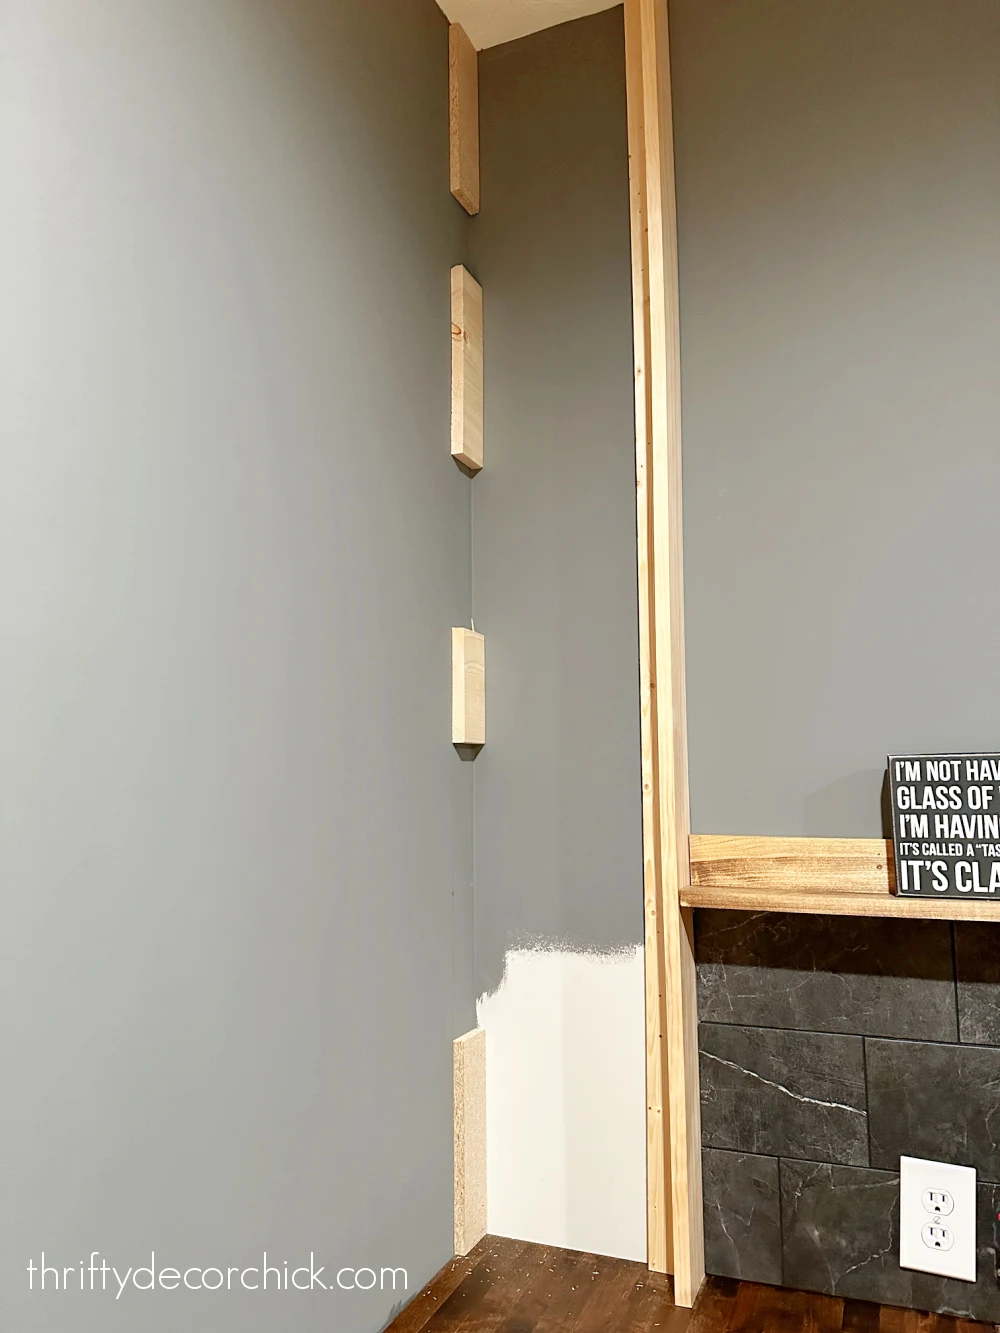
I wanted the picture ledge I built over the tile to butt up right against
the shelving, so I had to build out this corner unit a bit. I made an "L"
with two pieces of wood and secure one side against the wall:
The 1x3 board along the front is the decorative trim that the ledge runs
into.
I nailed in scrap wood in the left corner so the 1x12 that became the side
of these countertop bookcases could be nailed into those on one side and
some scrap I placed behind the 1x3 on the other:
These projects are always like a puzzle for me. I enjoy figuring out how to
make them work, but that's most likely not how a professional would do
it!
And that is OK! Don't let that stop you from trying similar projects in your
own home. It will come out just fine in the end with the proper finishing
touches.
From that point I started building these built in shelves like I do all of
my bookcase shelves. Check out our dining room window seat bookcases
to see how I build the shelving part of these built in shelving units.
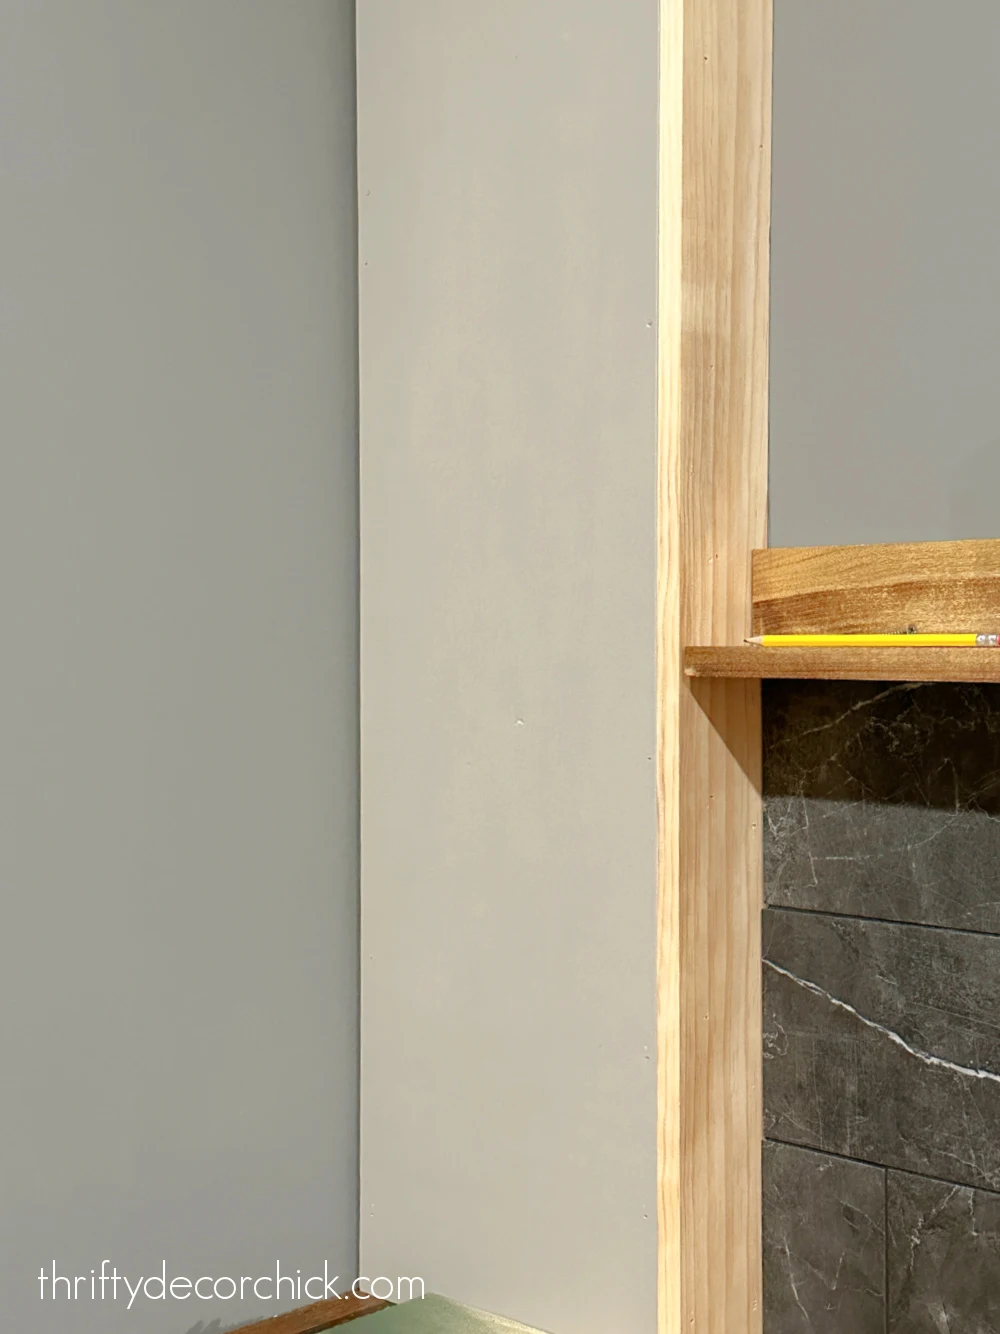
When the two sides and shelves were up, I installed some 1x2 select pine
trim from top to bottom with a nail gun and then 1x3s along the front to
finish off the shelves.
Once the nail holes are filled and corners are caulked, they're ready for
paint. Those are the most time consuming parts but make all the difference!:
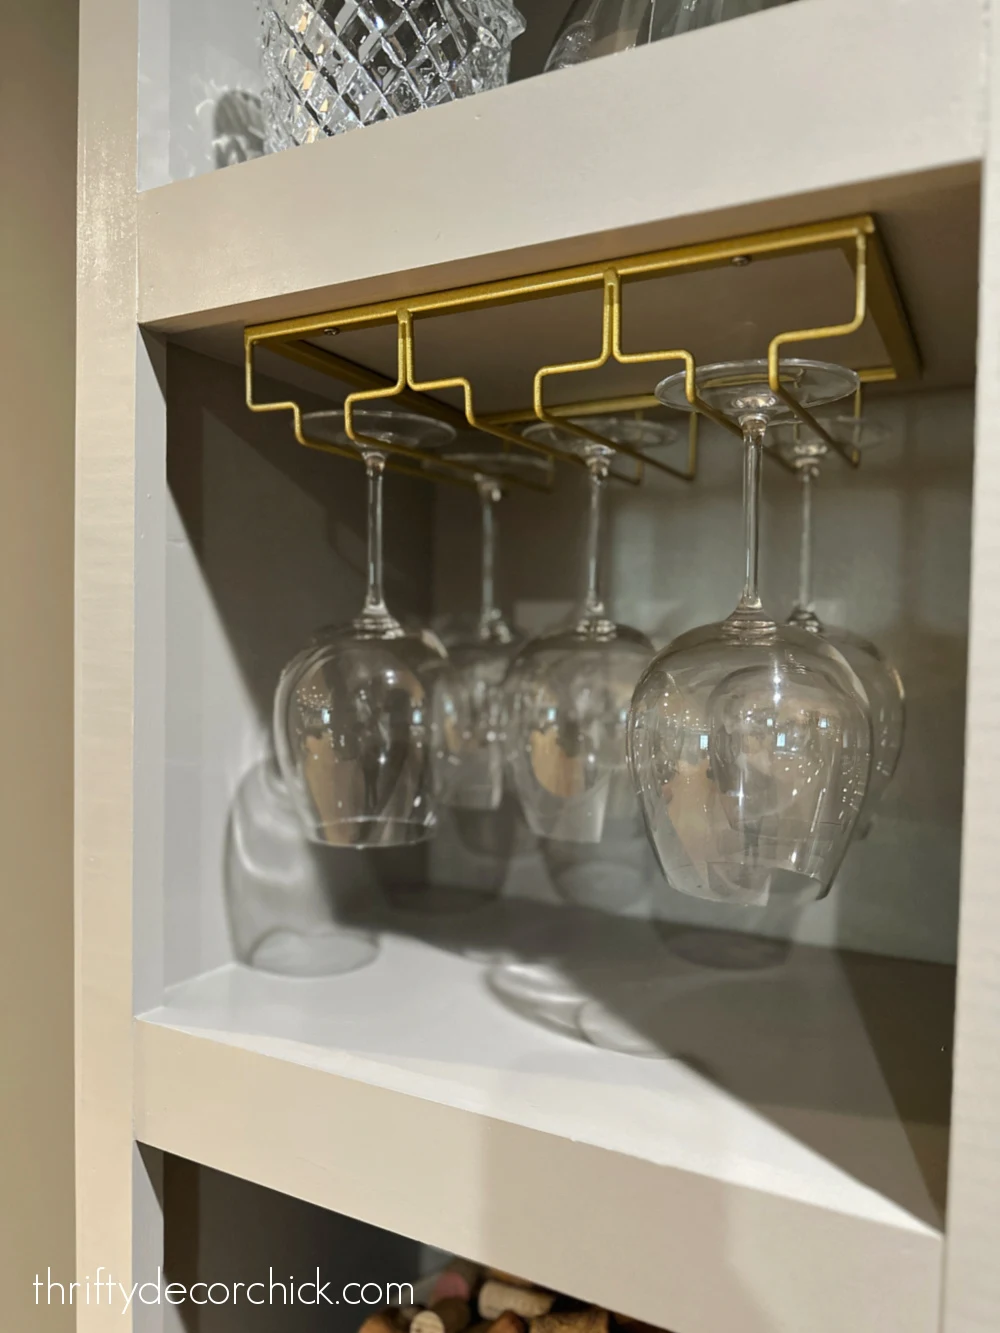
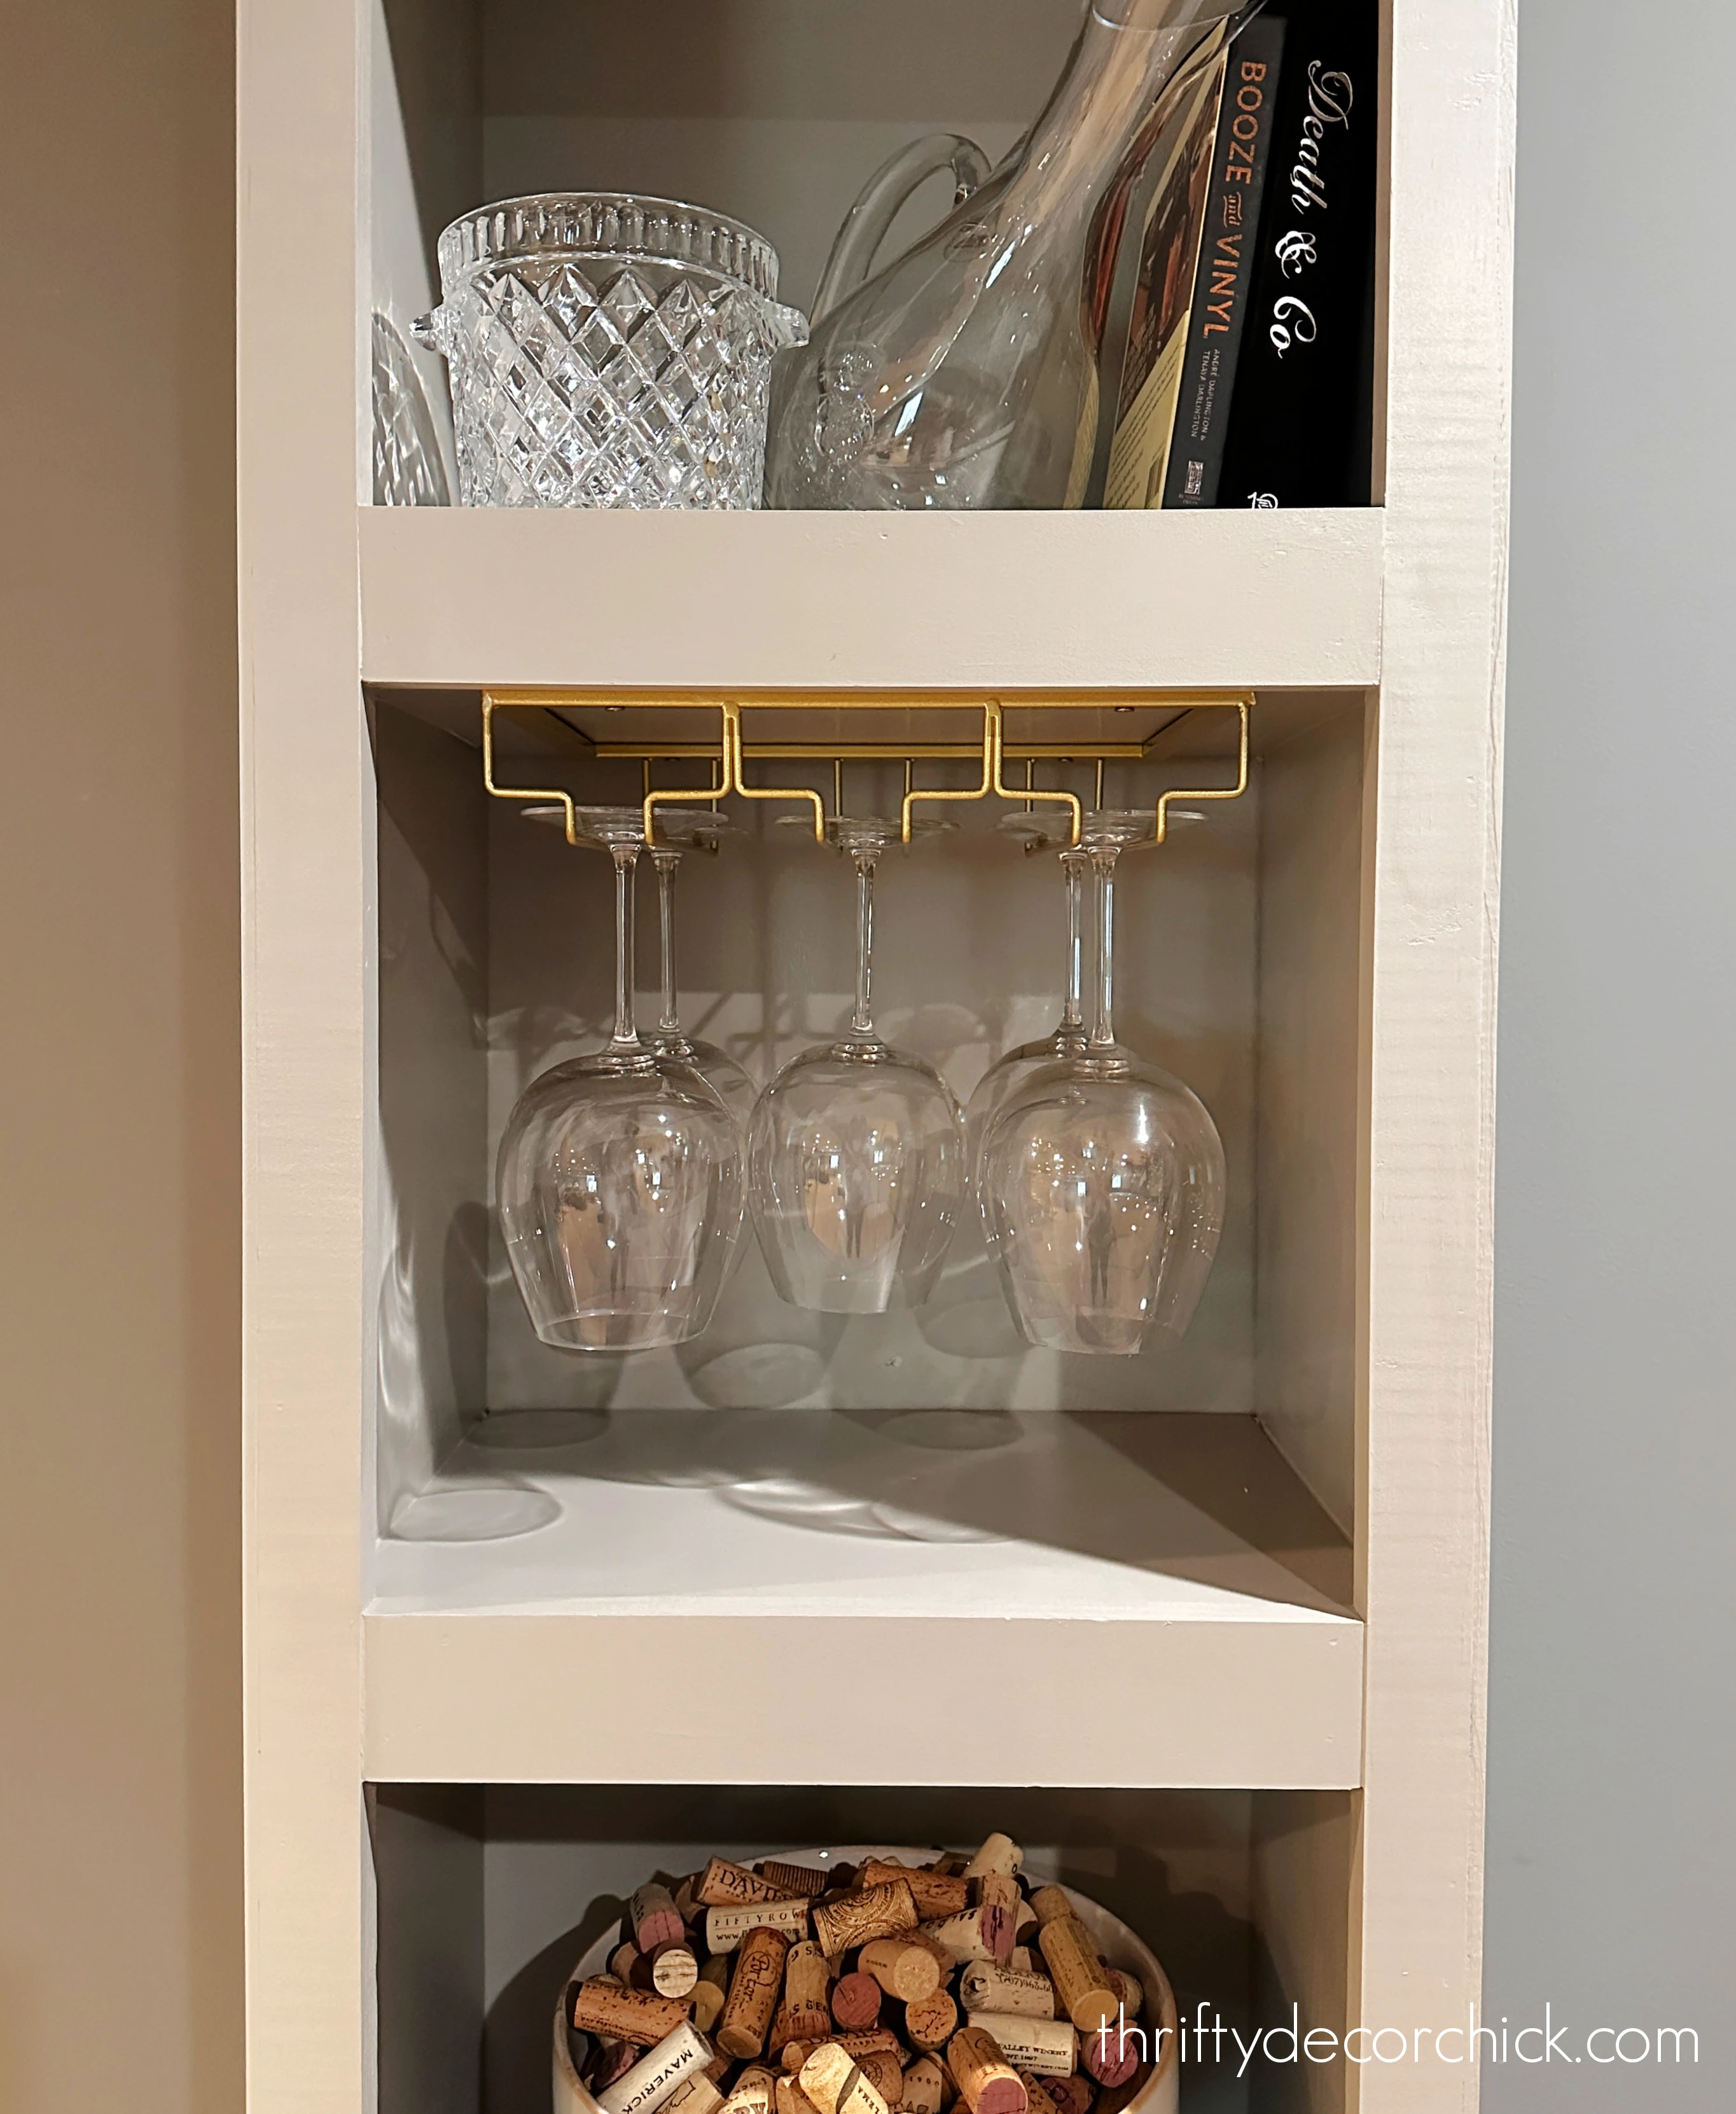
I found those
gold wine glass holders
on Amazon -- they're super easy to attach under the shelves.
This light gray paint color is matched to our cabinets, here's the formula:
Each unit has four cubbies, but if you try this it out it can be customized
for your needs! We keep some barware and a few decorative items on there --
they're not super big, just large enough:
I built one shelving unit (the one against the wall) in place, and the other
I built on the floor and then installed into the wall (at the top and bottom
behind the trim).
After trying both ways a few times over the years, I much prefer to build
these in place. I find the fit is much better that way. It just depends on
what you feel most comfortable with:
My plan was to install the backsplash tile on the wall between the two units
and then build the arch, but when I hung the art in the middle, we quite
liked it as is:
So now I'm not so sure I'll do the arch...we'll wait and see. I
am sure that I won't be tiling that wall -- I have a new idea in mind
that I think will be really fun!
I built the left countertop shelf right up against the end of the counter
because eventually there will be a taller bar top/peninsula coming out from
there. I'm working on that plan right now, but I'll share the full room
reveal before that project starts.
This is how this side of the room started last fall:
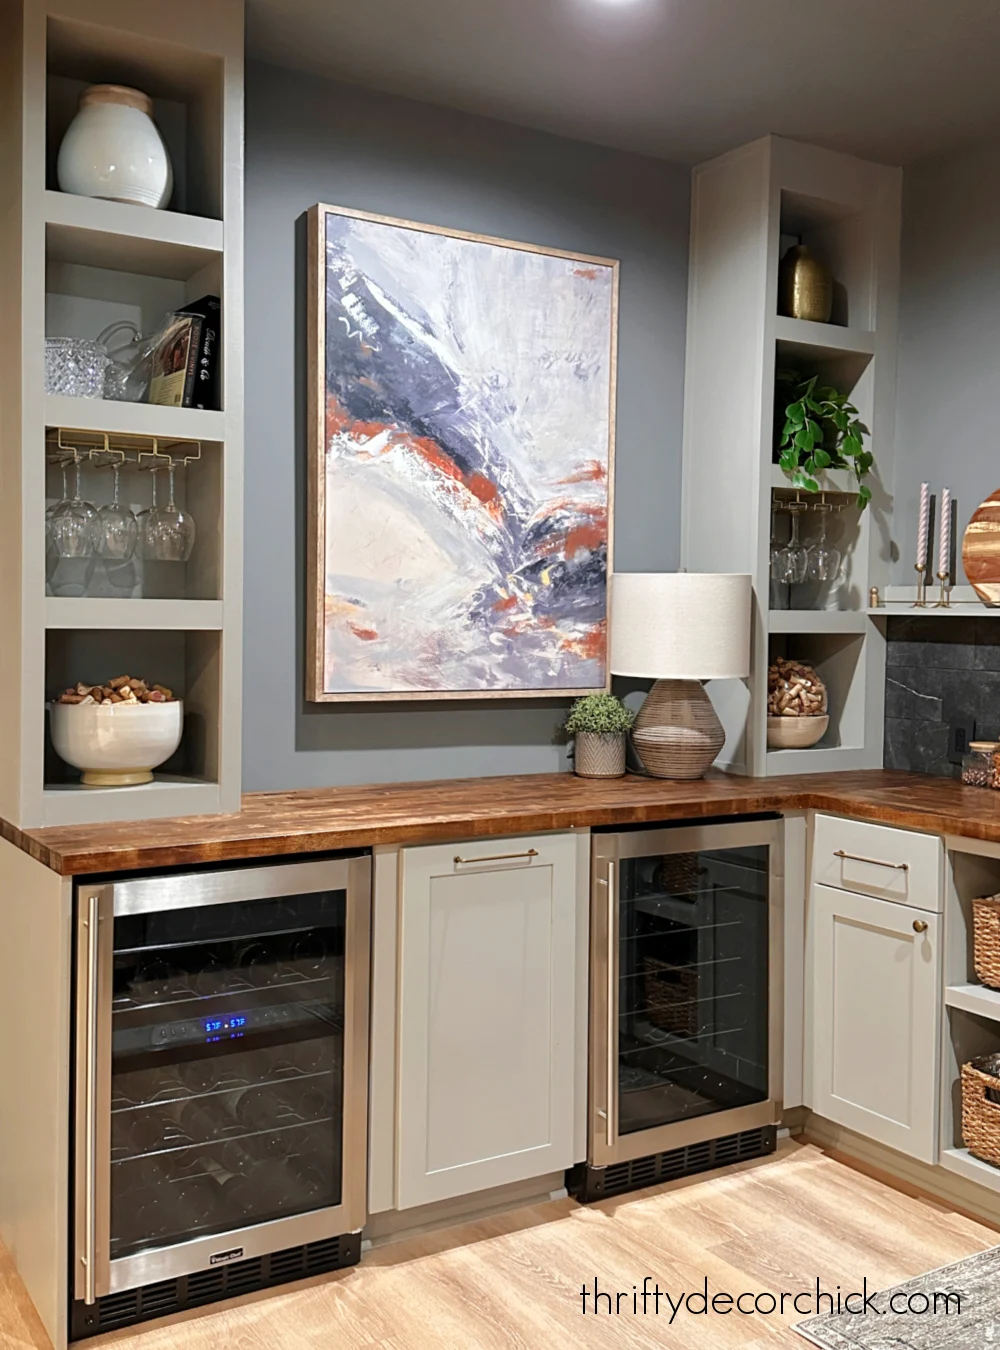
And here's how it looks now with the simple bar bookcases built up to the
ceiling:
You know
how I love countertop lamps! I got
this brown one here
but switched out the lamp shade for one we had (it was so wide and took up too
much space in that corner).
We still have plenty of countertop space as the shelving units are only 12
inches deep and 18 inches wide. The pretty storage is great for a bar area
like this.
Now I kind of wish I had run lighting to the tops of each one, but we could
still do that. The finishing details will be fun to figure out.
This countertop shelving would also create a lot more storage in a bathroom, as long as you have the space.
We've packed a lot of form and function into this little kitchenette alcove in
our basement! This has been such a fun project -- I'll share the (almost)
final reveal soon!
If you have any questions about this project, please let me know in the
comments. :)
Never miss a post by signing up to
get posts via email.





Sarah. You are so talented. I love your kitchenette. May I ask what the color is on the cabinets? It doesn’t look like a pure white.
ReplyDeleteThank you
Michele
I love it Sarah! Such a sophisticated look for this space!
ReplyDeleteLove the picture. Where did you get it?
ReplyDeleteBeautiful!!!
ReplyDeleteWhat a wonderful addition!
ReplyDeleteHi, thanks for the information. I always enjoy reading about your projects. I was wondering about the color of the basement cabinets, can you share the color? We are about to paint our existing kitchen cabinets. Thanks
ReplyDeleteWhat color are the cabinets? I love seeing the LVP flooring you have especially because it is what I've picked for my house. I'm so excited!
ReplyDeleteI would like to get more information on the lighting :)
ReplyDeleteThe lamp is from Target! (I have it linked up above under the photo.)
Delete