My Top Five Favorite Outdoor DIY Projects {Ever!}
June 24, 2022
Share this
My five absolute favorite outdoor DIY projects for the summer!
Tis the season for outdoor projects! I always feel like just as I'm getting amped up to add more plants or start a new summer project outside, the stores are already starting to clearance everything out.
I've already purchased a bunch of plants on sale...and summer just officially began! Crazy.
There's plenty of summer left to enjoy, and I've got you covered if you're considering adding any updates to your deck, patio or landscaping. I gathered my top five do-it-yourself exterior projects that have made the biggest impact on our outdoor living spaces.
Not only do they look good, but they function just as well! All of these can be completed in an afternoon.
1. How to build a SAFE fire pit on the patio
When we had the concrete patio poured a few years ago, I designed an additional round area for chairs and wood burning fire pit.
I get asked about this spot more than any other outdoor project! The round design gives the patio some interest and it makes for great conversation with friends and family. :) We love this spot!
Before you attempt a fire pit on a patio, consider that there is a safe way to install a wood fire pit on a concrete surface:
You can read about the drainage that was added and more in that post as well.
Our round fire pit patio is 14 feet across.
We added the AWESOME Polywood Adirondack chairs around the fire a couple years ago and they still look brand new, even after two years of rain, sun and snow. They are truly one of the best products we have in our home.
2. Hanging outdoor cafe lights (with no trees)
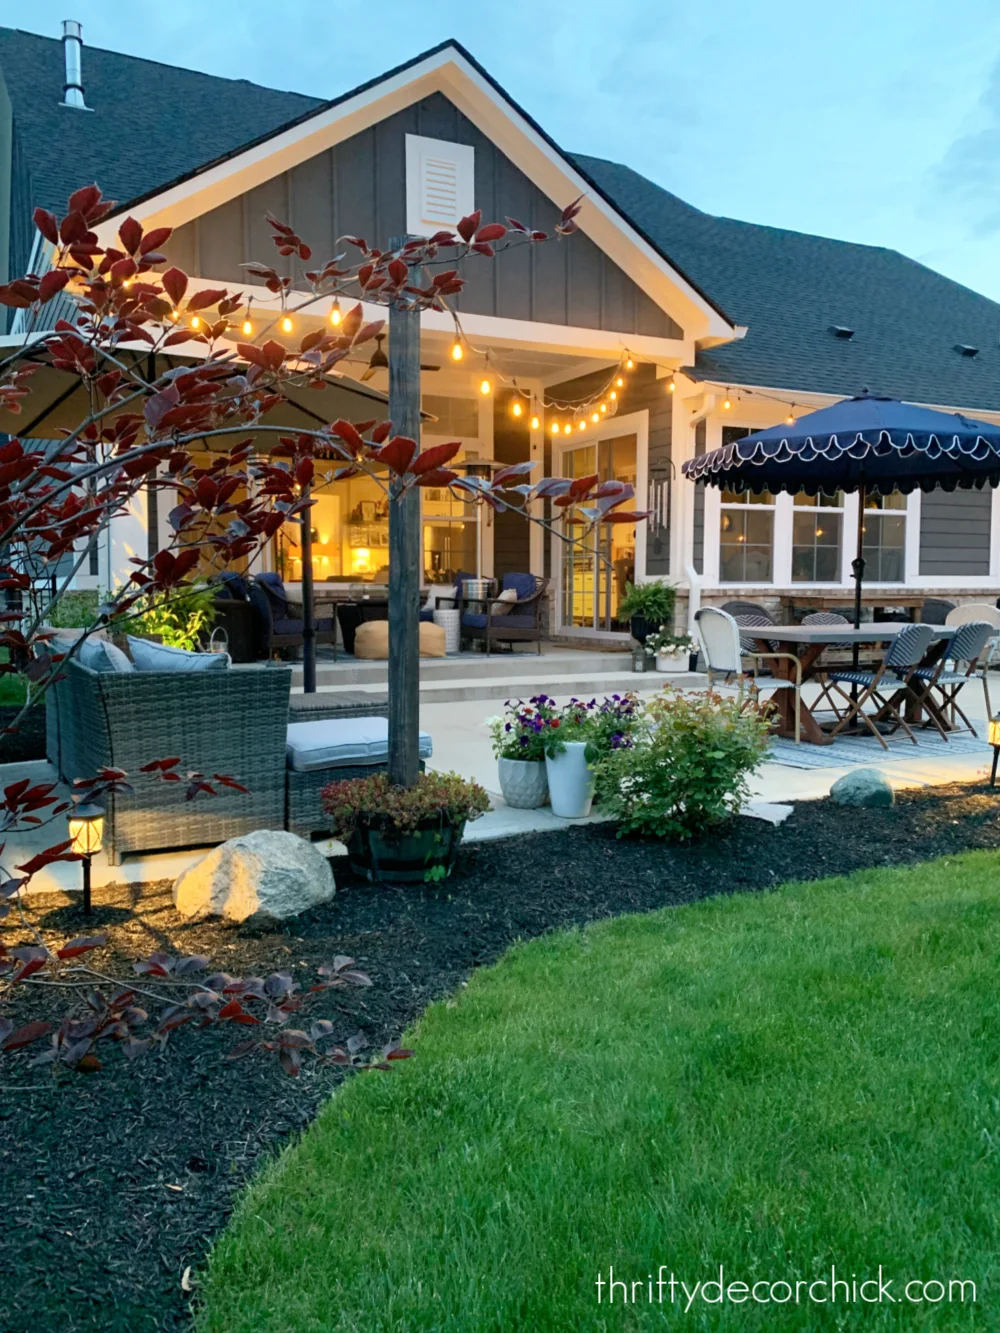
We hung these pretty patio lights at our old house as well, but we had a pergola and mature trees to work with. Here, it's an open space with all new landscaping, so we had to figure out a different way of hanging the cafe lights over the patio:
It's not a new idea to use cement in the planters (pictured above), and that may be enough if you are using lightweight light strands.
If you're using the commercial cafe lights like we did (they last FOREVER), then you will need something sturdier. Check out that post to see how we secured those cement filled planters to the ground.
3. DIY landscape and house lighting
Over the years I've noticed a couple things that make a house look more expensive...beautiful landscaping and exterior lighting.
The landscape and gardens take time and money, but the landscape lights can be done in a couple hours for MUCH less than you'll pay someone to do it!
Contrary to what most think, there's no electrical knowledge or experience needed to install your own lighting outside. And it makes SUCH a difference...you'll be so pleased!:
I wrote an even more detailed post about how to add your own landscape lighting that I also link in that post. Check both of them out before you start this project.
4. Make your own cedar potting bench
This is one of my favorite exterior projects ever, because I built it with my Dad. I was eyeing a potting bench at Pottery Barn, but the price was WAY more than I was willing to spend. We studied the photos and made our own version!
We were both surprised at how quickly it went together. I share how we did it (with video) so you can replicate it or something similar:
I recently shared how I cleaned up the cedar again after years of the elements. It looks so pretty again!:
I love that this table can be used for planting, but we can also use it as a serving area for large parties and get togethers.
It's still as solid as the day we built it...I highly recommend using cedar if your bench will be exposed to the sun and rain. It's more expensive but it will last forever!
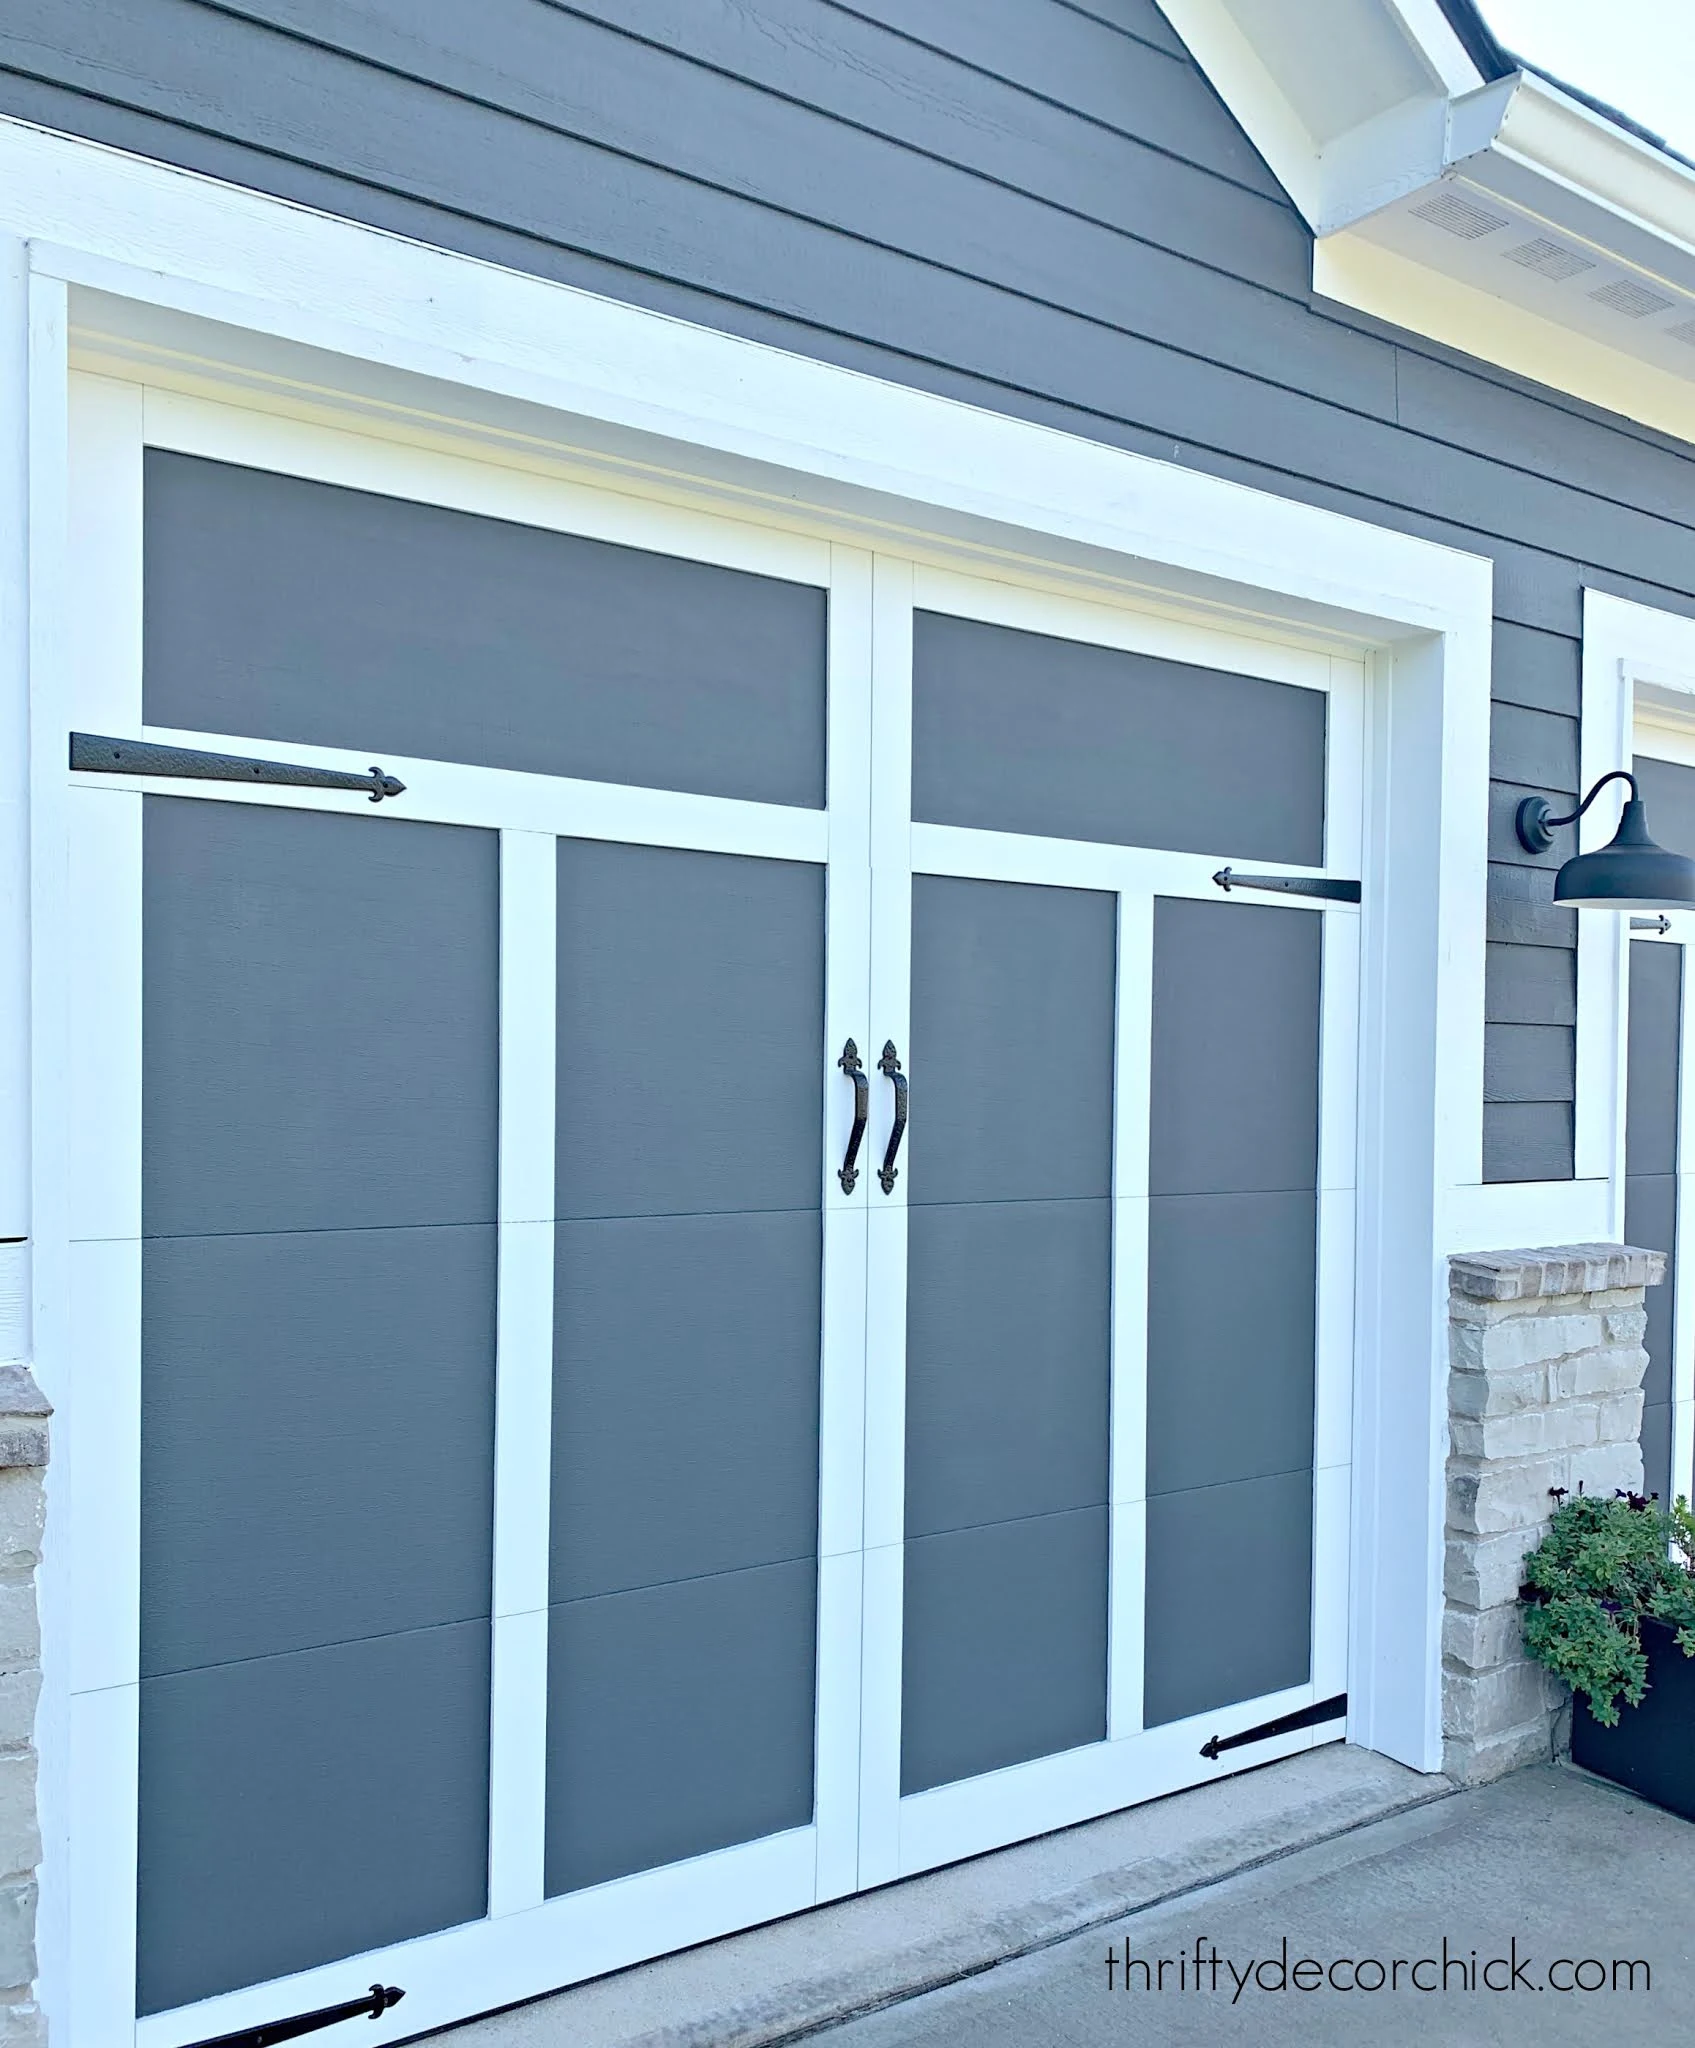
5. Easy garage door makeover with new hardware
I've done this quick update at both of our houses and it couldn't be any easier! Well...that is if you have a garage door that is all metal. :)
This Craftsman garage door hardware is a small detail, but elevates the look quite a bit!:
For most, this one will take literally five minutes if you use the magnetic hardware -- it just snaps right on! It doesn't budge, won't rust and looks completely authentic.
Because we have trim on our garage doors, I had to actually install these. It's a little nerve-wracking, but completely worth it when you're done! I LOVE this little update!
P.S. There are also faux "windows" you can add as well!
I had to include a couple honorable mentions that aren't really DIY...but they sure do make life easier around here. :)
This garden hose holder also has a spigot that allows you to place your bib wherever you want! You'll also need a lead hose from the original hose bib to wherever you want your spigot to go.
Installation is super easy and it stays put! I LOVE love love having the spigot up higher -- ours are so low and difficult to get to:
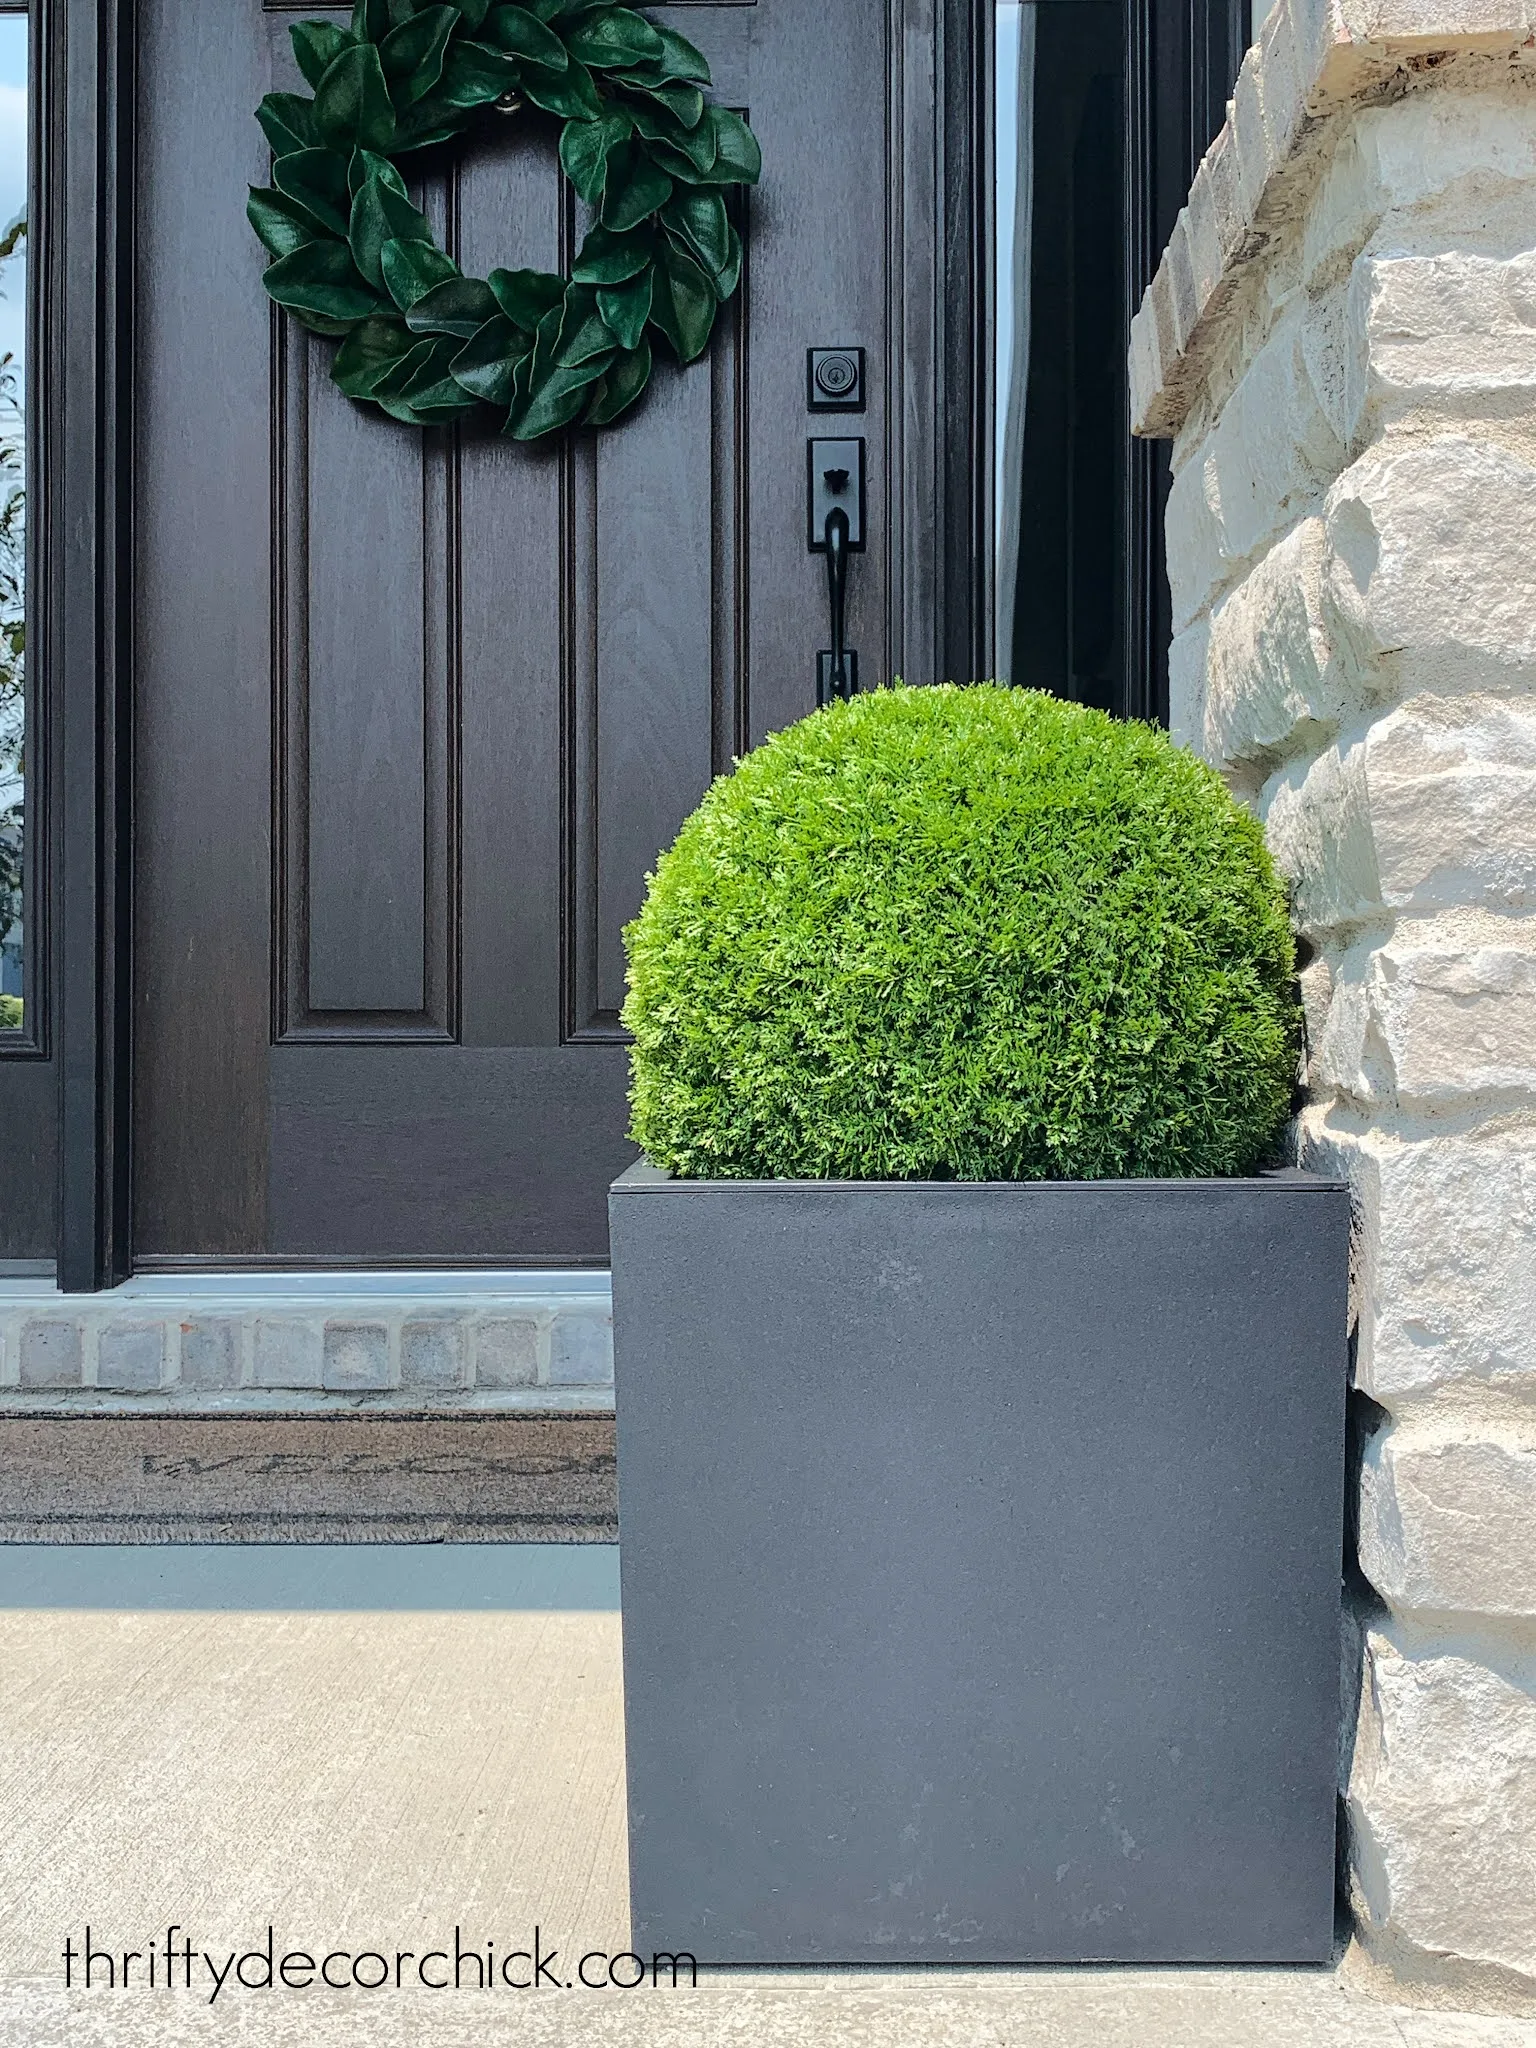
My other honorable mention is a product that has made life easier and has saved us money. These faux topiary balls look real, but require zero upkeep:
Hands down these are one of my best outdoor purchases ever! They come in a few evergreen options...I think this one looks the most realistic.
We've had ours on the front porch for a year (ALL year) through the hottest days and covered with snow...and they look just like the day I got them.
These faux topiaries have already paid for themselves since I haven't needed to buy any seasonal flowers for the porch. I love that they have a classic look and are fresh and vibrant looking all year round.
Have you incorporated any of these projects around your house? I've done hundreds of exterior updates over the years, but these are definitely the biggest bang for the buck!
Never miss a post by signing up to get posts via email.


Comments