How to Build a Modern 3D Panel Accent Wall
June 02, 2022
Share this
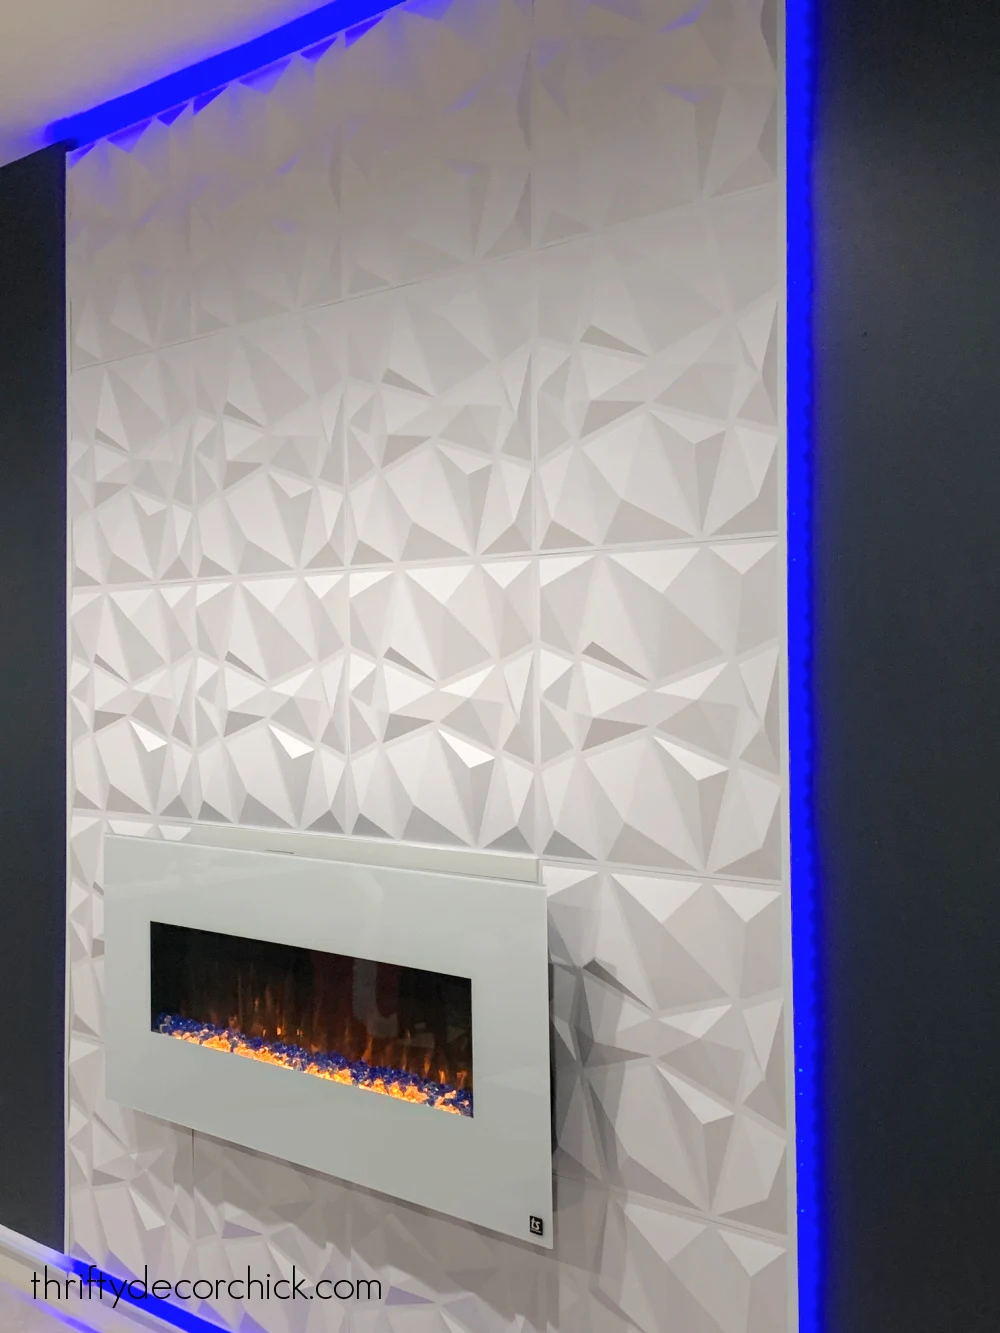
How to add a modern 3D paneled fireplace to a blank wall!
This is such a FUN project! If you're looking to add a fireplace or focal
point in a room, but your style is more modern -- this is for you! This
awesome DIY 3D panel fireplace wall was such a cool addition to our son's game
room.
This modern accent can be added to any wall or ceiling, with our without the
electric fireplace! It would also look SO cool as an accent wall around a TV,
or just by itself.
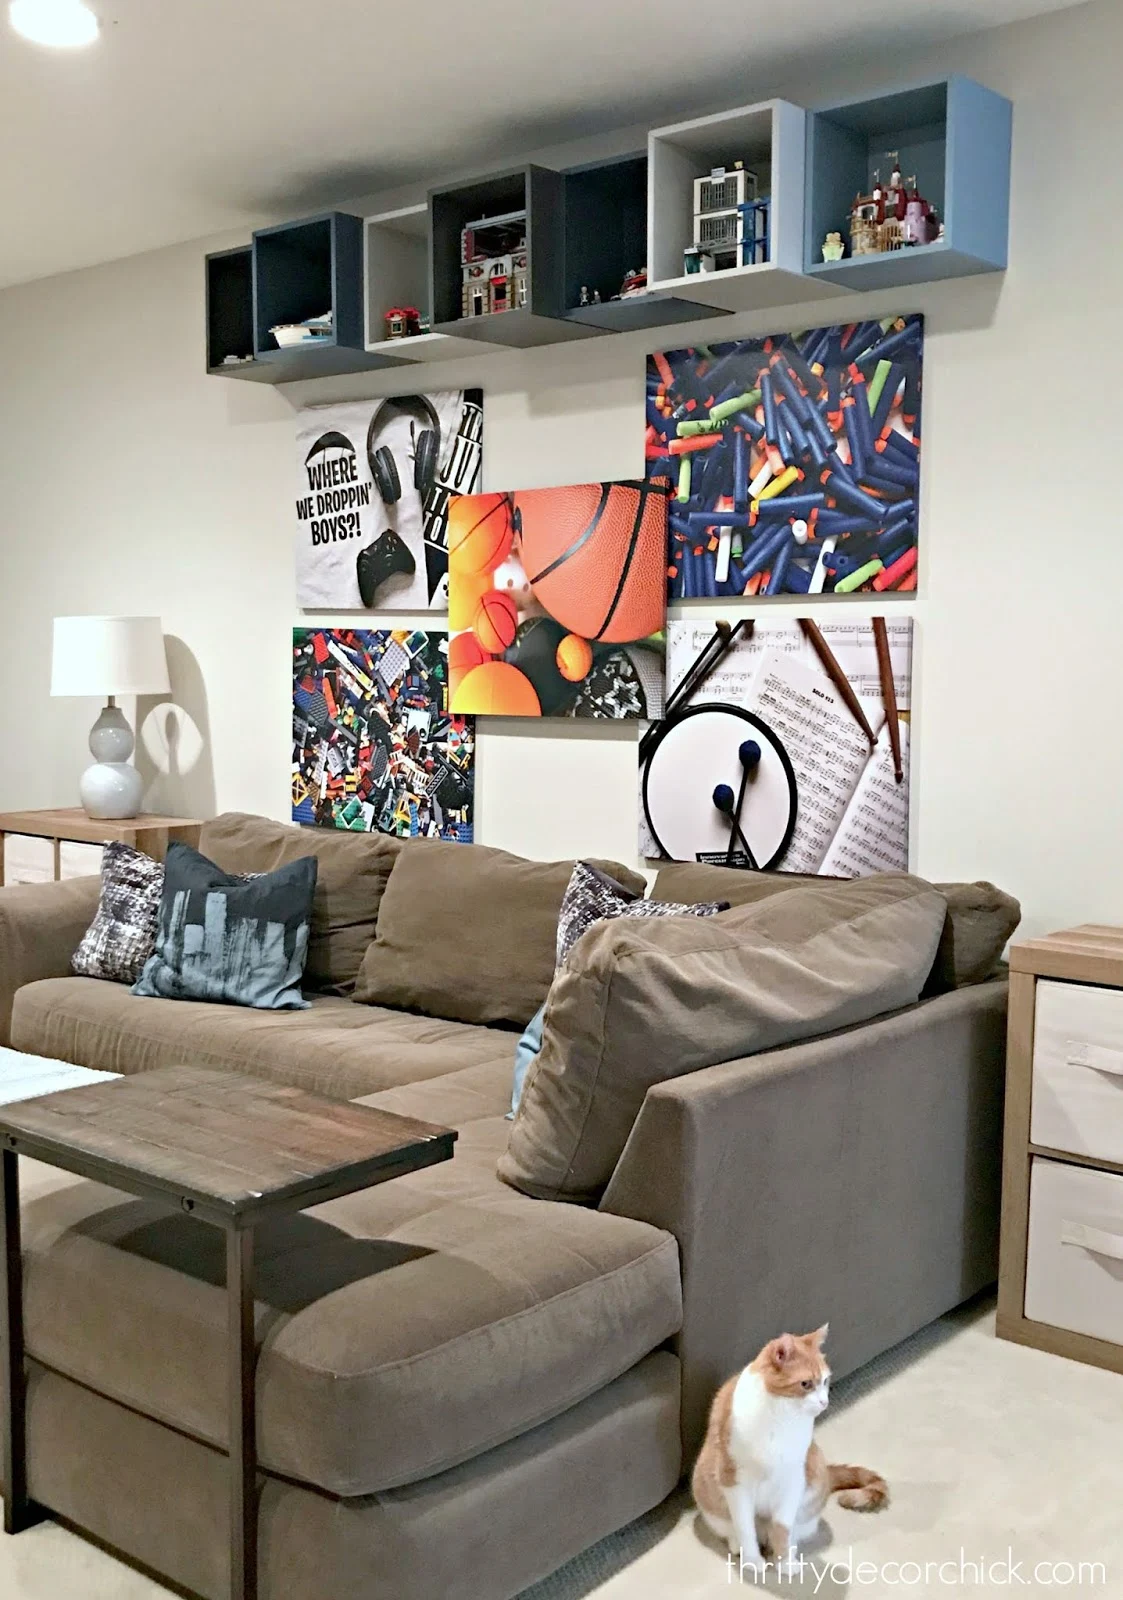
What a difference a few years makes! A few years back I made some really fun
DIY art for our son's playroom:
It's been four years and that little boy is now 15 years old! Time goes WAY
too fast!
Last year he started asking to change that space into more of a modern game
room...a little more fitting for him. I obliged and we've slowly but surely
been transforming it.
When I added
the DIY electric fireplace wall in our basement
last year, our son loved it so much we got him a smaller wall mounted
version for his game room last Christmas. I hung it back in January, but we
hadn't touched that wall since.
We had a plan in mind...and now that the Depp trial is over I'm finally
tackling projects again. 😂 We finished up the fireplace wall the other day
and are TICKLED with how cool it looks.
Here's the process I used to create this modern 3D fireplace wall!
First up,
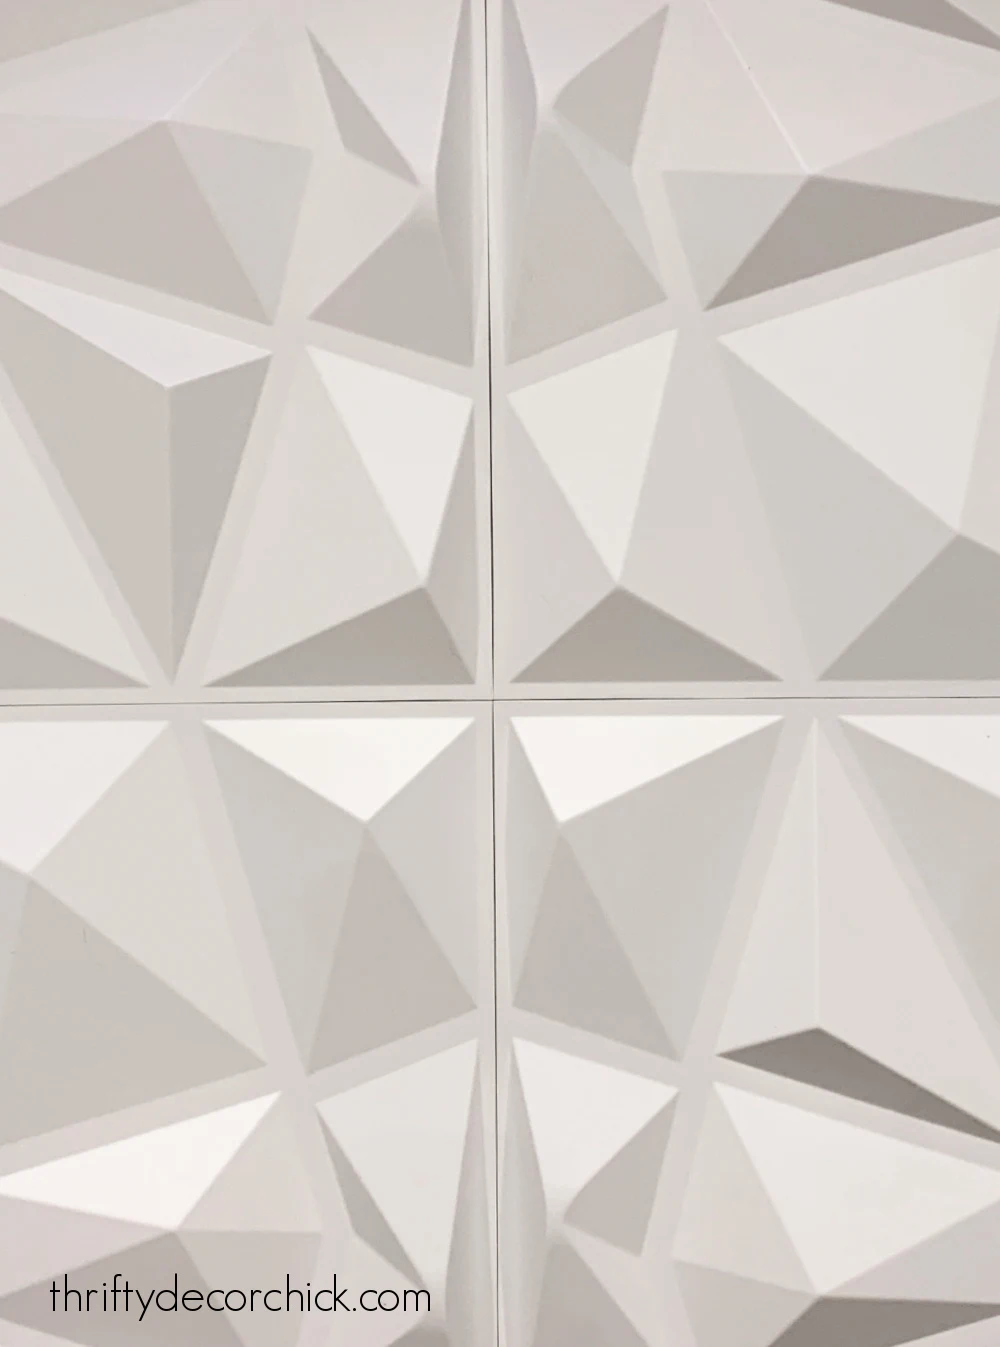
these 3D plastic panels
were another gift to him last holiday season -- I know his taste well enough
that I figured we could do something cool with them. After talking out the
design, we decided to use them around this electric fireplace.
I showed him an inspiration photo from the reviews of these panels and he
was sold! This electric fireplace is wall mounted, unlike our other one that
was inserted into the wall. I wanted to build a faux wall behind it, but it
couldn't be so thick that it blocked the vents or heat source on the
top.
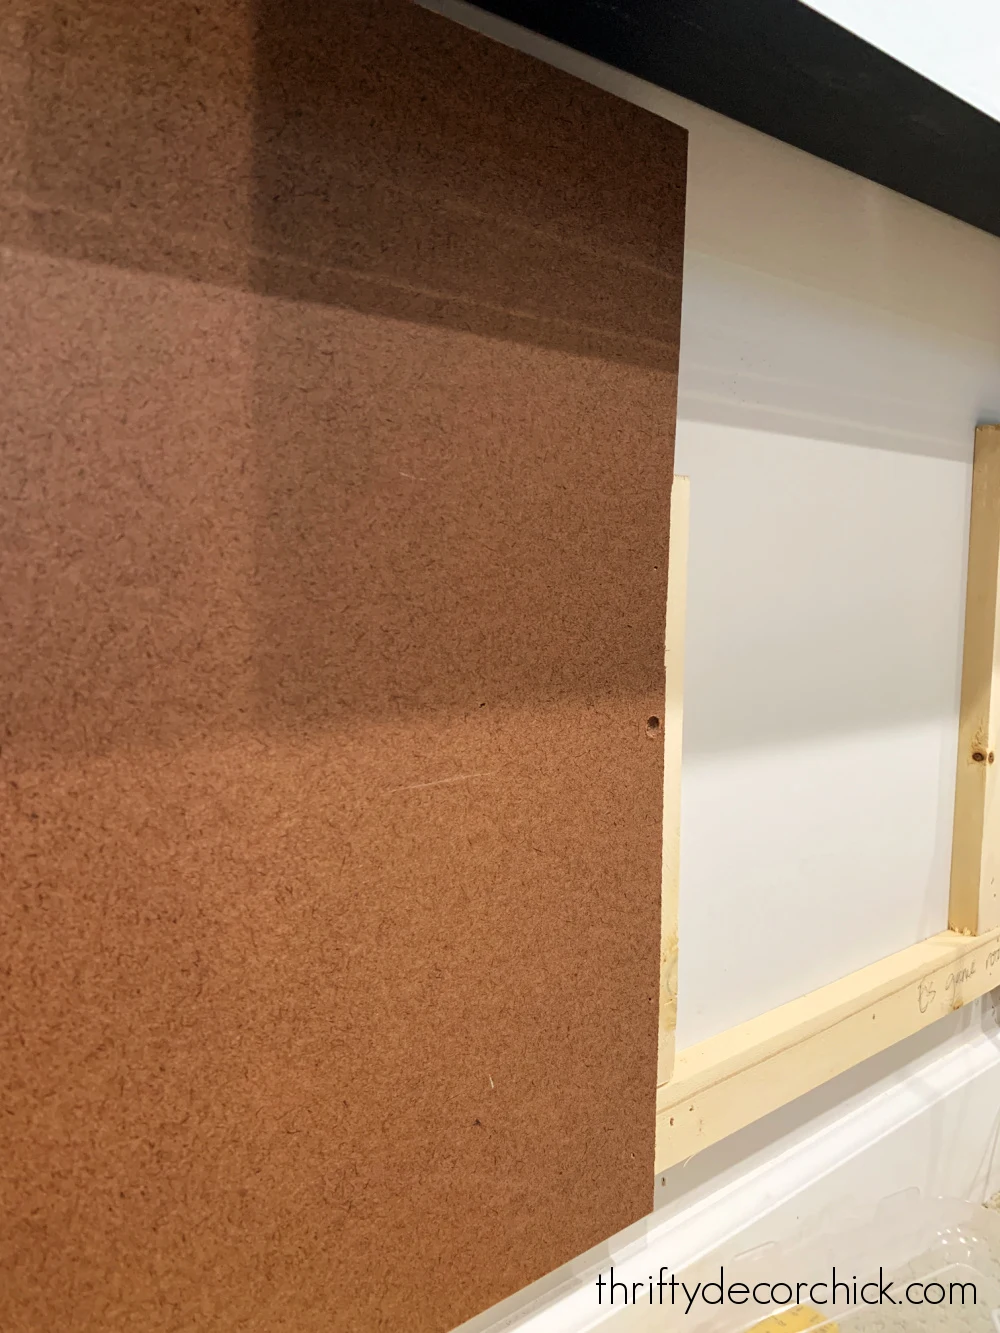
I bought some cheap 1x2's to create a "frame" on the wall -- I'll get into
the measurements in a bit. (Those were the hardest part!):
This post may contain affiliate links for
your convenience.
See my policies and disclosure page for more information.
This is the
white wall mounted electric fireplace
we got for this wall last year.
I also grabbed some 2'x4' OSB panels from Home Depot. If you plan out the
1x2 frame just right, this part isn't necessary. But the backing
makes it much easier to install the 3D panels:
I used a combo of a nail gun and screws to install the OSB to the frame. I
used
countersink drill bits
before screwing in to ensure the screws were flush:
Once the frame was covered with the OSB, it was time to install the plastic
panels! These are SO cool and I'm already trying to figure out where else I
can add them. They have a TON of different designs available.
Each wall panel is super lightweight, but the plastic does not allow for
nails or a nail gun. So I used a recommendation from the reviews to hang
them -- this
thick Gorilla double sided tape
did the trick:
I used waaaay too much tape on the first one, and then quickly realized I
hardly had to use any for these to stick to the wall. I only added small
strips to each corner and side.
You can see above that there's not much surface space to attach the tape,
but it worked great.
These 3D panels are VERY lightweight!
So the measurements...if you aren't adding lighting behind your faux wall,
or you're just placing them right on the wall, it will be easy!
Because we were attaching strip lights around the back, I knew I wanted the
backing behind the 3D panels to go past the 1x2 frame a bit. I decided on a
size about an inch wider and taller than the size of the frame on the
wall. The half inch overhang on each side was the perfect amount of space to
stick the LED lights to the back around the edges.
My measurements weren't perfect, so I had a bit of the OSB showing on
one side. I could've painted it white and we wouldn't have noticed it, but I
wanted to make it look a little more finished:
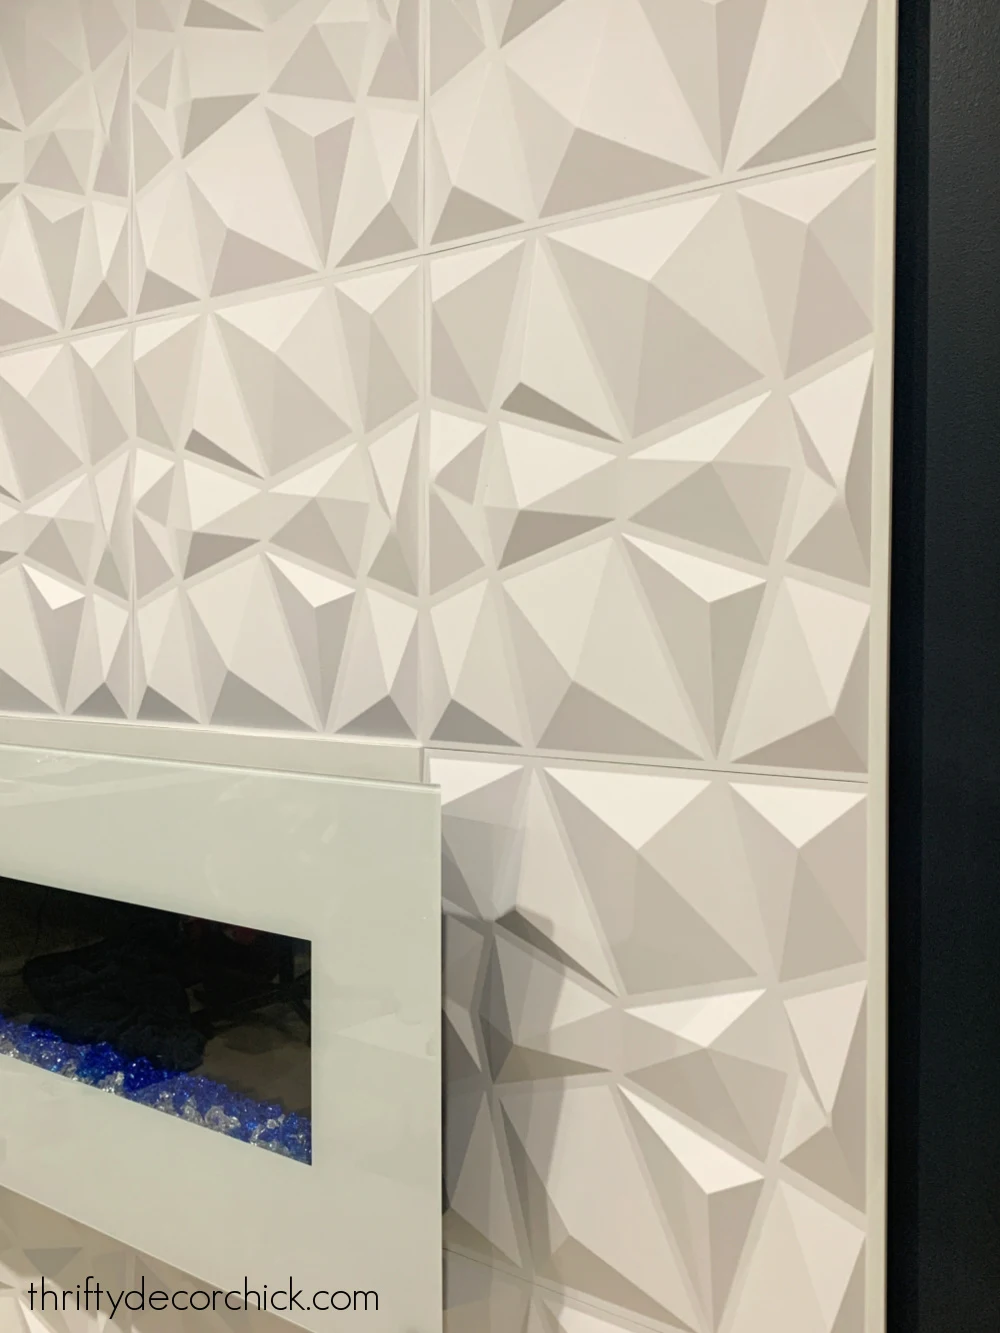
You can see that OSB peeking out there on the side -- I found these
plastic trim pieces that slid right over the OSB and the edge of the
panels to cover that on both sides:

I found these plastic pieces at the end of the trim aisle at Lowe's. There
were a few options available. I used small pieces of the mounting tape to
secure any loose spots.
It matched the 3D panels perfectly, so there was no need to paint! Those
were only $3 each and I only added them to each side, not the top and
bottom.
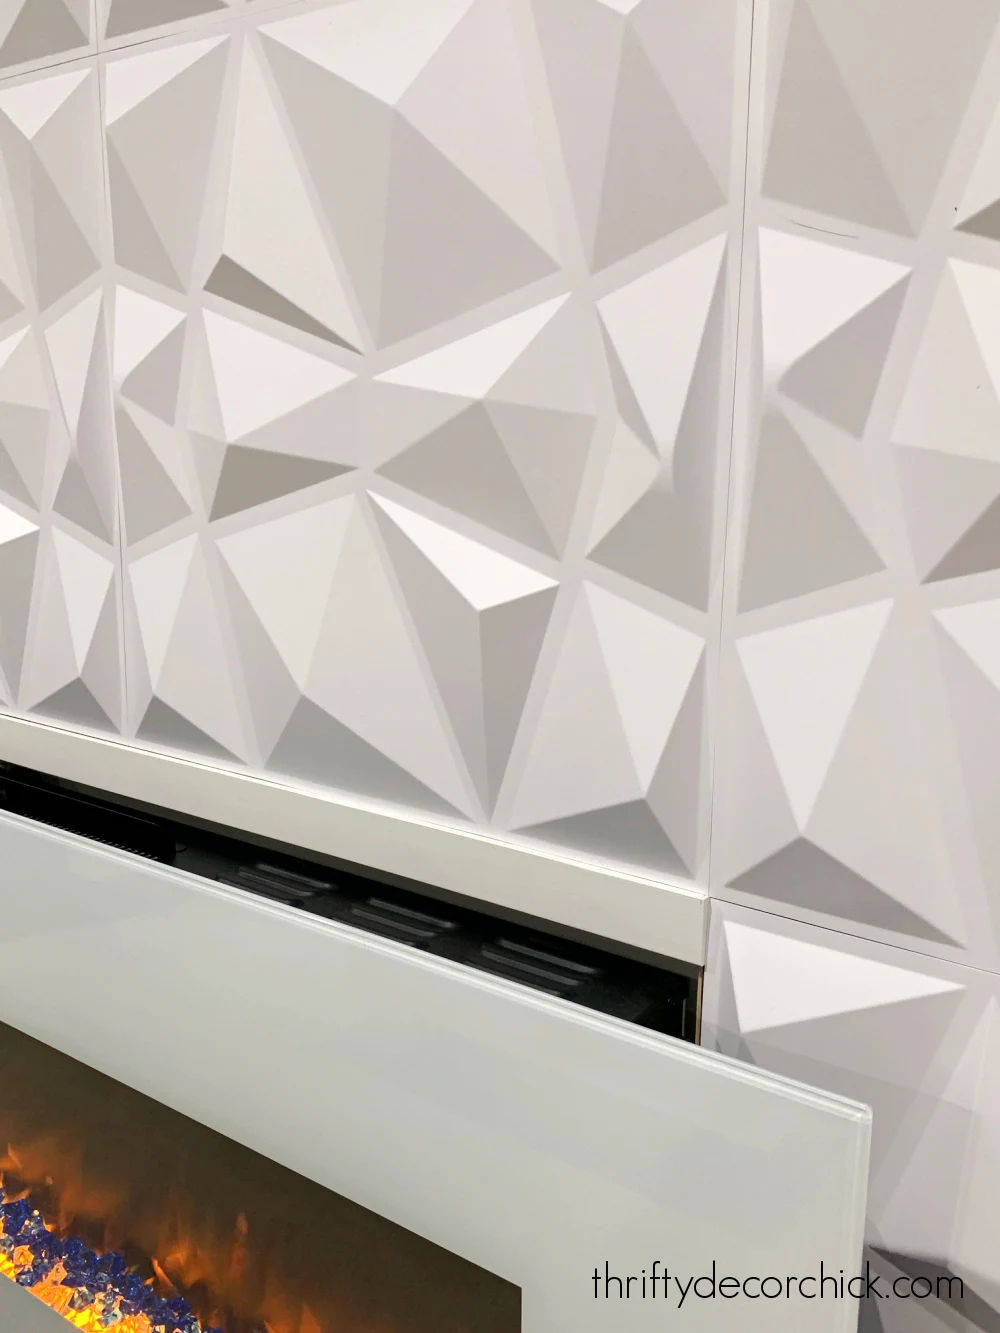
After all the decorative panels were installed, I had an awkward space right
above the fireplace that needed to be filled in. I could have cut the panels
down to fit, but they don't cut especially clean.
Instead I had a scrap piece of trim that fit perfectly:
I forgot to paint the OSB backing white before starting to stick the panels
on...I was a little too excited. As I hung them, we noticed that very slight
dark line between them:
My plan was to add a thin line of white caulk between each one, but by the
time it was done we realized there was no need. It didn't bother us at
all.
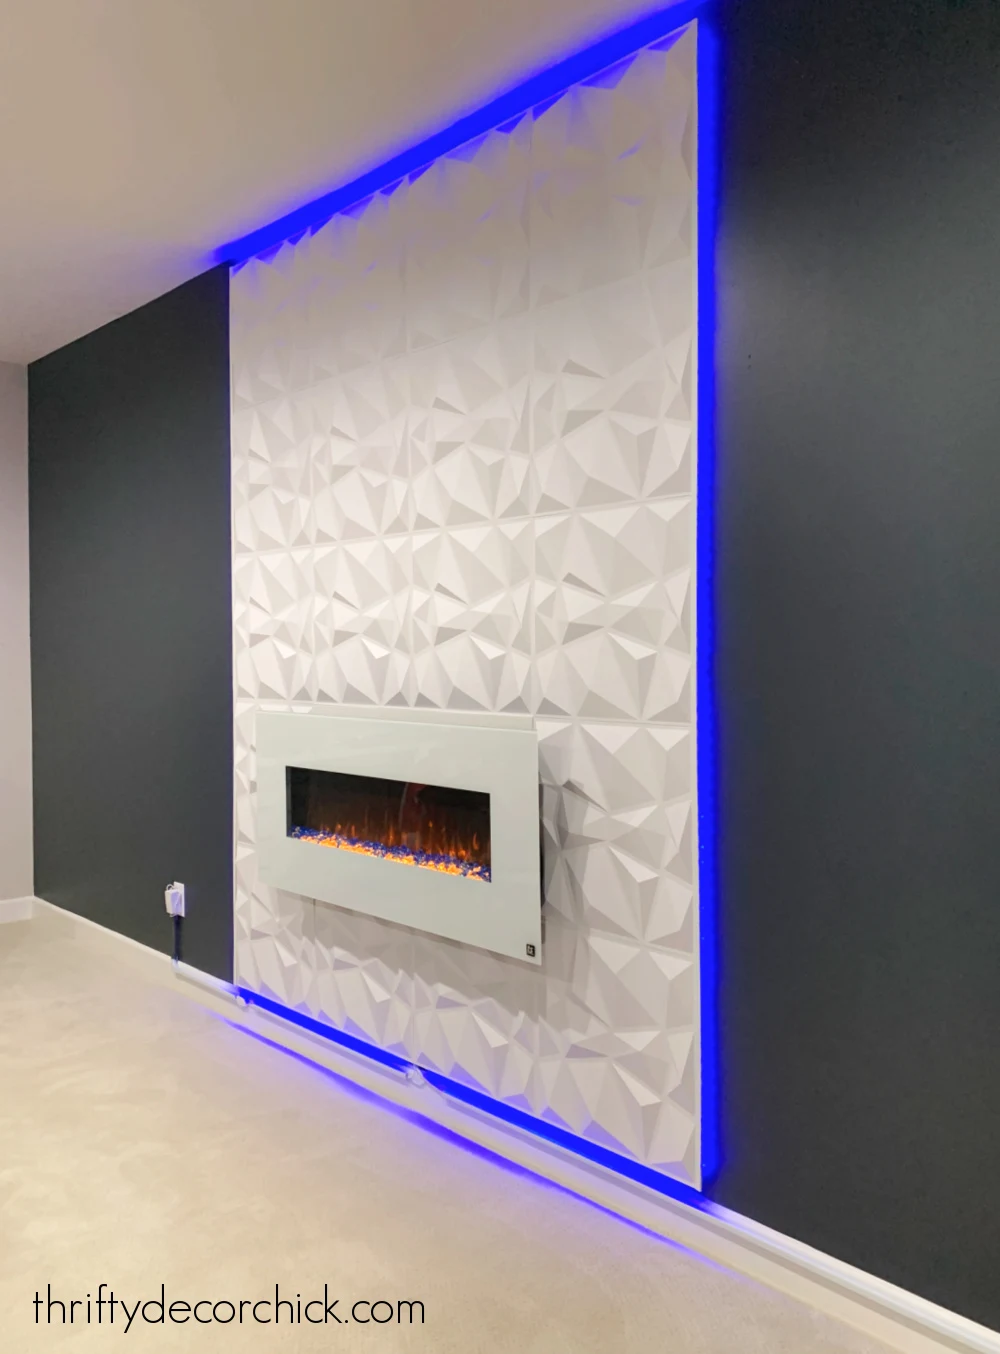
I knew this bright white modern wall would look great against a deep color,
so we used some leftover Cyberspace from our
family and dining room
for the rest of the wall:
The contrast is SO good!!
We kept calling my husband in every few minutes to look at the progress
after each line of panels was hung. ;) What a fun project!:
Of course, the best part for any teenage boy (OK...and his Mom) is the cool
lighting:
These LED light strips
can be operated by a remote or via the app. We have these all over our house
-- I'll write about them sometime soon!
I tried to
hide the cords as best I could
with cord covers, but I may have an outlet added eventually:
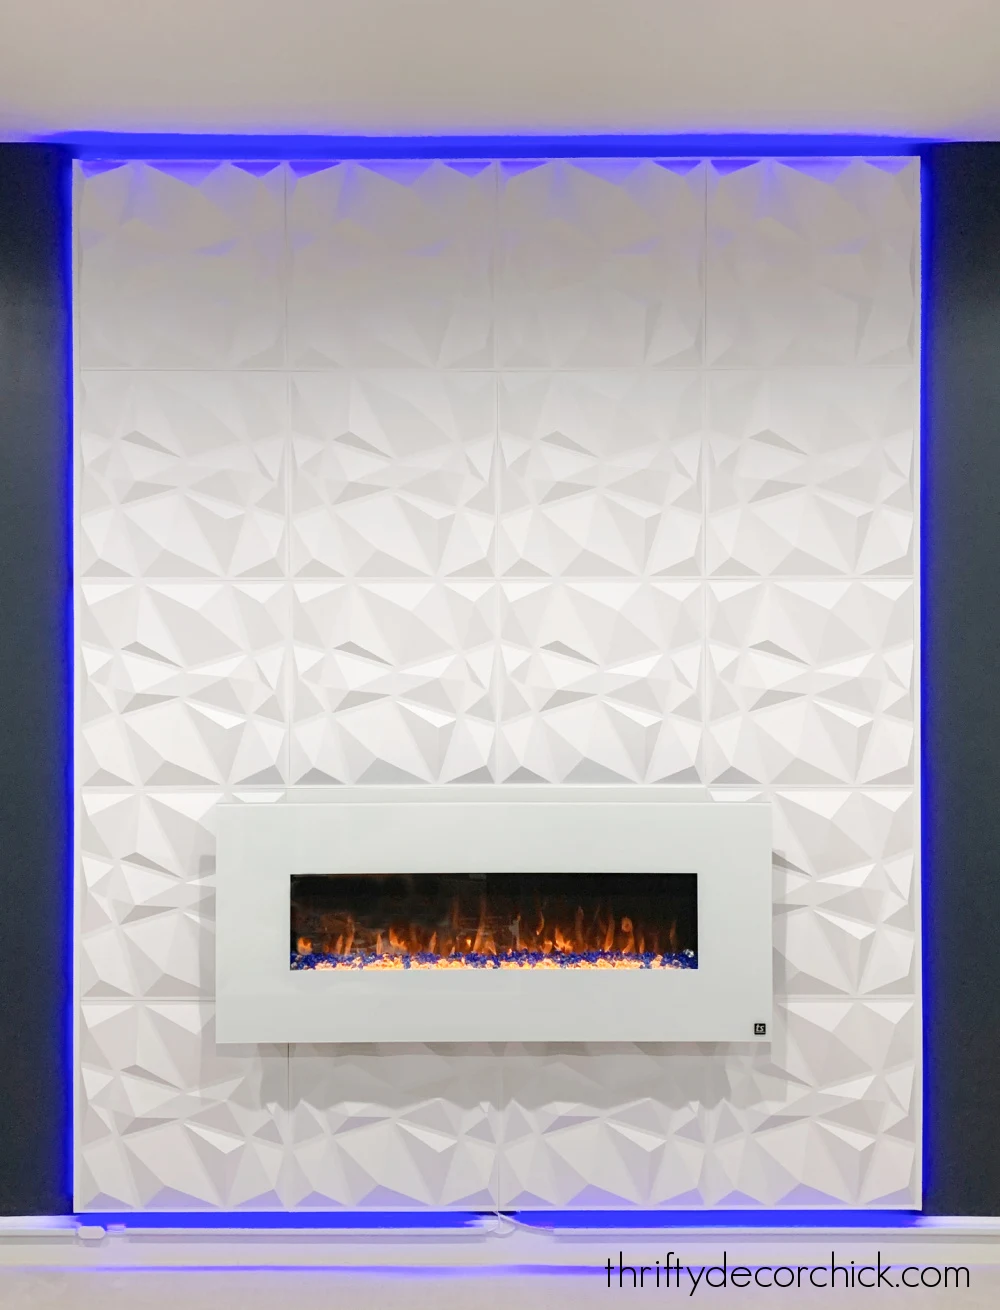
We have more to add to this wall, but the cool vibe has gone up quite a bit
already!:
This cool, modern accent wall idea could be done anywhere -- no fireplace or
faux wall needed! If you place them directly on the wall you could easily add
some simple trim around them to set it off even more.
There are so many possibilities with these 3D panels!
They come in a ton of designs and colors -- blue, gray and black I believe. I
saw that many spray painted them with success as well.
This project cost us $160 for the 1x2s, OSB panels, mounting tape, plastic
trim for the sides and two packages of the plastic 3D panels.
Here are the items we used for this 3D fireplace wall:
Govee LED strip lights (available in a number of lengths)
Our white wall mount fireplace (yes it lets off heat!)
Never miss a post by signing up to
get posts via email.






What a cool project for a teenage boy. Or a girl, for that matter. And wasn’t the trail a train wreck that you just couldn’t turn your eyes away from?
ReplyDeleteThank you and YES!! It was crazy!
DeleteIs there a reason why you don/t have your own tv show? I LOVE, LOVE, LOVE every project in every room that you have created over the years in your homes. You are awesome and so incredibly talented!!
ReplyDeleteLove this! The contrast looks great and the lights are so fun! And it reminds me of Spaceship Earth! Lol. —Chrissy F.
ReplyDelete