Celebrating 14 Blogging Years With My Top Ten Renovations
May 04, 2022
Share this
My ten top room makeovers over my 14 years as a DIY and decor blogger.
This month marks 14 years of blogging here at Thrifty Decor Chick!
I started this blog in 2008 to share my DIY and home projects with friends and
family...I never DREAMED it would turn into what it has!
Blogging has become one of the biggest blessings in my life. I'm so thankful
for it! I'm also so grateful to so many of you who come back month
after month to read what I'm up to!
To celebrate TDC's 14th birthday, I thought it would be fun to gather my top
ten biggest DIY room transformations over the past 14 years. I specifically
chose rooms from our two houses that I did all or the majority of the work
on.
The first one may be how many of you found me...
1. STAIRCASE MAKEOVER (Goodbye carpet!)
Ripping the carpet off our stairs and refinishing the wood was my first major
DIY project and definitely one of the most physically demanding. The updates
went on for years, but the first part was the hardest.
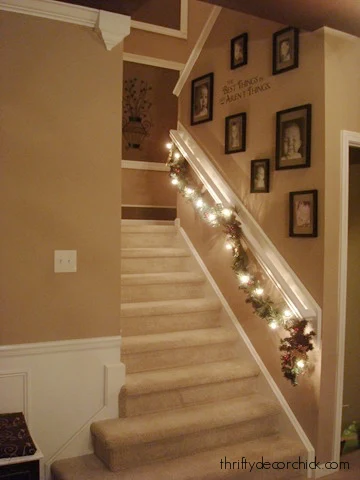
Twelve years ago I got a wild hair and decided to
tear the carpet off our stairs:
This post may contain affiliate links for
your convenience.
See my policies and disclosure page for more information.
I had the idea in mind for years, because I remembered when we were building
that the treads (the actual steps) had a nice bullnose edge. I
considered just having them stained and painted then!
When I went to peek under the carpet years later, I was thrilled that I
remembered right! Because of the nice rounded edge, this project was easier
than most step makeovers.
I didn't have to replace the treads or risers, just refinish them!
After pulling the carpet and staples, I sanded then painted and stained the
stairs.
Later I added a
simple board and batten look to the wall under the handrail, then painted a black accent wall:
You can see all of the steps I took
on this stair renovation, and
all of the projects on this staircase here!
2. TWO-TONED KITCHEN MAKEOVER
After living with our very dark kitchen in our last house for more than ten
years, I decided to take on this HUGE project!
We picked out all of the finishes when we built the house, but the
overwhelmingly dark details were feeling heavy. I wanted to update this room
and brighten it up!
This is the space we started with:
It was an eat in kitchen, but the table area was VERY tight. Because of other
changes we made in the house (that I'll share in a bit), I was able to change
that area into
a dreamy window seat.
This side of the room got a complete makeover as well...I took down cabinets,
built the remaining cabinets up to the ceiling, extended the kitchen island to hold the microwave,
painted all of the cabinets with a paint sprayer
and SO much more:
The two-toned gray and white cabinets really made a beautiful statement!
(You can see
all of the paint colors in both houses here.)
This kitchen was transformed into a completely new space for WAY less than we would have paid a contractor to do it! I am still so
proud of what I accomplished in that kitchen.
3. TOP TO BOTTOM PANTRY MAKEOVER
One of the areas I was most excited about in our current home was our large
pantry. It was DREAMY after having a small pantry in the kitchen pictured
above.
The melamine shelving was great at first, but we quickly discovered it didn't
function well and we were wasting a ton of space:
Almost immediately I knew I'd want to customize this to fit our needs better.
I had an idea in mind for years, and finally started tackling this redo last
fall.
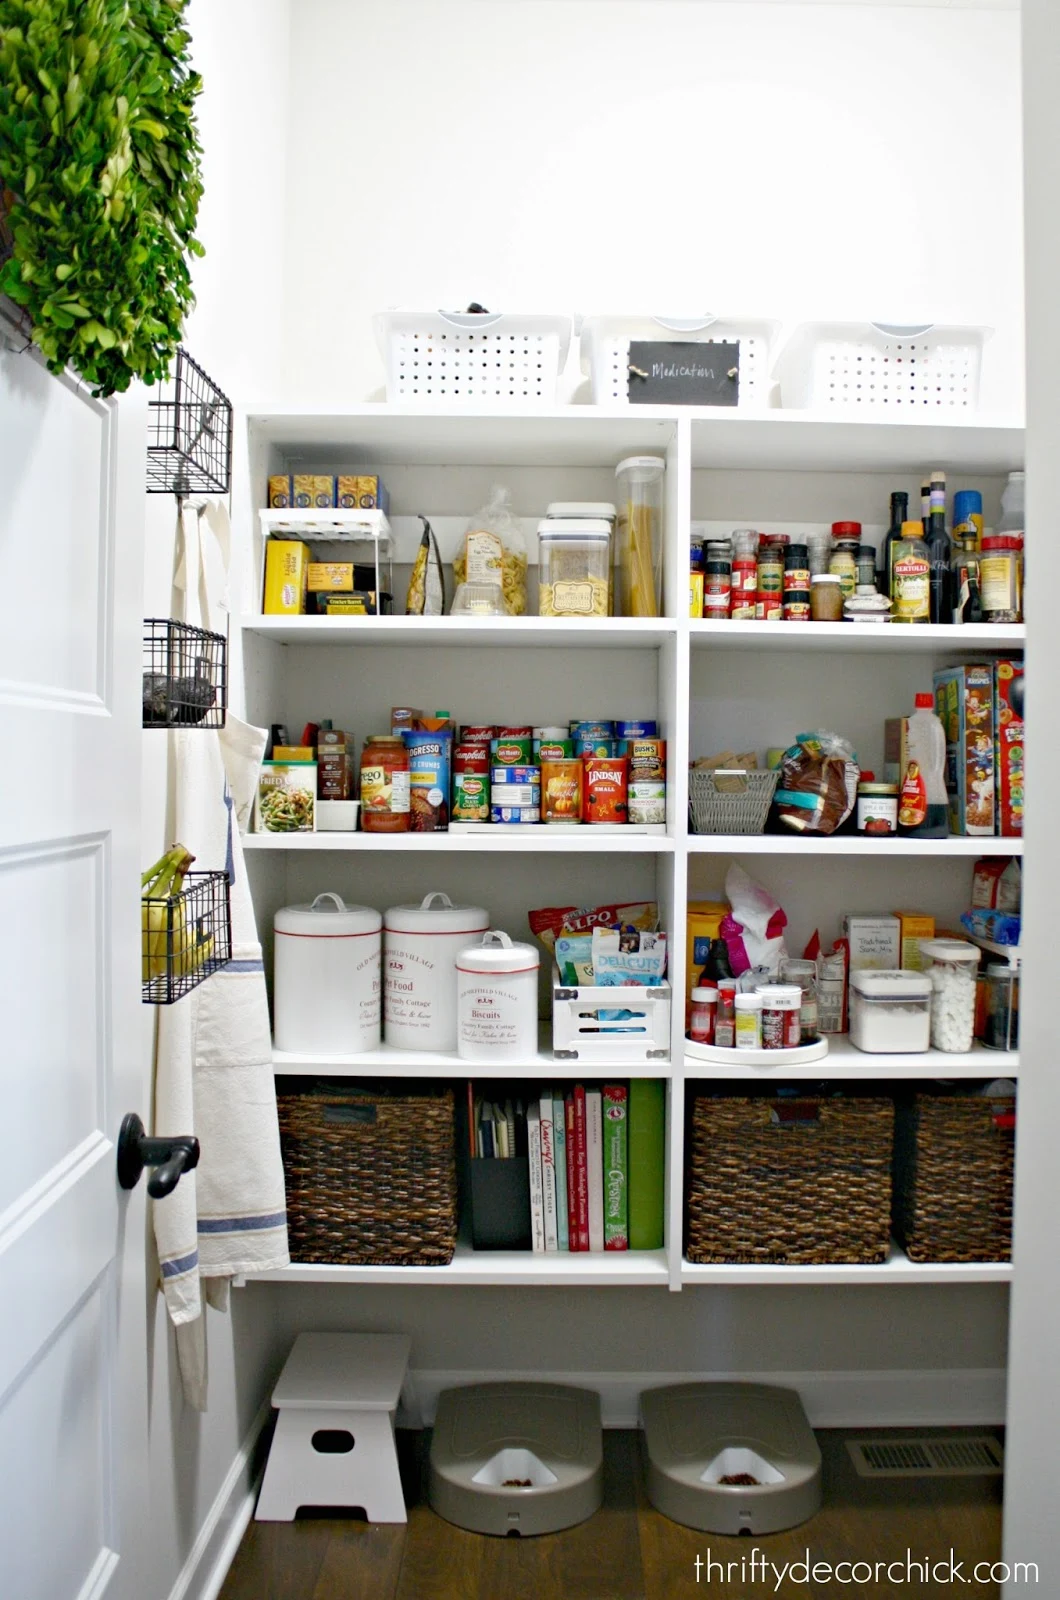
I took down all of the open shelving (that I kept to use later) and installed
kitchen cabinets and open shelving instead:
Not only does it look so much cleaner, this space now holds just as much if
not more because of the deeper and taller cabinets.
We were able to move all of our small appliances out of the kitchen and into
this space, and because of all of
these DIY pull out shelves, we can store a TON of food and supplies in this pantry now:
This small room took as long as much bigger projects because of the all of the
DIY and decor details I added as well. You can read all about those and see
the reveal of this huge pantry redo process here!
4. BOY BATHROOM REDO
Our son's "baby" to tween bathroom renovation
was one of the most labor intensive projects I've ever tackled. It was also
one of the most dramatic! We LOVED how this renovation turned out.
I hated that wall between the shower and sink area from the moment we
moved in:
It made the back part of the bathroom feel so dark and cramped. I loathed that
wall. 😂
I did a ton of research and finally one day decided it was time...I knocked
the wall down and started this HUGE renovation.
I
tiled the floors and backsplash wall,
built and stained the open wood vanity, installed new lighting and TONS more. The end result was a renovation I'm
incredibly proud of:
Gosh, I loved that room!! I plan to repeat a few of these projects in our
son's current bathroom.
5. DARK TO LIGHT LAUNDRY MAKEOVER
I talk all the time about how important it is to live with a room as is
before deciding on a renovation. You'll really figure out how you want to
make the room function for you and your family.
One of our problem spaces in our old house was the mud room and laundry
combo. This small room was trying to be way too many things:
Over the years I dressed it up by adding a beadboard wall treatment around
the room, but it didn't help the function much. :)
When we starting finishing the basement in that house we were able to create
a new laundry room and move the washer and dryer down there. It was the
HAPPIEST DAY!
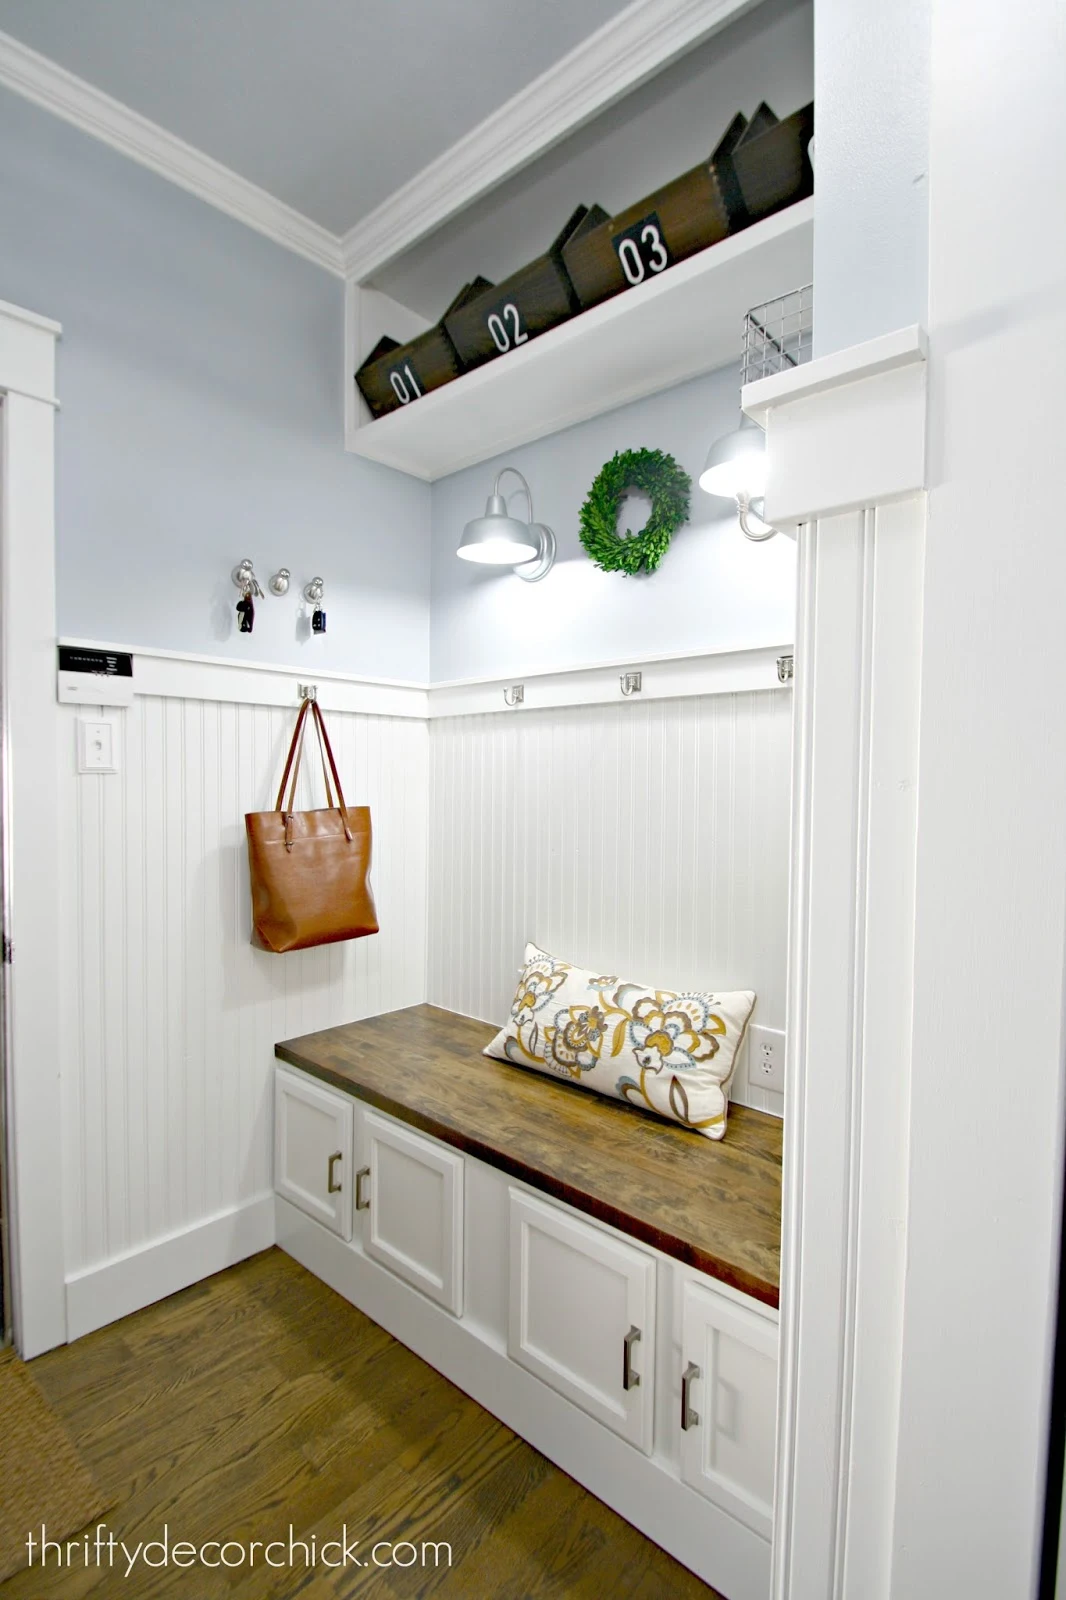
Later I built some additional items in the mud room -- the upper cabinet for
off season storage,
a shoe storage bench with cabinets, and then completed the finishing touches like paint and decor. The
difference after
this mud room makeover
was HUGE!:
That light blue and white combo is so classic and timeless. This room truly
shined after those changes, and I got a great
dedicated basement laundry room
out of it too!
6. COZY BASEMENT MAKEOVER
I loved that our friends and family would ask how I was going to keep busy
with a new and "finished" house when we moved into our current home. ;)
All I ever saw was a beautiful blank canvas to tweak and personalize just for
us -- my favorite thing to do!
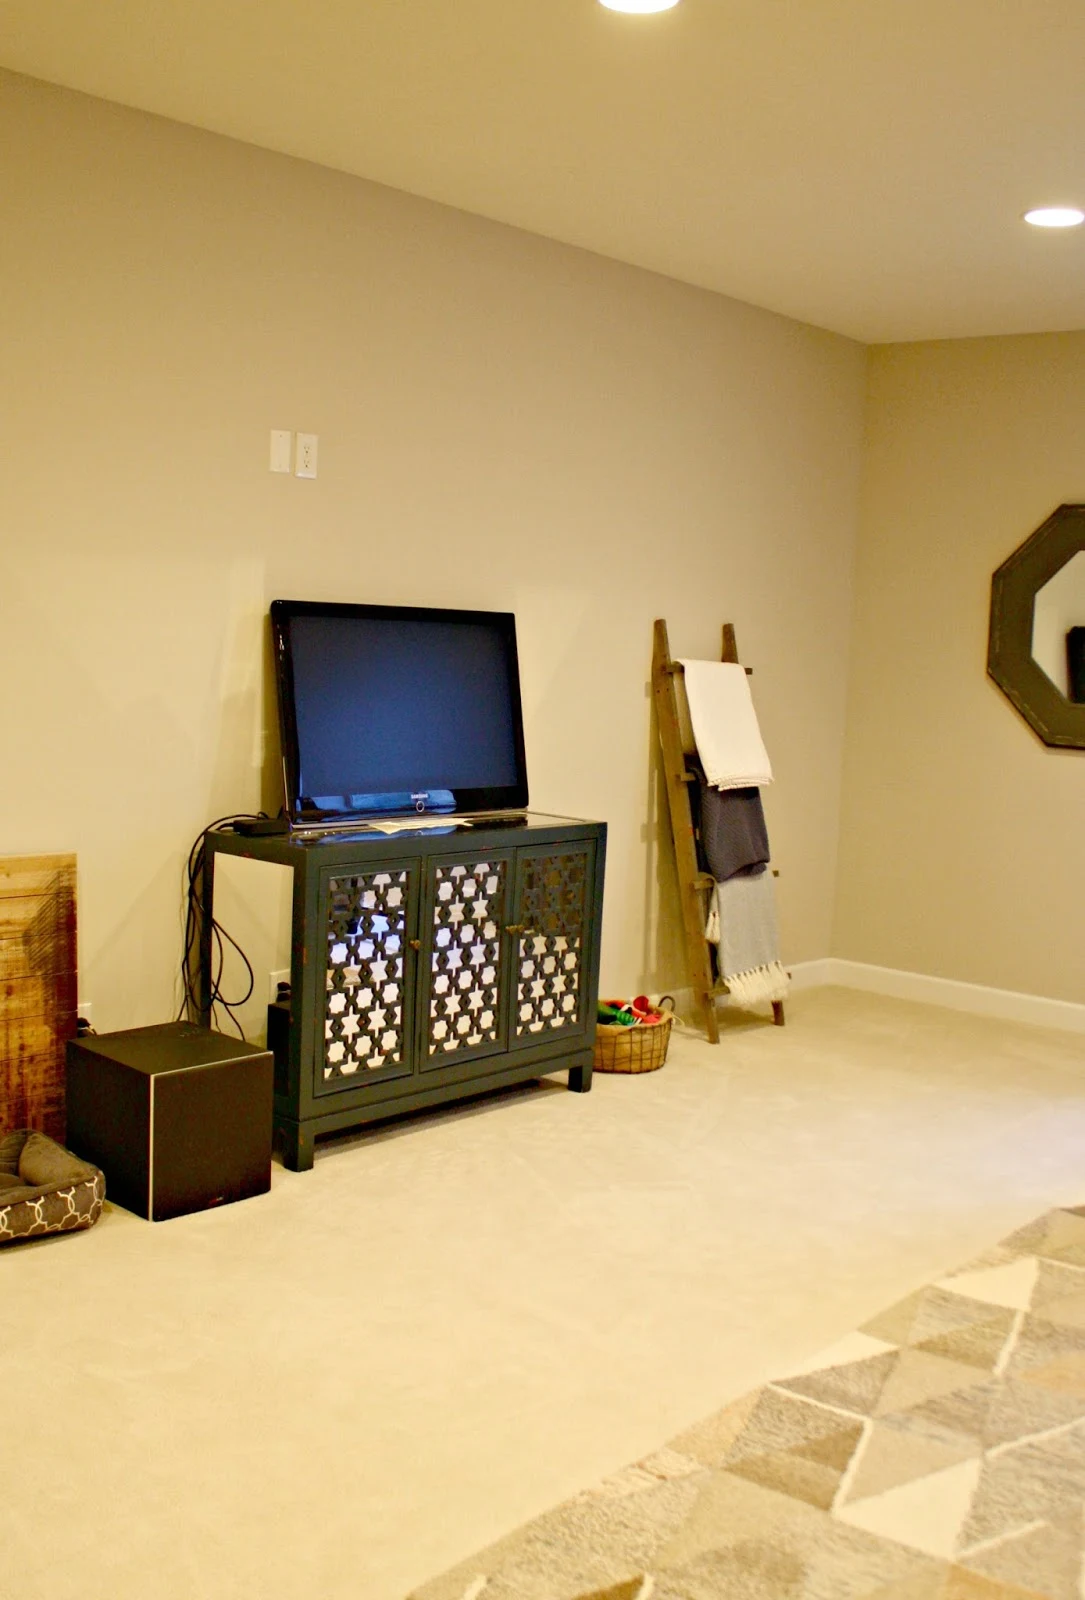
Our basement was just that, an empty space just waiting for some drama! We
started with
our cozy sectional
on one side:
Then early last year I
built a HUGE entertainment center wall
using my go-to (kitchen cabinets, duh) for the bases.
The TV hangs over a bench for electronic storage and I built bookcases over
the side cabinets. It made such difference in this room!:
Yet again, doing this myself saved us a ton of money!
We keep all of our board games in the cabinets as well as our
photo and art mementos that I organized
earlier this year.
A couple years ago we
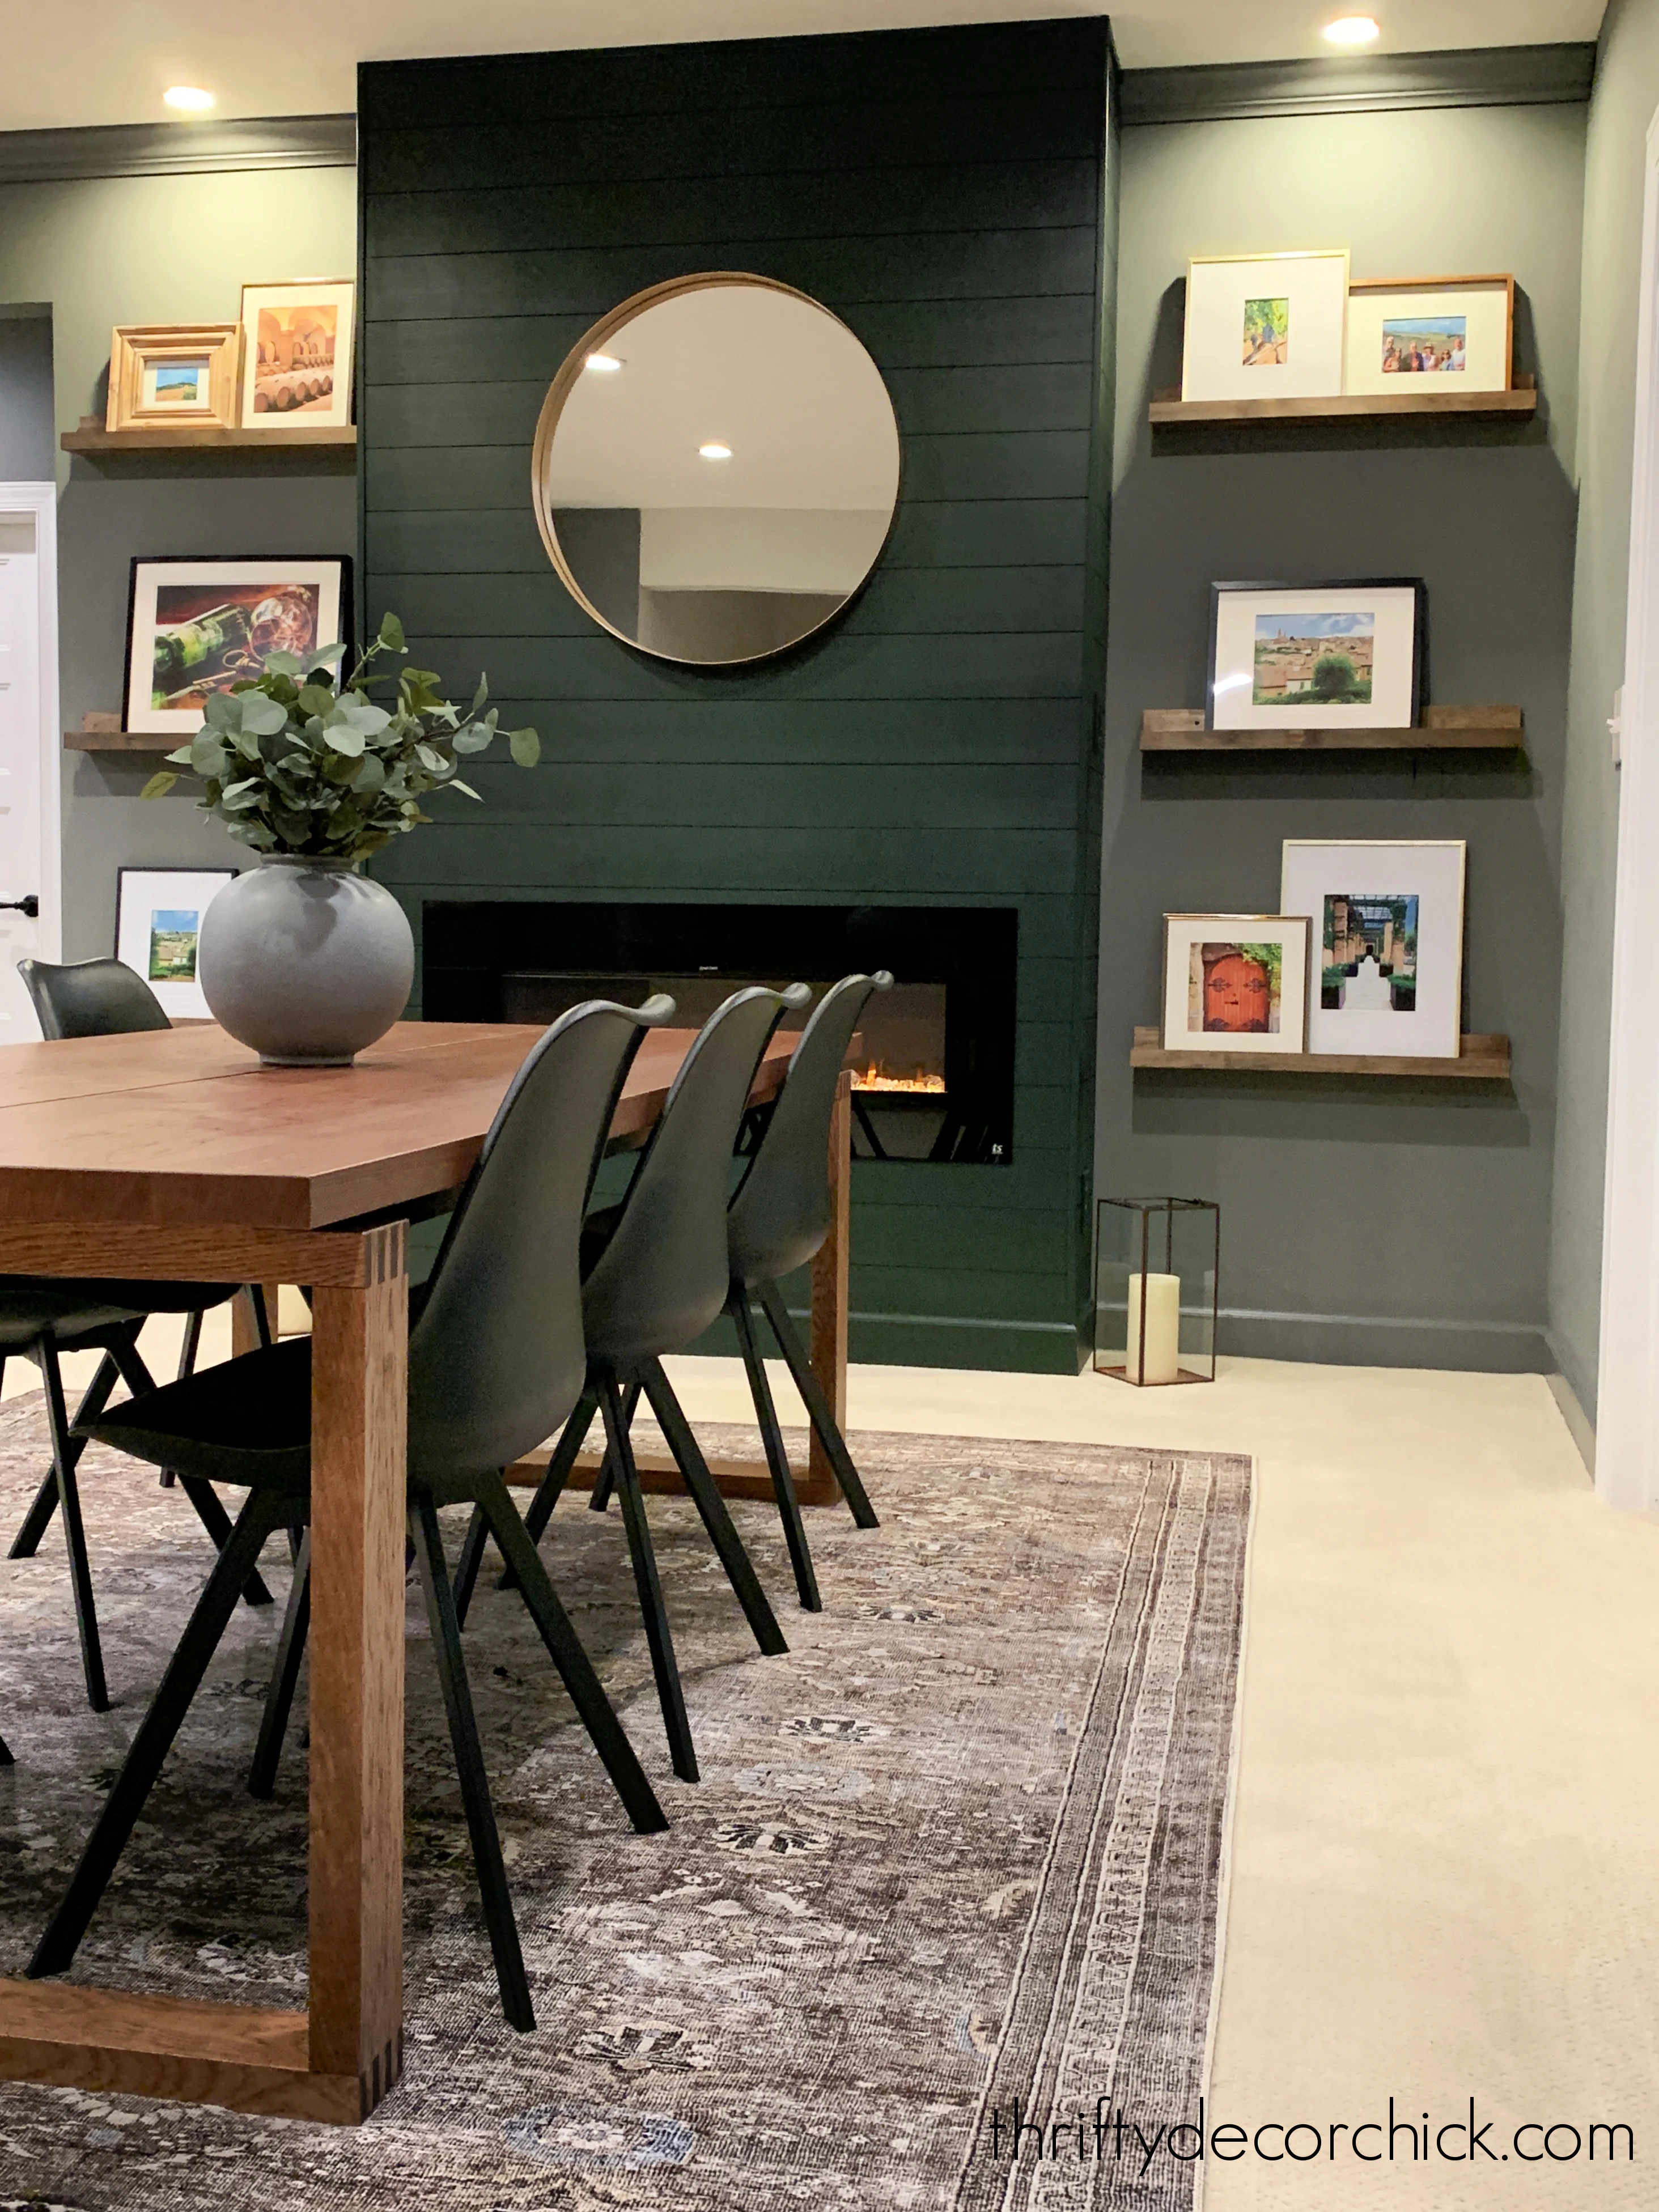
added a dining/game table
in an adjoining area. At first the wall in that spot was pretty boring:
Recently I added an electric fireplace and picture ledges
and finished it off with this lovely green shiplap accent:
7. REMOVING A WALL IN THE FAMILY ROOM
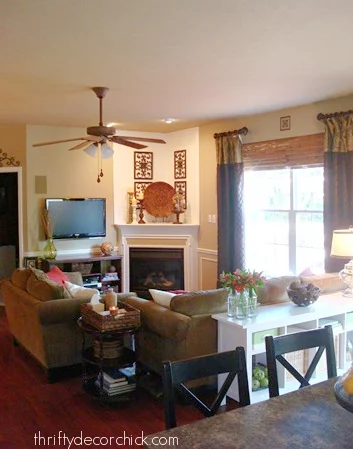
The kitchen renovation I shared from our last house kicked off a bigger
project in the adjoining family room. The corner fireplace in here made what
was a good sized space feel cramped:
We tried a few furniture layouts to try to open up the space, but over time we
craved a more open space to entertain and spread out in.
Problem was, adding onto the back of our house was WAY more than we wanted to
spend. Just finding a contractor to give us quotes was daunting.
It was a reader who suggested taking down the wall between my office and this
room to open up the space. We could place the fireplace flat against the wall
and make the room almost twice as big. Her idea was brilliant and we started
that process instead of adding to the house.
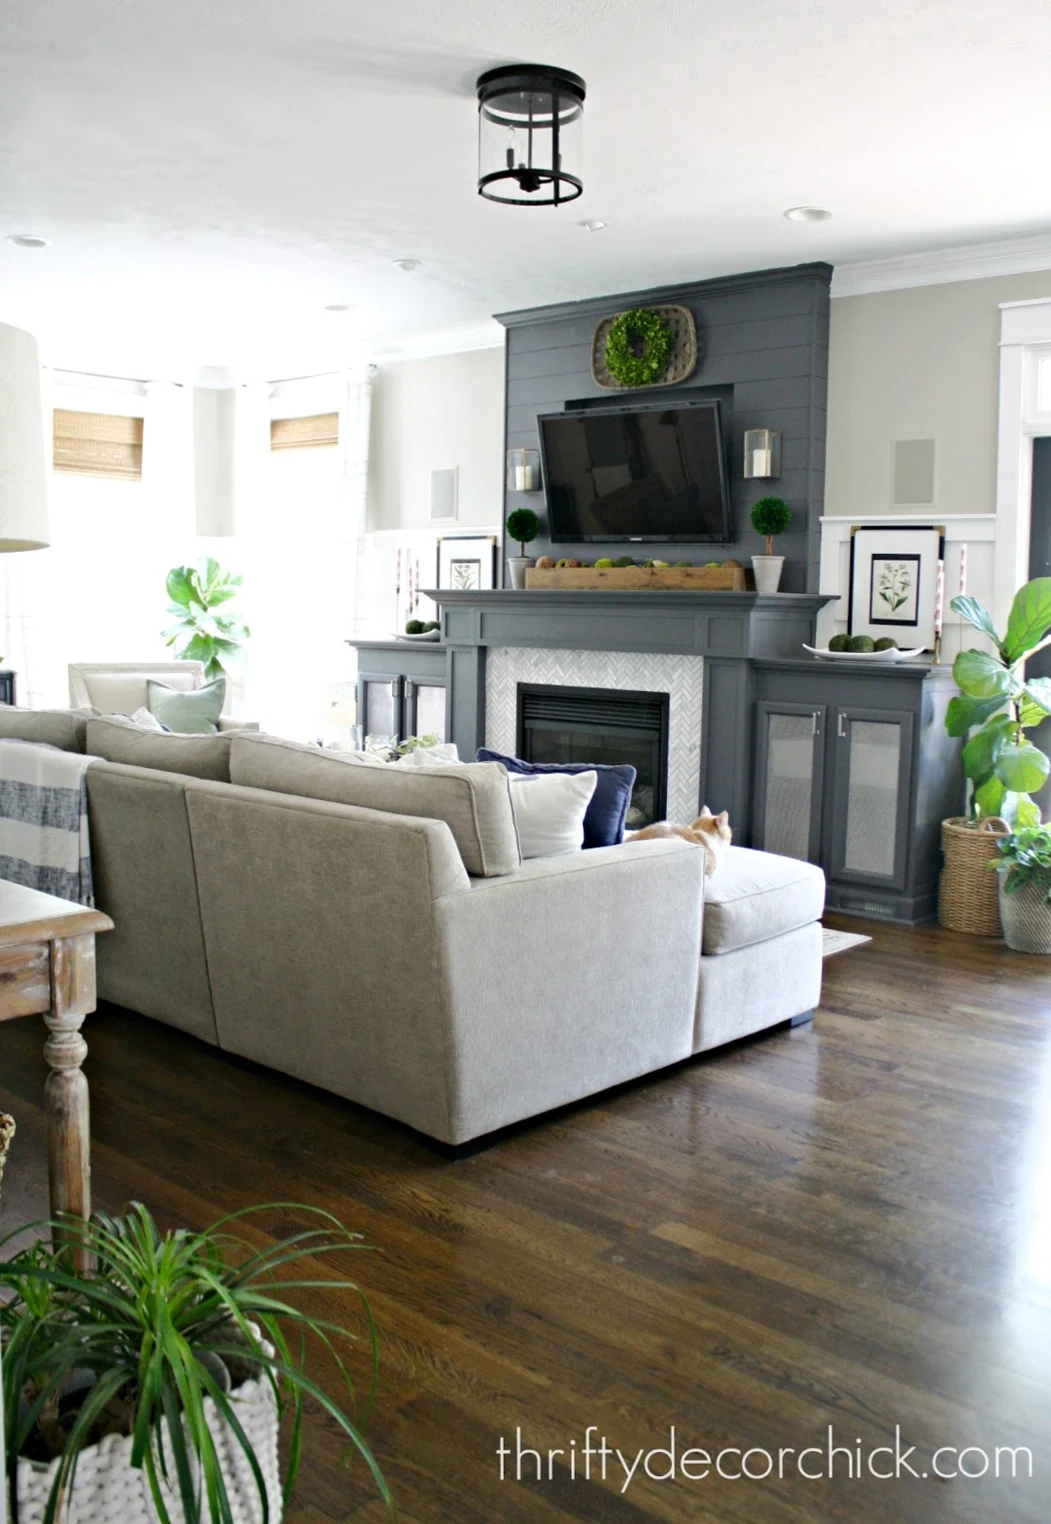
I finished off the fireplace TV wall, trim on the front and sides of the cabinets and fireplace, herringbone tile surround and paint (Peppercorn by Sherwin-Williams).
We were able to move the furniture around and it functioned so much better:
I continued
the board and batten wall trim around the room as well.
Opening up this family room by knocking down that wall
was one of the best changes we made in that house -- it made a HUGE difference
and completely opened up the space.
8. CRAFT ROOM/OFFICE TRANSFORMATION
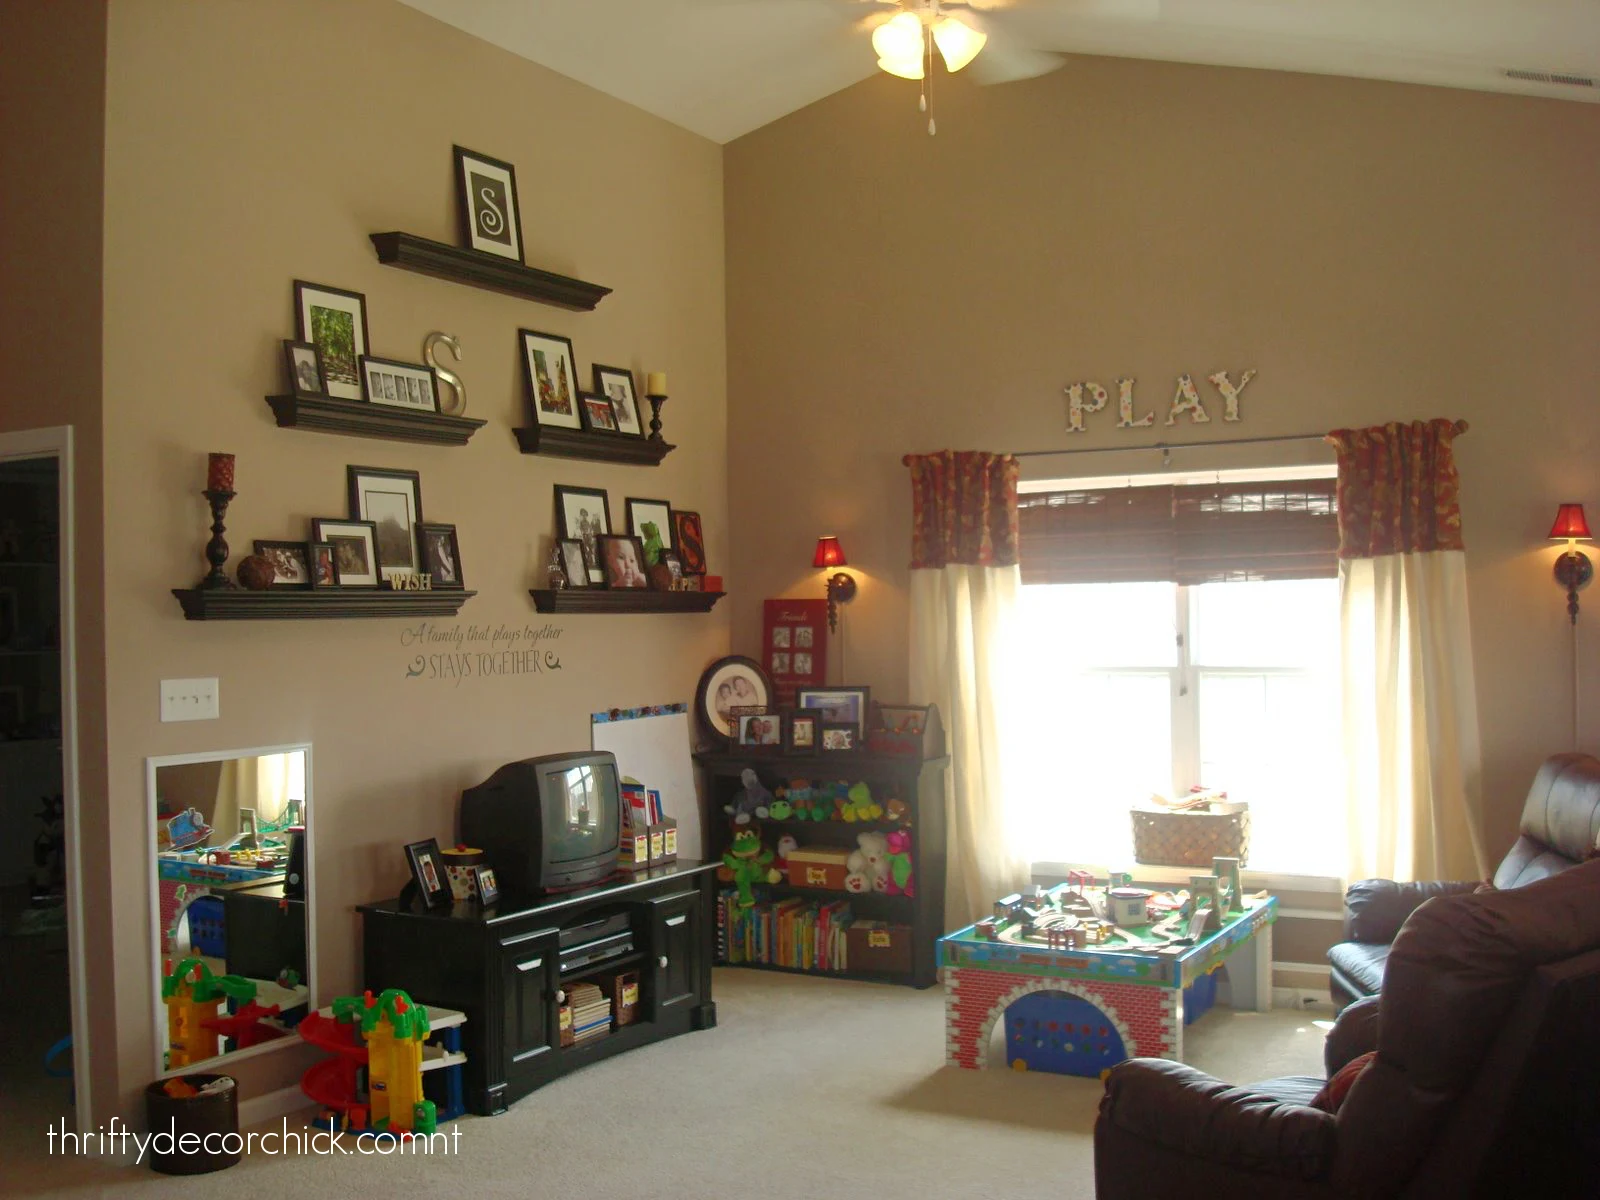
We had a great open loft space in our last house that served many purposes
over the years. When our son was young it was a playroom:
As he got older and the toys lessened, we reevaluated how to use the space.
Since we had taken down that wall between the family room and office
downstairs, I needed a dedicated area to work and store my craft
supplies.
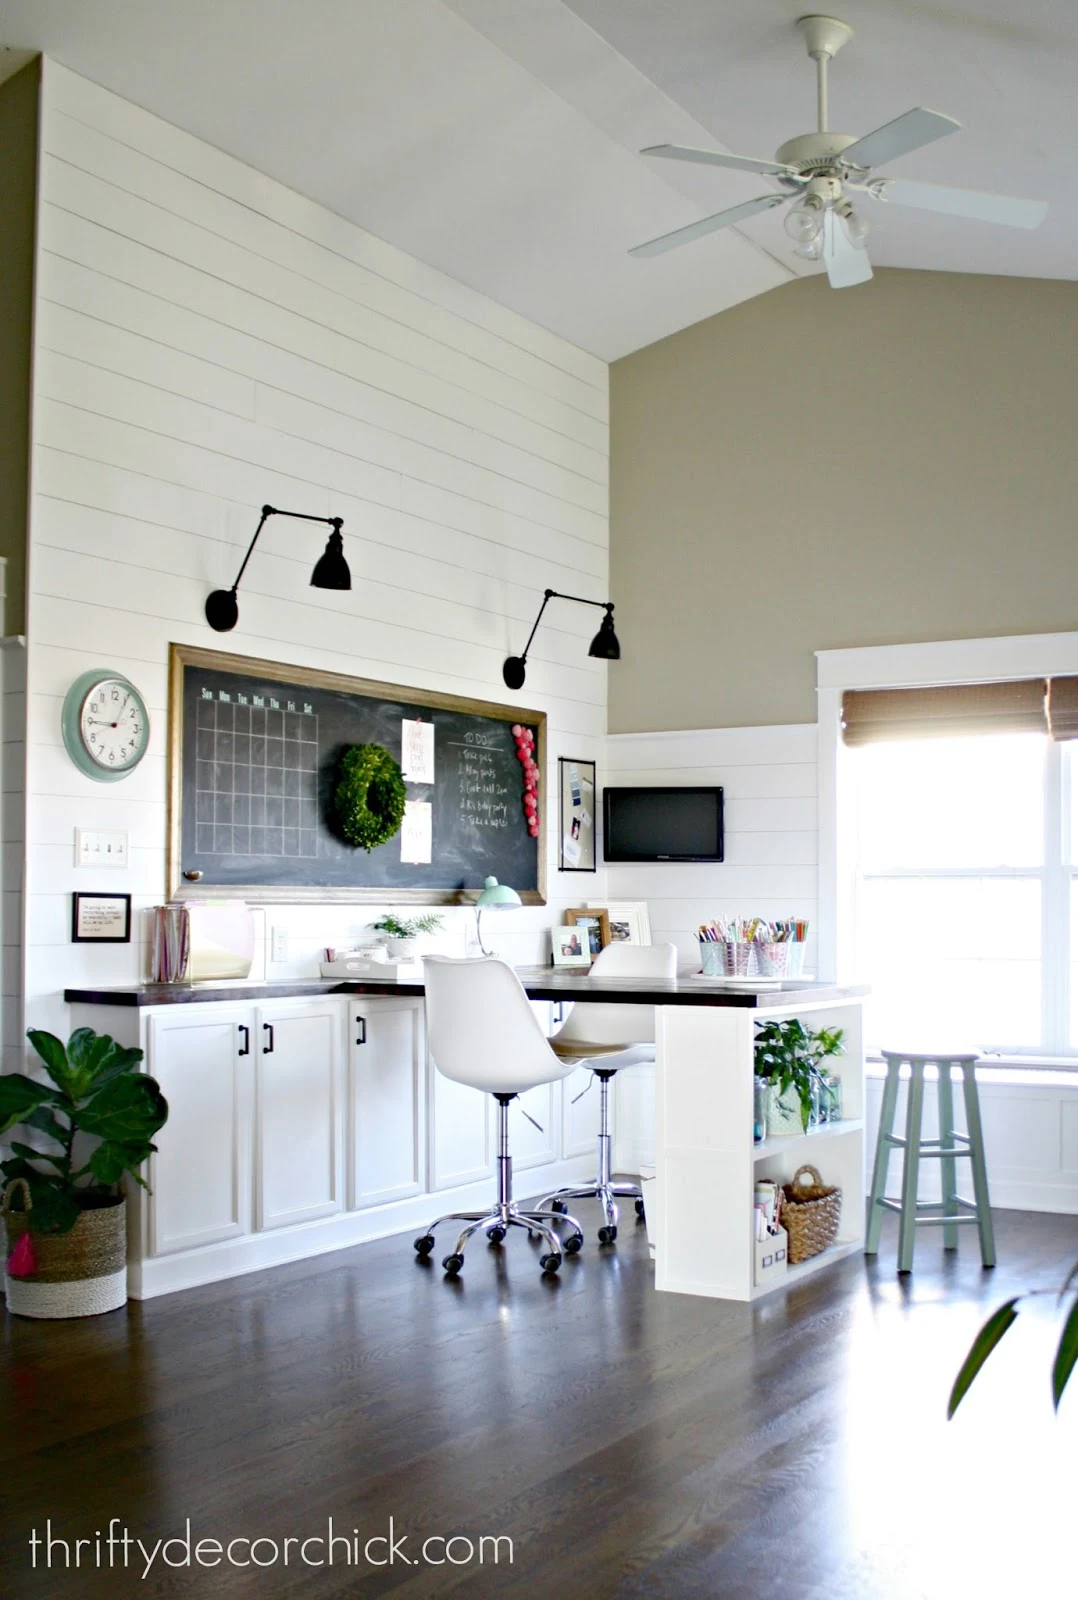
I put this space to better use and created a
beautiful craft/office the whole family could use. I built in the storage cabinets, and we had another window seat added as
well. 😍
I also used butcher block and a small DIY bookcase to create a large desk that
we could use from either side:
The walls here and throughout the rest of the open space upstairs were
covered with inexpensive wood planking
that add a bright, crisp look! The
huge DIY chalkboard
was one of my favorite parts of this room. :)
We all utilized this space -- my husband worked up there often (instead of his
dark basement office) to enjoy the sunshine. Our son also used it to work on
Lego sets or homework.
9. MUD ROOM/LAUNDRY MAKEOVER
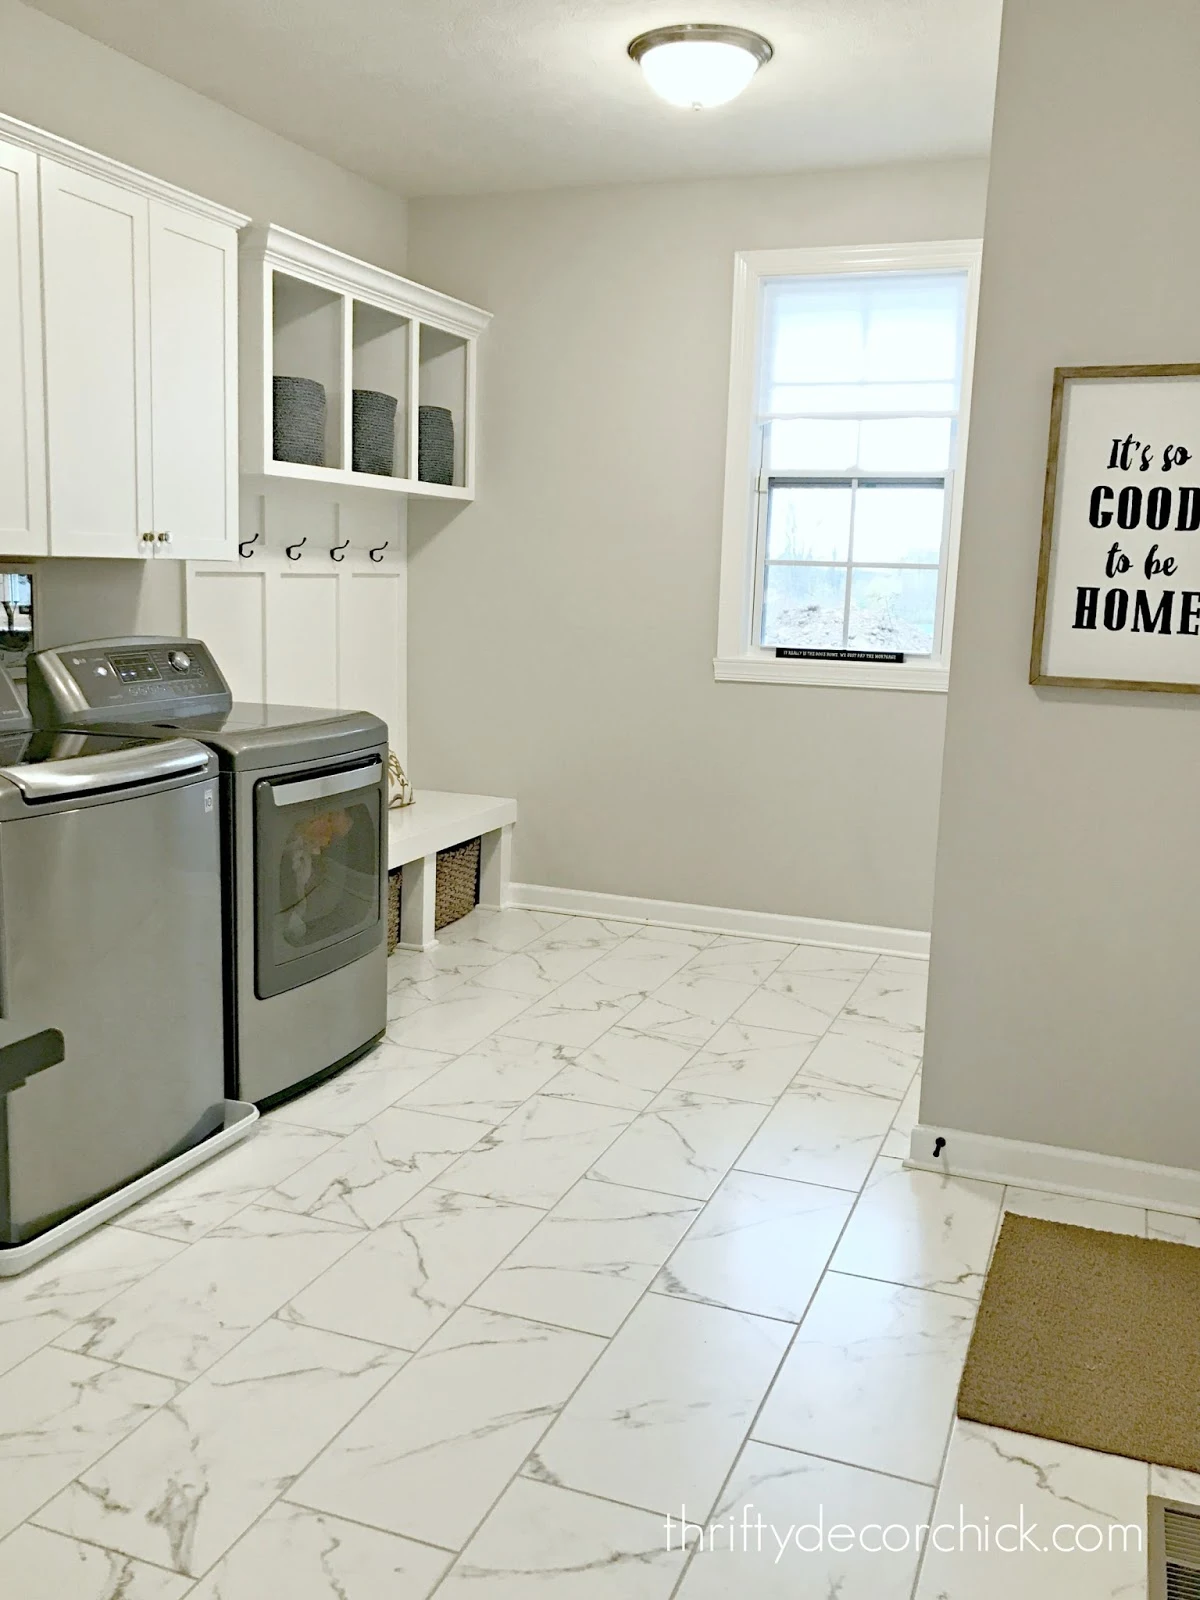
We have a laundry and mud room combo in this house as well, but I knew it
would function so much better just because of the size:
I was able to decide on the layout in this room, including the added utility
closet that holds our cleaning supplies and cat litter. (BEST. closet. ever.)
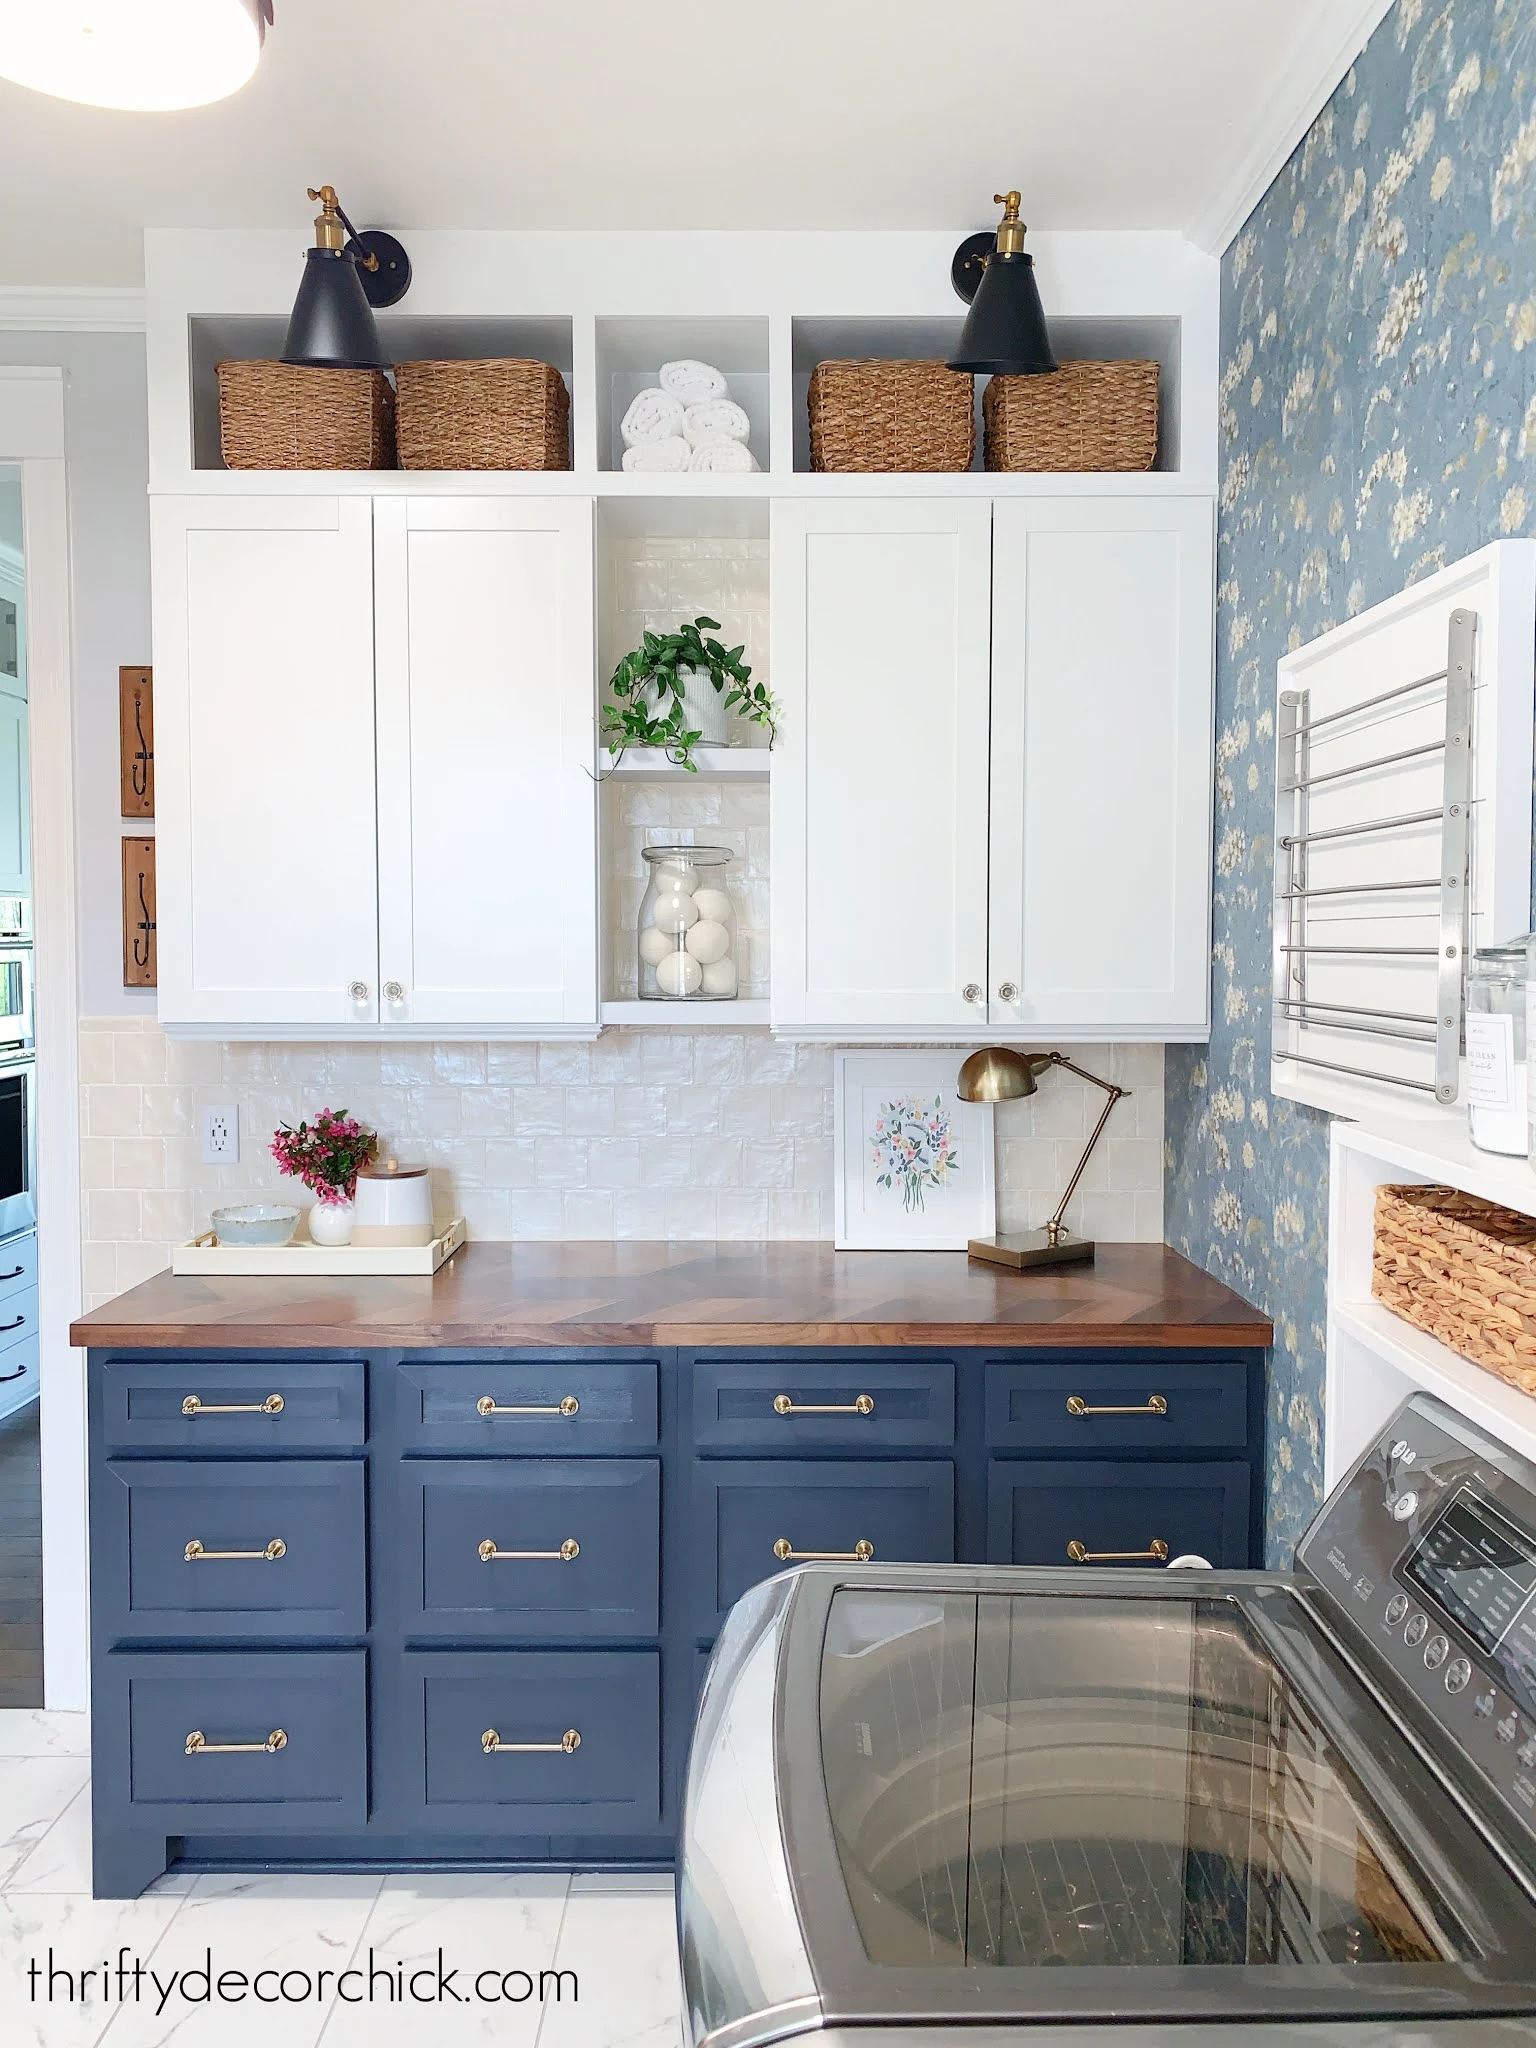
The other side of the room just had a countertop...I knew I could make this
function so much better!
We moved the upper cabinets that were over the washer and dryer (and hard to
reach) over to that wall.
Then I removed that basic countertop and installed these base cabinets with
drawers only -- my favorite! I added some details that made it look
more like a piece of furniture instead of cabinets:
That
gorgeous blue floral wallpaper
was a HUGE statement in this room and I absolutely love that it's the
first thing we see when we walk in from our garage.
The mud room bench wall got a planked wall treatment,
DIY sliding shoe bins
and a
no sew bench cushion:
This makeover was a big project -- you can see all of the steps of
this mud and laundry combo makeover here!
10. DINING ROOM TURNED LIBRARY
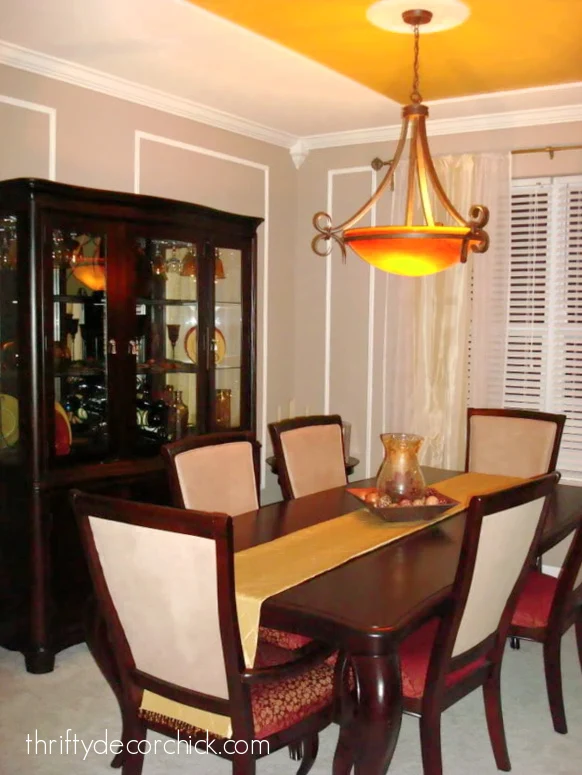
Finally, my first built in bookcase project that took me FOREVER. 😆 We had
lived in our last house for a few years when we decided to make our
rarely-used dining room into a cozy library space.
Did anyone else use the gold and red combo in their decor all those years
ago?:
This is where it all started folks...my Dad helped me with this first set of
built ins. We created the kitchen cabinet bases and worked on this project
here and there for months.
I recently told a friend of ours working on a similar project how long this
took for me as a newbie. When I got to the basement entertainment wall (above)
nearly ten years later, I was an expert and completed it in a few weeks
compared to EIGHT months. :)
There was a lot of painting, caulking and filling...but it got there.
I turned this unused dining room into a library space
with cozy chairs:
We used this room all the time! I was so happy with this transformation. The
great part is it could easily be transformed back to a dining room by adding a
table back to the room.
Don't be afraid to tweak your home to fit how YOU use it!
I promise you'll enjoy your spaces so much more.
In my opinion, there aren't many rules on how to use rooms in our homes. Do
what you want! Yes, you may have to adjust some things when you move, but you
might be surprised!
It didn't hurt us one bit moving our laundry room to the basement, removing an
office to open up the family room, or getting rid of the dining space to
create a comfy sitting area.
Well that's my top ten room makeover over the past 14 years -- do you have a
favorite or have you used any of these as inspiration in your home?
I can't even believe how quickly the time has passed! Our son was just a year
old when I wrote my first blog post, and now he's 15 (and a HALF!). It's been
such a joy to share my DIY and decor escapades with you over the years.
Thank you so much to those who have joined me along the way!
Never miss a post by signing up to
get posts via email.













Thank you for sharing all the wonderful ideas! Please keep them coming! Your blog is my favorite place to get inspiration and see what's possible. I love your style and your creativity.
ReplyDeleteCongrats Sarah! I absolutely love your sty.e and look forward to each and every post! I wish you were my neighbor!
ReplyDeleteAll your makeovers are so creative, but I love the basement family room the most!
ReplyDeleteYou continue to amaze me what you can accomplish. WOW! Hard to believe your son is 15.5 years old. :o Happy 14th Anniversary. :)
ReplyDeleteThank you all SO much!! I appreciate you taking the time to comment.
ReplyDeleteSarah, you are so very talented! It has been so much fun to journey with you over the years and watch your visions come to life. You have a wonderful eye and the knowledge to make things happen. Thank you for your inspiration and happy blog birthday!!
ReplyDeleteCongratulations, Sarah! I've been following you for years, and always enjoy what I see. Your skill and determination are totally admirable.
ReplyDeleteI can't believe I've been following you for almost 14 years! I've enjoyed seeing all of your projects through the years. You gave me the idea to paint all of our doors in the house black (Wrought Iron Gray by BM) and I get compliments all the time on those. Love your style Sarah. Congrats on 14 years!
ReplyDeleteI LOVED the library makeover but I also liked the kitchen and then what you did with your dining room table (I think you pickled it - it's been awhile since I read it). At your new house, you inspired me that during the pandemic, I had two bookcases (not floor to ceiling) built on either side of our fireplace. It's my FAVORITE thing we've done to our house and it has made a huge difference in our family room.
ReplyDeleteThis is such a fun compilation post! I've followed you along on all these projects and even copied a number of them in my own home. I love what you do and the happy confidence with which you do it. You're one of the few blogs that I follow regularly. Thanks again for all your hard work and for sharing it with us!
ReplyDeleteI have followed you through all the older and some of the newer transformations :) This was a fun post to read :). The first thing you ever inspired me to do was to paint my garage door black!! I’ve considered the dining room-to-library many, many time….just haven’t pulled the trigger. I’ve gone back to your old kitchen again and again for help and inspiration - you had the same kitchen as us. I’ve taken baby steps there, redoing my bathroom vanity cabinets first, to see how it will all work out (if I like my own work). The jury is still out :/
ReplyDeleteThis was so.much.fun to read - you’ve had some incredible outdoor transformations too!
WOW! I have been here a long time - I remember all of these!!! Happy anniversary!
ReplyDelete