DIY Wood Countertop Spice Rack for the Kitchen
March 22, 2022
Share this
DIY wood countertop spice rack using butcher block.
This simple DIY spice rack fits perfectly on your counter and looks great! You'll only need a few pieces of wood to create a pretty storage solution for your spices and herbs.
This one could be called the three little bears of spice rack tutorials. It's such a simple project when you get down to it...but it gave me fits.
I didn't mean to take a week away from posting by the way -- I've been fighting a sinus infection for weeks now, and late last week it hit me harder than ever. I was knocked out on the sofa or bed for nearly 48 hours straight.
I blame that for some of my issues with this DIY project...maybe my brain was foggy? I blame the illness for sure. ;)
For awhile I've had an idea for a simple countertop spice rack, and last week I finally started tackling it. It would be easy my brain said! Just a few pieces of wood, less than an hour. EASY!
The plan was as simple as you can get -- I was going to build a basic frame with a couple shelves. Maybe some dowel rods across the front for a cute touch. That's it. Nothing on the back, just simple.
I started with 1x2's and checked to be sure my spice jars would fit. The width was great, but my initial plan was to do two shelves so I could stack three levels of the jars.
But because the wood was 3/4 thick and the jars were about four inches tall, it wasn't going to work.
Next, I tried a 1/2 inch thick piece of wood that was even wider, so the jars had even more surface space:
Perfect! I was well on my way -- the 1/2 wood was going to save me the space I needed.
I started to assemble the frame for this (SIMPLE!!) spice rack, using the corner clamp I used when I built our DIY frame for the TV:
This post may contain affiliate links for your convenience.
See my policies and disclosure page for more information.
With wood glue and a couple nails, the first corner went together perfectly!
But with each additional corner, it got more and more precarious, and as I went to lift it up after the fourth corner, the whole thing fell apart.
Strike TWOOOO!!
It was then that I knew I had to back this thing somehow. It needed more as a base on the back to make it stable, especially since it would be standing upright and not hanging on the wall.
I went digging through my scrap wood pile for something that was close to the dimensions I needed, but also thick enough that I could nail the frame in around it.
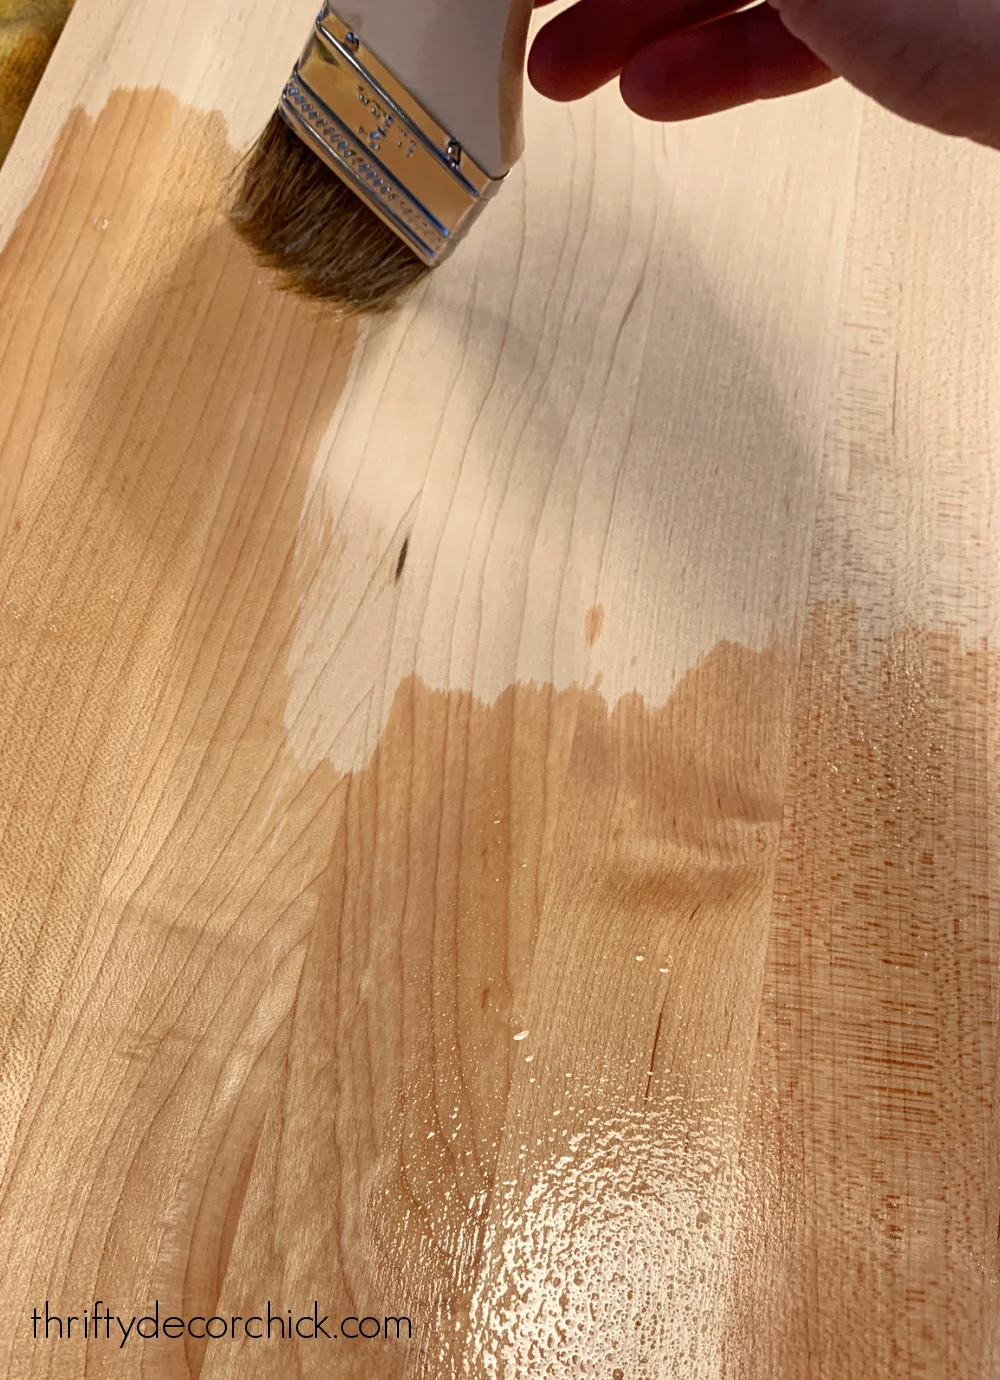
Excess butcher block leftover from our island kitchen was the perfect solution! When I found it I knew I'd want to stain that and do a contrast color for the rest of it. I used my favorite stain preconditioner on the butcher first:
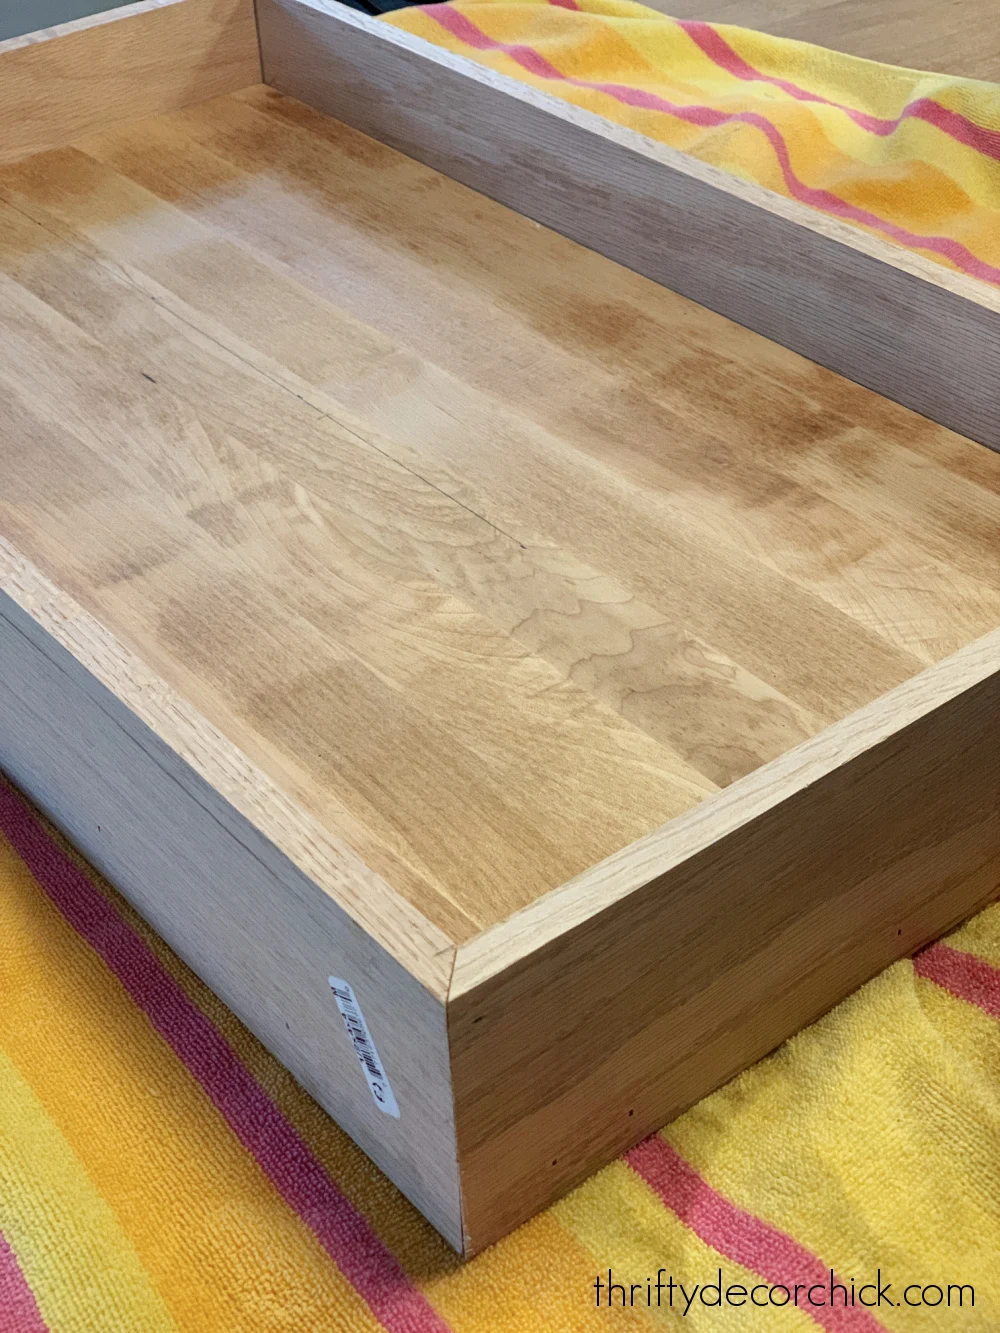
And then stained it with one coat of Special Walnut by Minwax. I didn't want it to be super dark, just a light brown tone.
The wood countertop is one and half inches thick, so of course the trim I already had wouldn't work. (It wouldn't work anyway because I was going with completely different dimensions, but whatever.) SOOOO, back to the hardware store to grab a couple 1/2 thick boards that were 3.5 inches wide.
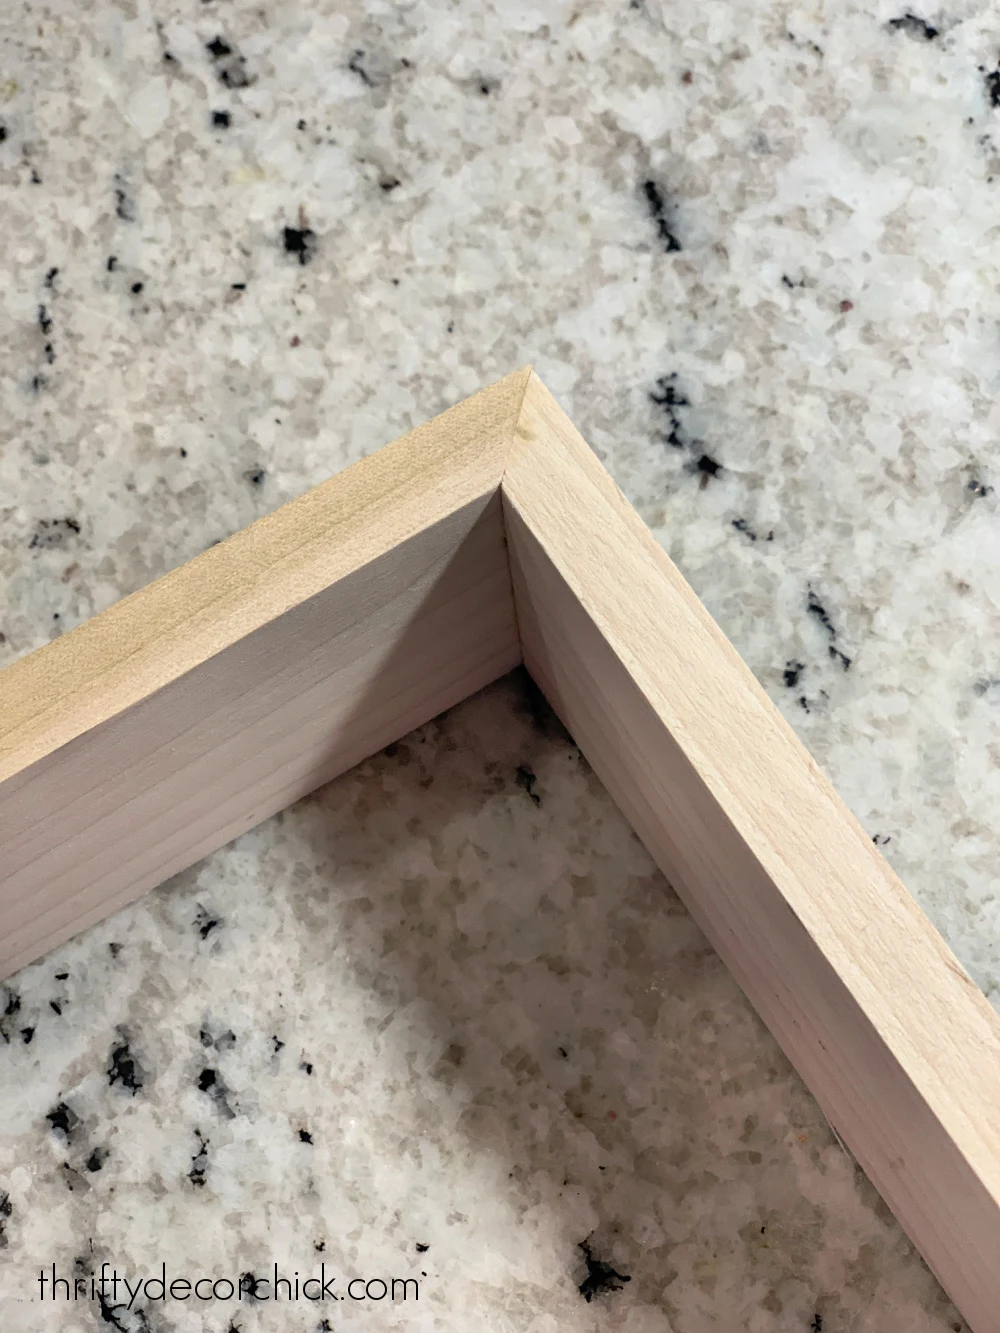
Using some wood glue and my nail gun, I wrapped the butcher block with this "frame" and my spice rack was starting to come together:
After filling in the nail holes with this awesome wood filler (my new favorite for the past year or so!) and caulking the corners, I gave the frame a quick sanding.
Then I painted it with a couple coats of Tricorn black (the same black I use on my black interior doors):
My last step was to add a center shelf that I cut down to size on my miter saw. I used wood glue along the back and then carefully nailed into the ends of the shelf through the sides of the frame to secure it.
When it was done I breathed a sigh of relief and was thrilled with how it turned out...finally!:
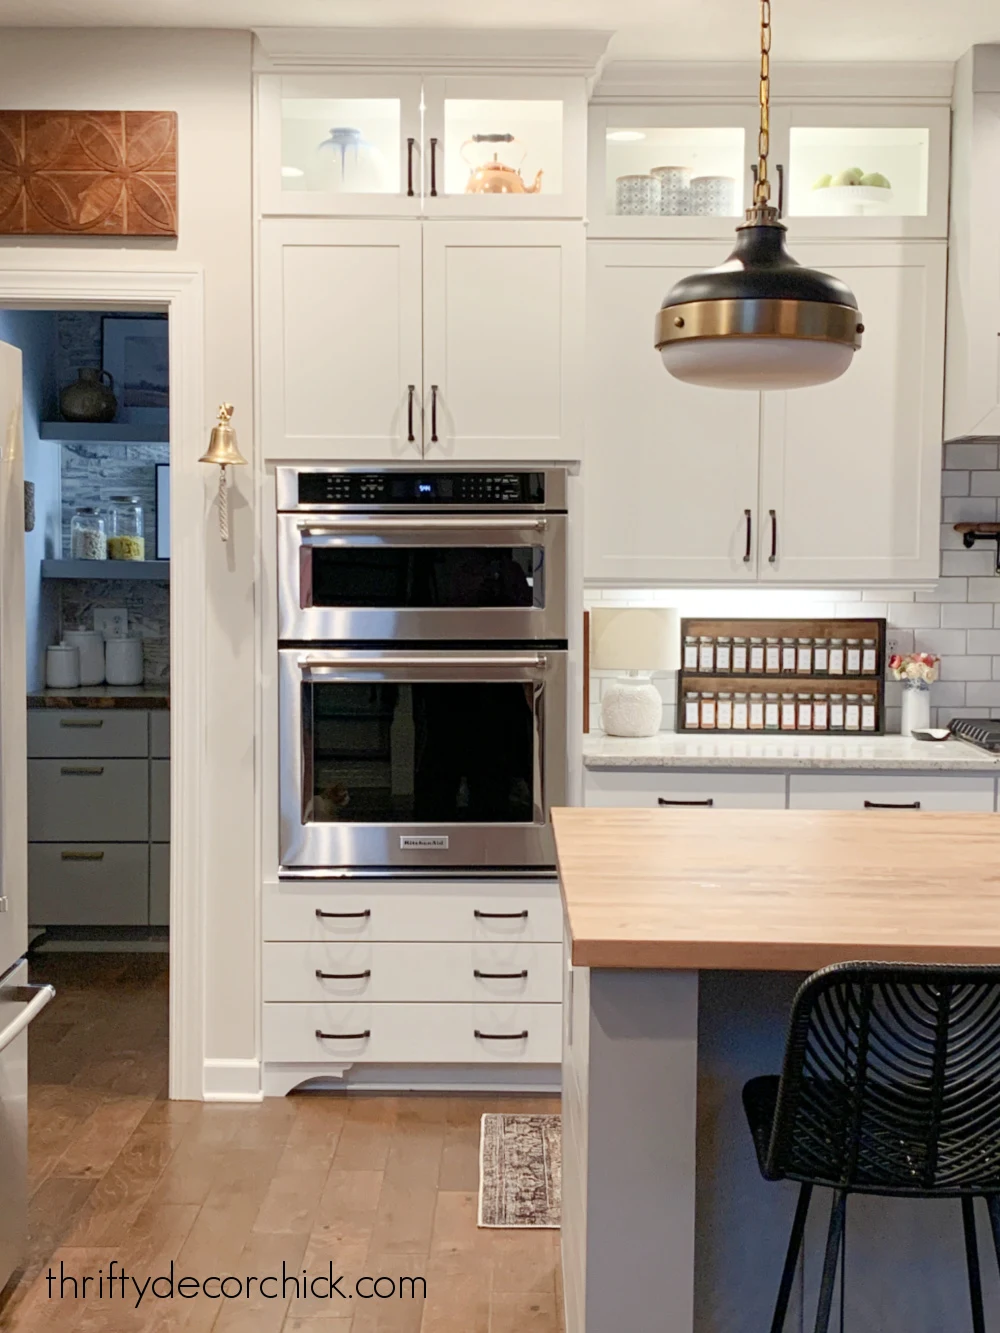
I tried it out on the end of the counter, but later moved it against the backsplash.
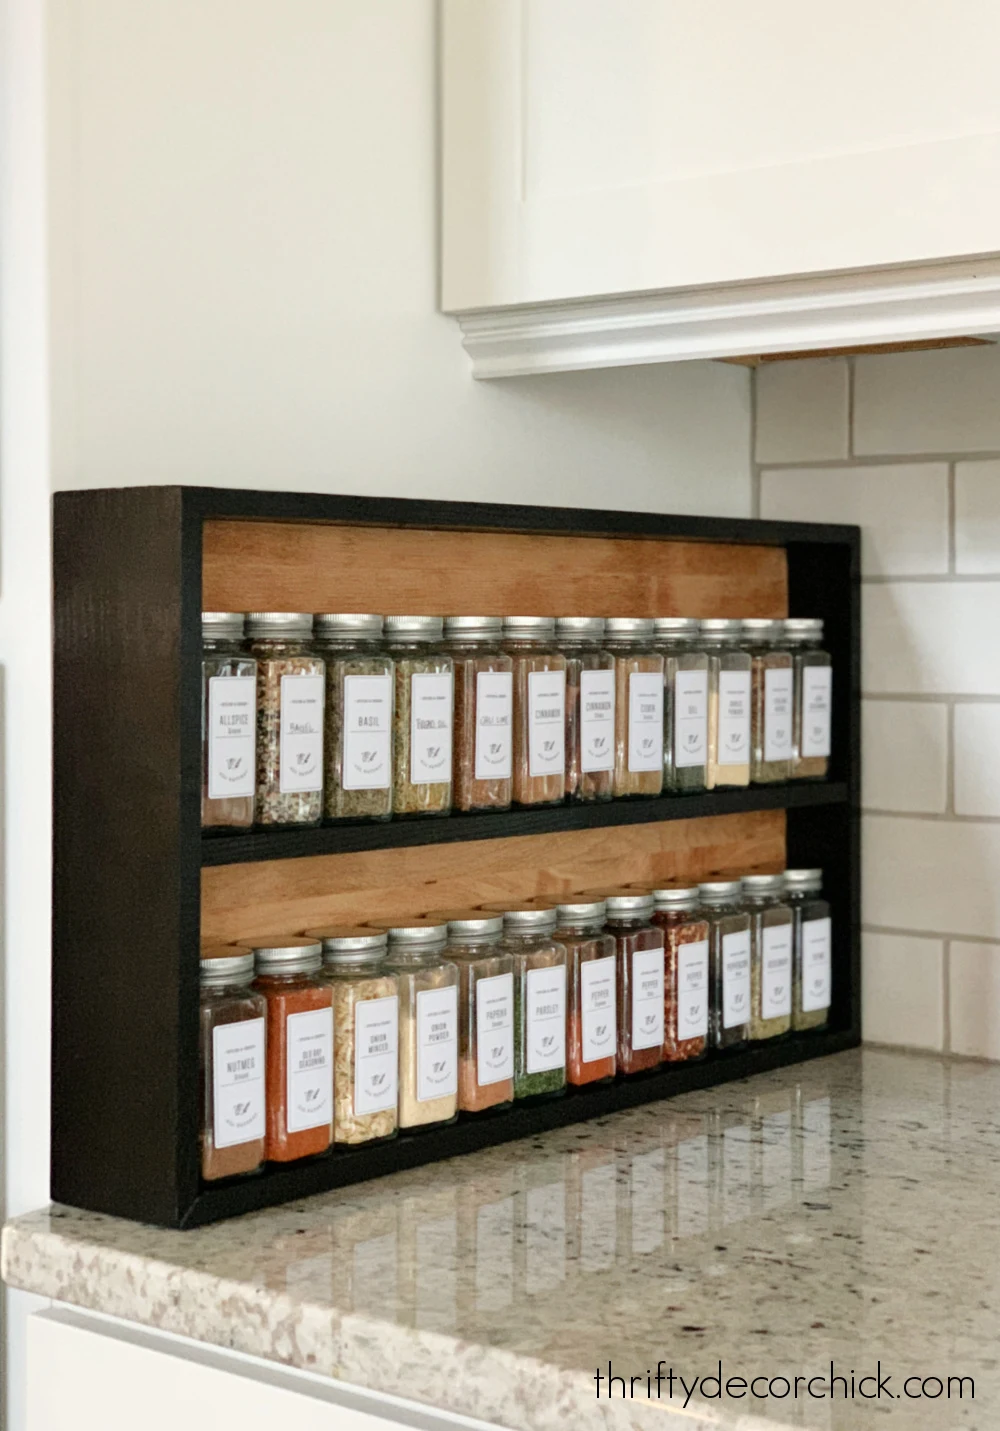
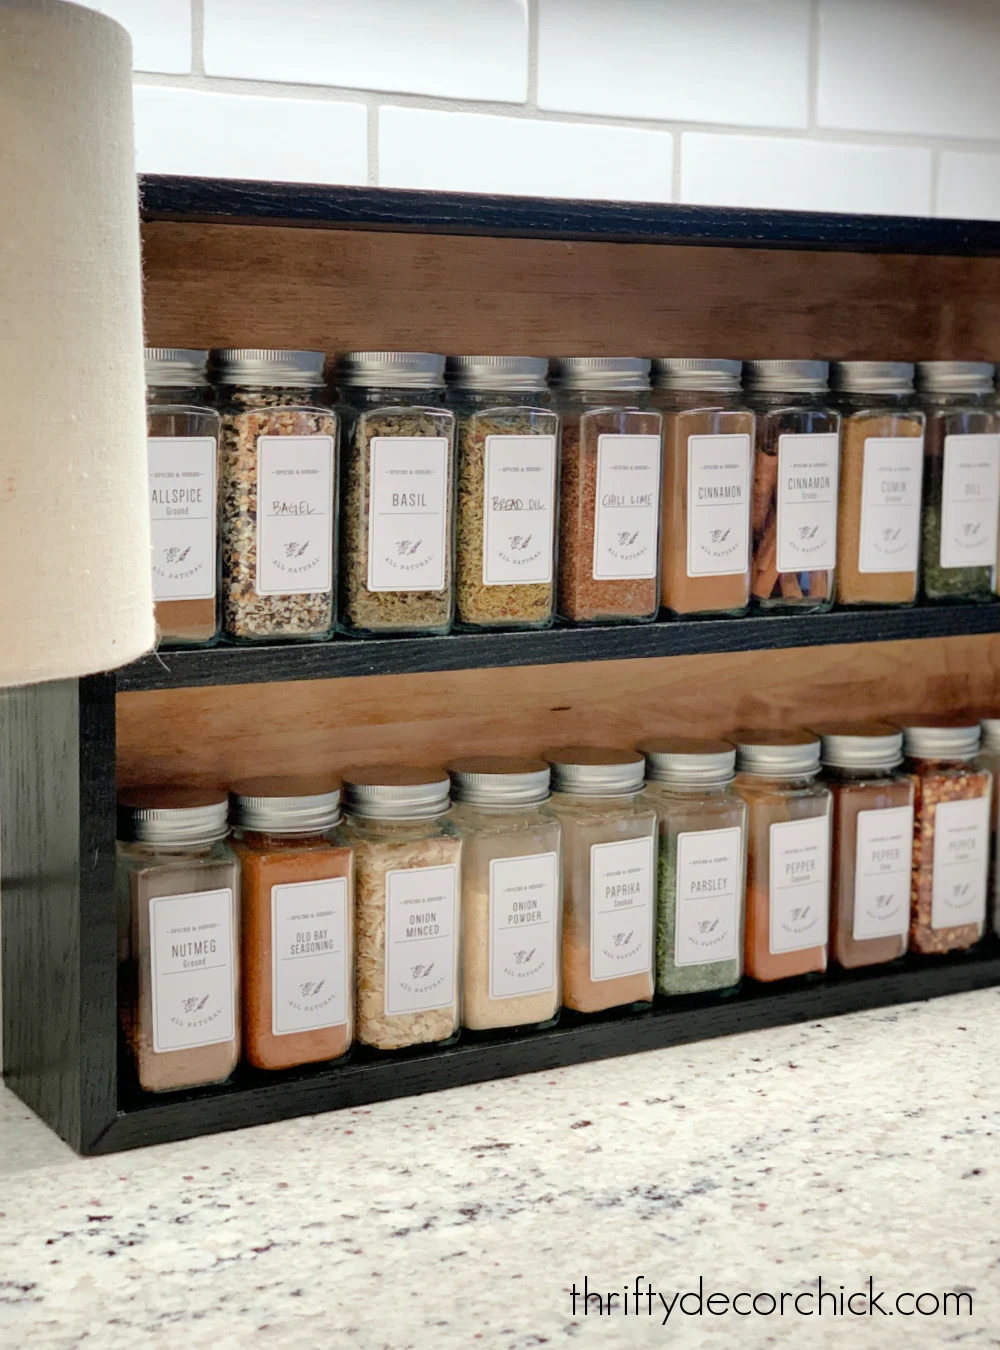
The design is simple and I love the wood stain and black combo. It provides a ton of spice storage:
I fit 28 jars on my two tiered spice rack (as you can see I had to nix the three level idea) which is perfect for our needs! It fits nicely under our kitchen cabinets.
You may remember I had a spice drawer in the pantry cabinets a few months back with the cute mason jars. I quickly realized I hated having them stored with only the label on the lids visible. Even if I stored them alphabetized, I still couldn't find what I needed quick enough.
My brain is visual (are you surprised?) and I need to be able to see the actual color and texture of the spices and herbs -- I find what I need quicker than even reading the labels!:
I ended up with these taller glass spice containers with the cute labels and LOVE them. The set comes with a TON of labels, including a page you can use to write your own. (I scanned the empty labels into my computer so I can print off more in the future if needed.)
I love how they look, and really love having them so close to where I cook or prep food. I think a wooden spice rack looks great as kitchen decor:
It only took three tries, but I finally got a finished result that I love. You may notice there are no dowel rods across the front. I decided with only two shelves we really didn't need them, and I like the simpler look:
It's a good thing I didn't want to use them, because the frame wasn't deep enough to add them anyway! GoodNESS. 😂
I doubt we'll have any issues with these staying put, but if we do I plan to add a leather accent like I used on the cutting board storage on the side of our fridge.
There are a bunch of variations you could use for your own DIY spice rack!:
- Cover plywood with beadboard instead of butcher block for a cottage or farmhouse design.
- You could make this as a hanging spice rack and hang it on a pantry door.
- I really wanted to build a spice organizer into the wall between studs, but didn't have a good spot for it in our pantry. That would look great built into a kitchen wall!
- There are so many great spice drawer organizers available if you prefer to have yours out of sight (and have the space).
- Heat and sunlight will break down the aroma and flavor of spices quicker, so keep that in mind when you're figuring out where to put yours. This spot doesn't get any direct light and we use ours fast enough that it's not a concern for us.
Thank you so much for the kind comments on our pantry makeover reveal by the way! I always love reading your comments and thoughts:
I love that my crazy projects might inspire projects in your home! :)
Never miss a post by signing up to get posts via email.





Love those jars! My spice cabinet has been my nemeses for years. Too many different sizes and container shapes. I guess the first fix is uniform jars.
ReplyDeleteNice job! Why not mount the spice rack in the empty space above the 2 recipe framed pictures in the new pantry redo???? I hate having spices on the counter near food prep. With heat they are subject to change and the bottles get spray and spills on them. Just a thought! They would look great in the pantry.
ReplyDelete