Converting Our Pantry into a Butler's Pantry Progress
February 11, 2022
Share this
Creating a more functional pantry with cabinets and pull out drawers.
I'm so excited about this small room redo! I love making rooms function better
for us as a family, and this pantry makeover has made such a difference.
It's been months since I've updated you on this project. I've made
so much progress, but then the holidays hit and I paused the DIY
projects in here.
We now use every bit of our pantry (in a smarter way) and it's just prettier
to look at. I'm always a function over form person, but pretty never hurts!
;)
I shared my plan for transforming our pantry from the open melamine shelves to a butler's pantry design
a few months back.
The open shelving just didn't function well for us.
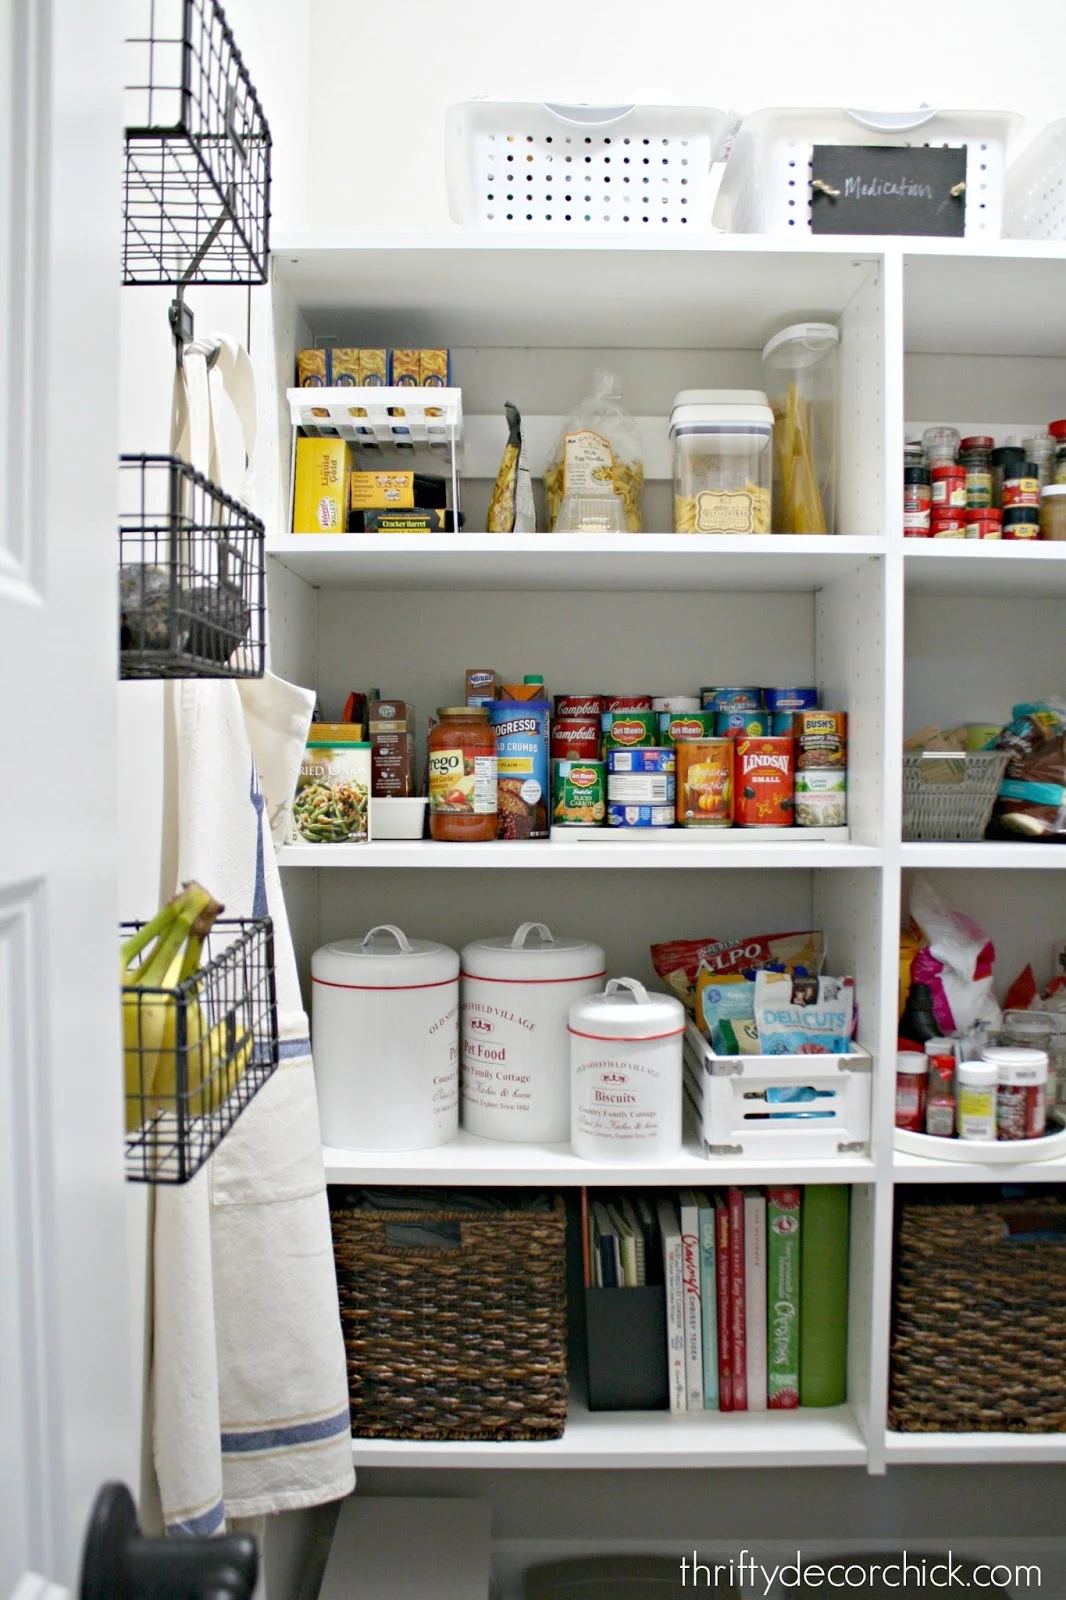
This is how the pantry looked every time I cleaned and organized it:
This post may contain affiliate links for
your convenience.
See my policies and disclosure page for more information.
I absolutely love having such a large pantry, but it rarely looked like
that. It was always a mess -- the shelves just weren't working.
We had plenty of them, but they were shallow. Even though it was all out in
the open, we would lose track of what we had because we'd pile things in
front or on top.
Shelves are GREAT when they're at eye level. When you have to sit on the
ground to see what's on them, not so much.
It stressed me out every time I walked into this space.
I prefer to have things organized behind cabinet doors anyway, so I came up
with a new pantry plan that I started implementing last fall.
I'm reusing those melamine shelves to create custom shelves in our son's closet!
The pantry has been fully functional for months now, but I still have
a lot of little projects finish up.
I installed the cabinets the day they arrived -- we had our food piled high
all over the mud room and I wanted to get them into cabinets as soon as
possible.
I shared the
peel and stick tile installation on the backsplash, but didn't show more than this view:
So let's catch up on everything I've done in this small space!
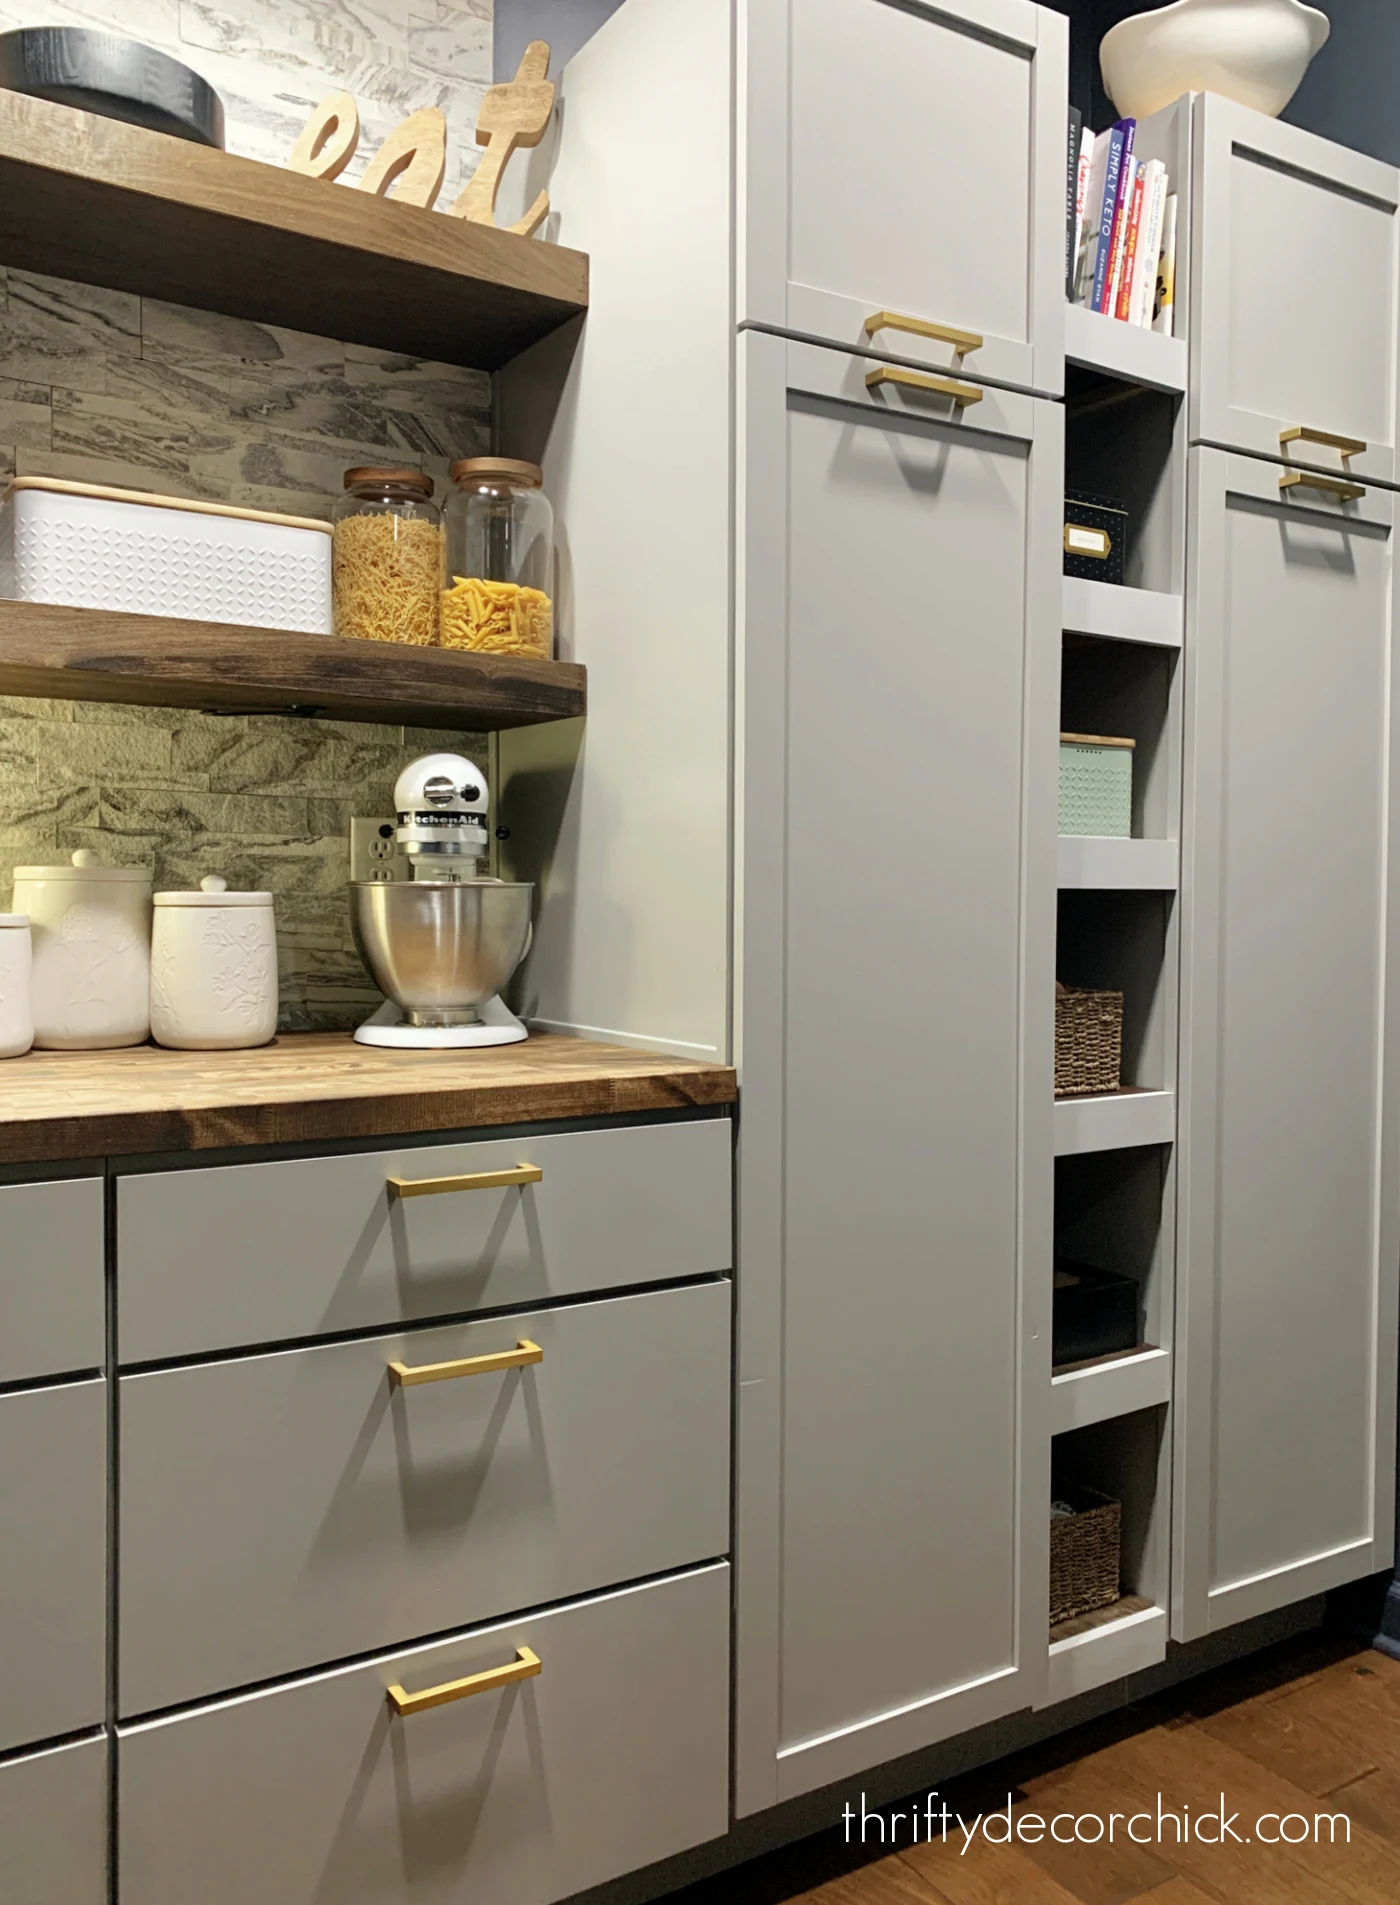
I installed the light gray cabinets and hardware first:
I used two
tall Courtland Shaker pantry cabinets
from Home Depot and two sets of drawers -- a 24 inch base and an
18 inch drawer base.
See how to
add your own soft close dampers to cabinet doors here
-- those were a must with those big pantry doors!
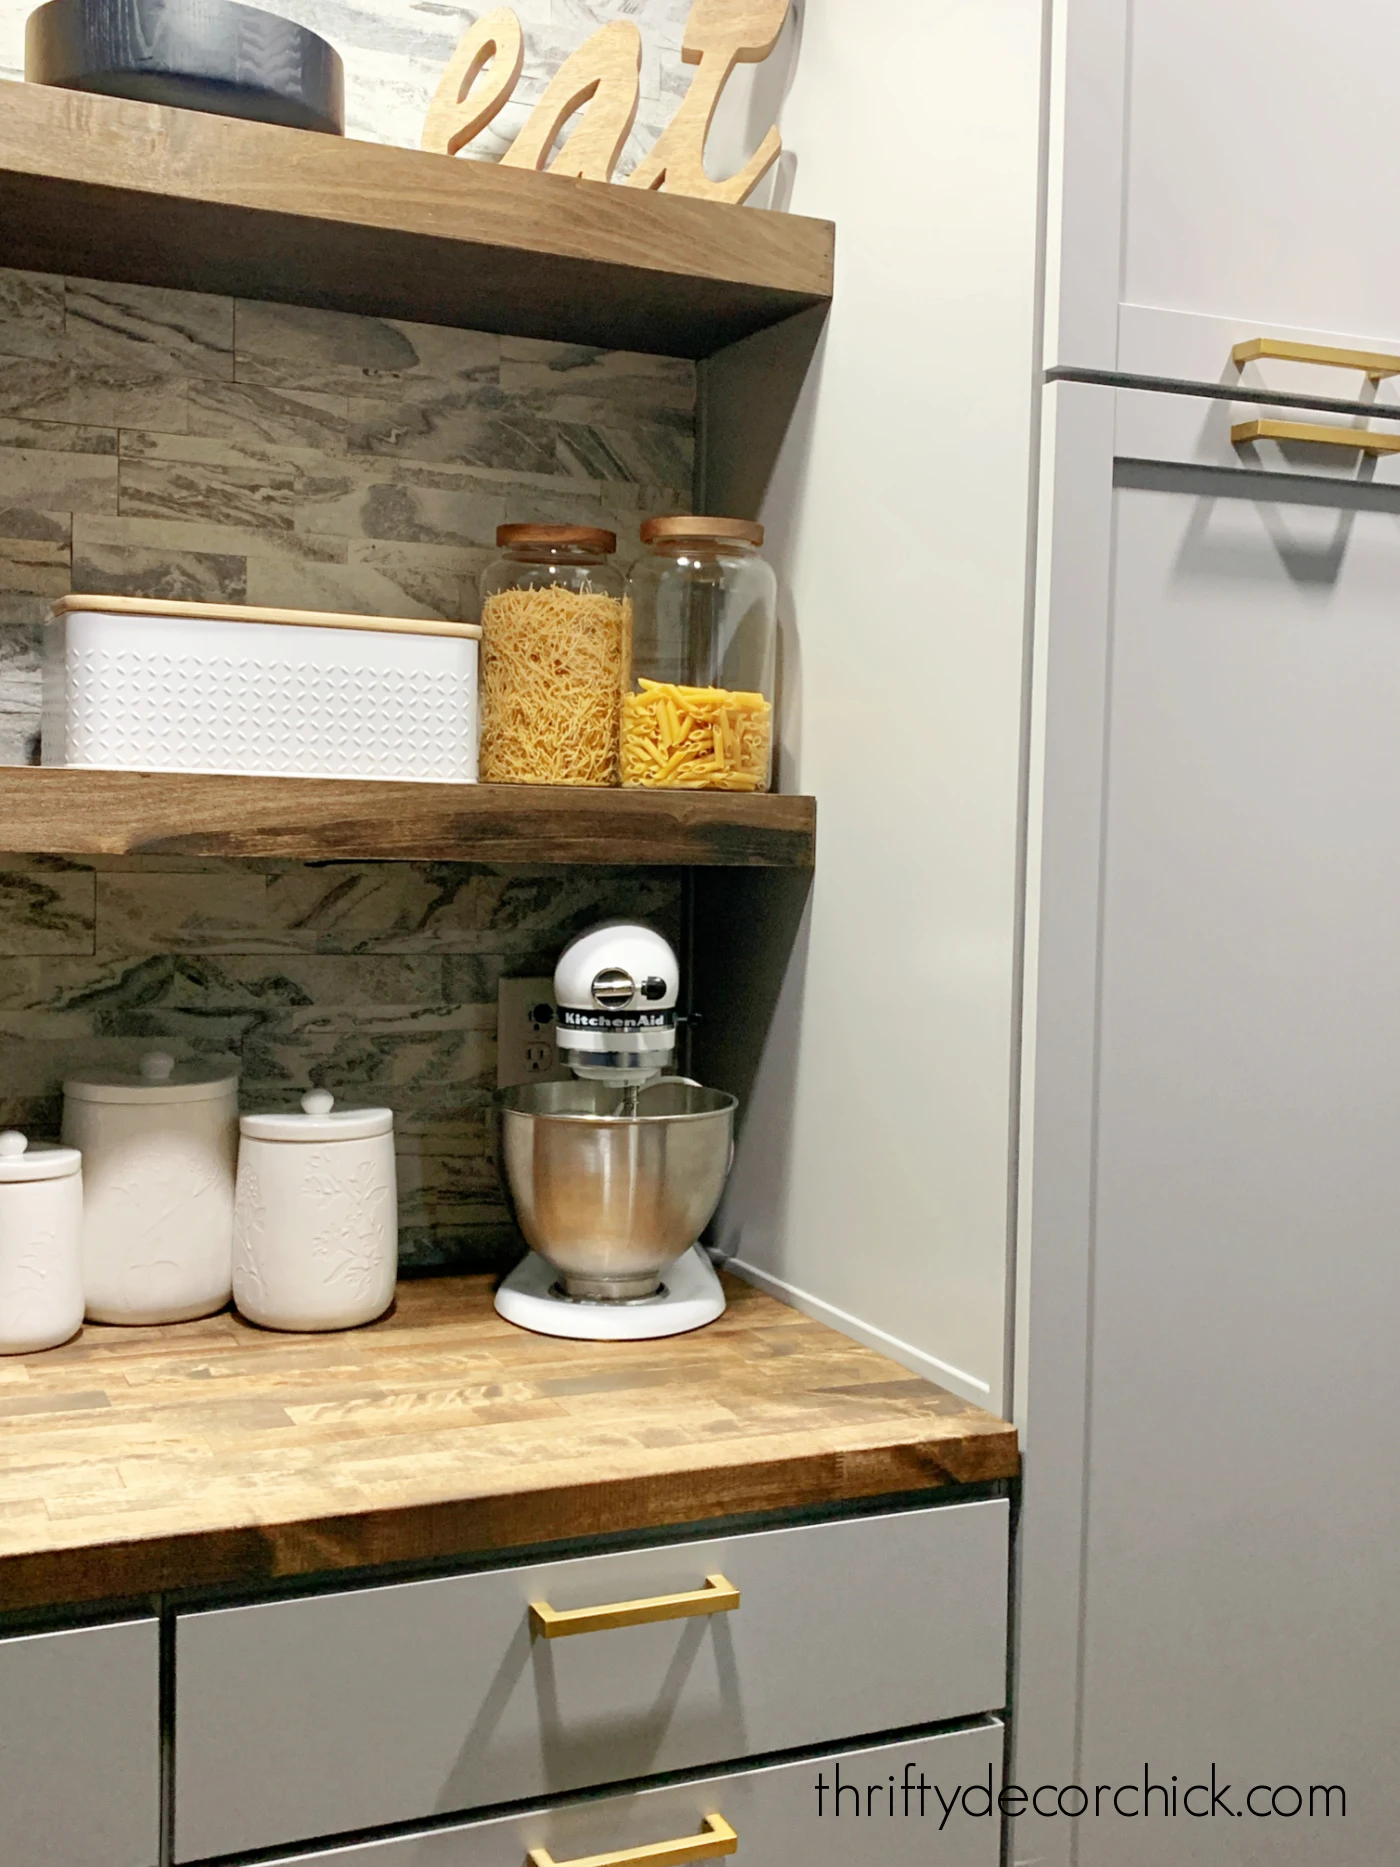
I wanted to have a small counter in the pantry for prepping or using
appliances:
Overall I prefer drawers to cabinets so it gave me the perfect spot for this
little countertop!
I find drawers are a better use of space and SO much easier to organize.
I made those tall pantries work hard for us! (I'll show you that below.)
After the cabinets were in place, I installed that backsplash tile and
the floating wood shelves:

|
| How to treat and protect butcher block counters |
I used inexpensive butcher block from Home Depot for the countertop.
It's very rare that cabinets will fit a space perfectly -- usually
there's some empty space in between that you can fill with cabinet
spacers.
But we still would have had an awkward amount of space left even with those,
so I wanted to make use of that space.
I designed this room with an opening between the two tall pantry
cabinets:
This skinny bookshelf holds cook books and baskets -- I found
these skinny baskets
that fit perfectly in there.
It's the perfect spot for small appliances and books we reach for most
often.
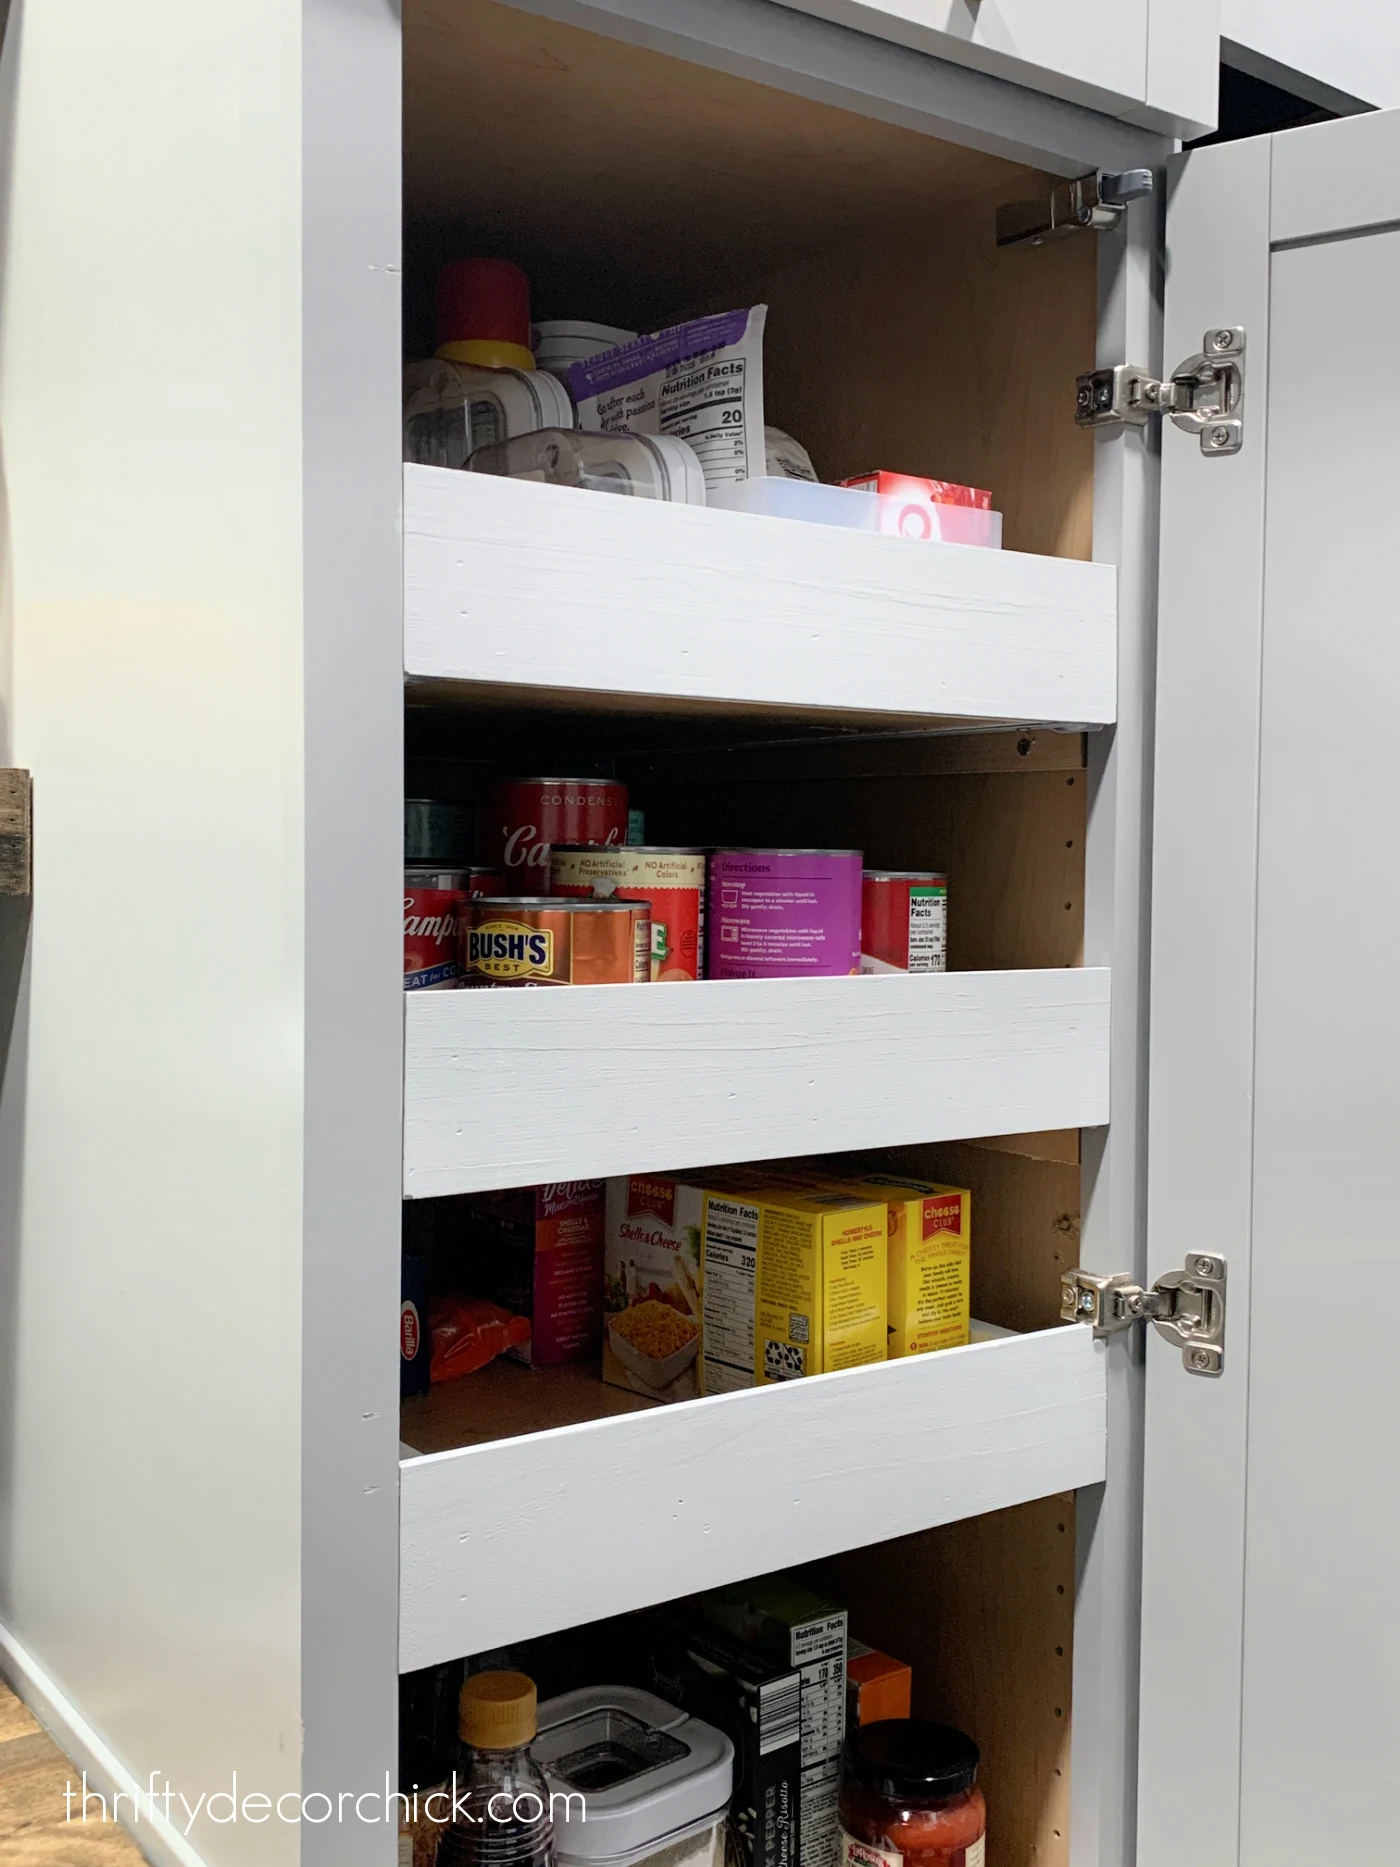
I've done a TON of work inside the tall cabinets to create a bunch of useful
storage. They come with adjustable shelves, but I wanted to create pull out
storage instead.
Food gets lost at the back of deep cabinets!
I'll be sharing more about these awesome pull out shelves soon:
I still have so much to do -- mostly little details.
The biggest project on my list will be building an upper unit that will go
to the ceiling above the pantry cabinets. It will give us some
display/storage space for larger serving dishes.
And
going up the ceiling with your cabinets
makes them look so much more custom!
This room has functioned SO much better for us. You'll be shocked at how
much we have in these four cabinets!
I always say you have to live with a space for awhile to get a feel for how
you want to decorate it, but that goes double when it comes to functionality
or organization.
Figuring out your family routine is key in a space like this!
I'll share a full tour soon -- I'm determined to get this room finished up
this month. :)
Never miss a post by signing up to
get posts via email.


Wow! I can’t wait to see more! Your projects are always so inspiring to me. I often wait YEARS before implementing even the tiniest one, but I’m always so happy with the result and your detail getting me there :)
ReplyDeleteLove it! Amazing how functional and pretty it is! Great job! Wished you lived close to me....
ReplyDelete<3
I see you used the after market Blum soft close plungers. I installed them on my kitchen cabinets and absolutely love them. Such an easy economical upgrade on builder grade cabinets. Will be doing both bathroom cabinets next.
ReplyDeleteLove what you've done, very inspirational. How shallow are your your drawers and cabinets? I have a similar space but it's only 16 inches deep and wonder would your ideas work there?
ReplyDeleteThank you! All of the cabinets I used are 24 inches deep, but you could install upper cabinets instead (similar to the bookcases I've built over the years). They wouldn't have drawers but it would give you a lot of storage. (And you could add pull out drawers!)
DeleteApologies if you linked and I didn't see it... would you mind sharing your drawer pulls please? They're perfect! This pantry already looks amazing!
ReplyDeleteYes! They are from Lowe's -- they are the Brainerd brushed brash bail drawer pulls.
Delete