How to Build a DIY Electric Fireplace Wall {A Reveal!}
January 14, 2022
Share this
How to build a modern DIY fireplace where there was none.
A step by step tutorial on how to build a shiplap electric fireplace on a blank and boring wall!
This is the second time we've created a custom focal point in a space by adding an electric fireplace insert.
Both times have been in our basement(s) and now I want to keep adding more of these modern fireplaces around the house! 😂
The first time we did this makeover was in our last basement living room -- there was an alcove from our bay window upstairs that was the perfect spot:
We loved it so much, especially in the basement that wasn't quite as warm as the rest of the house.
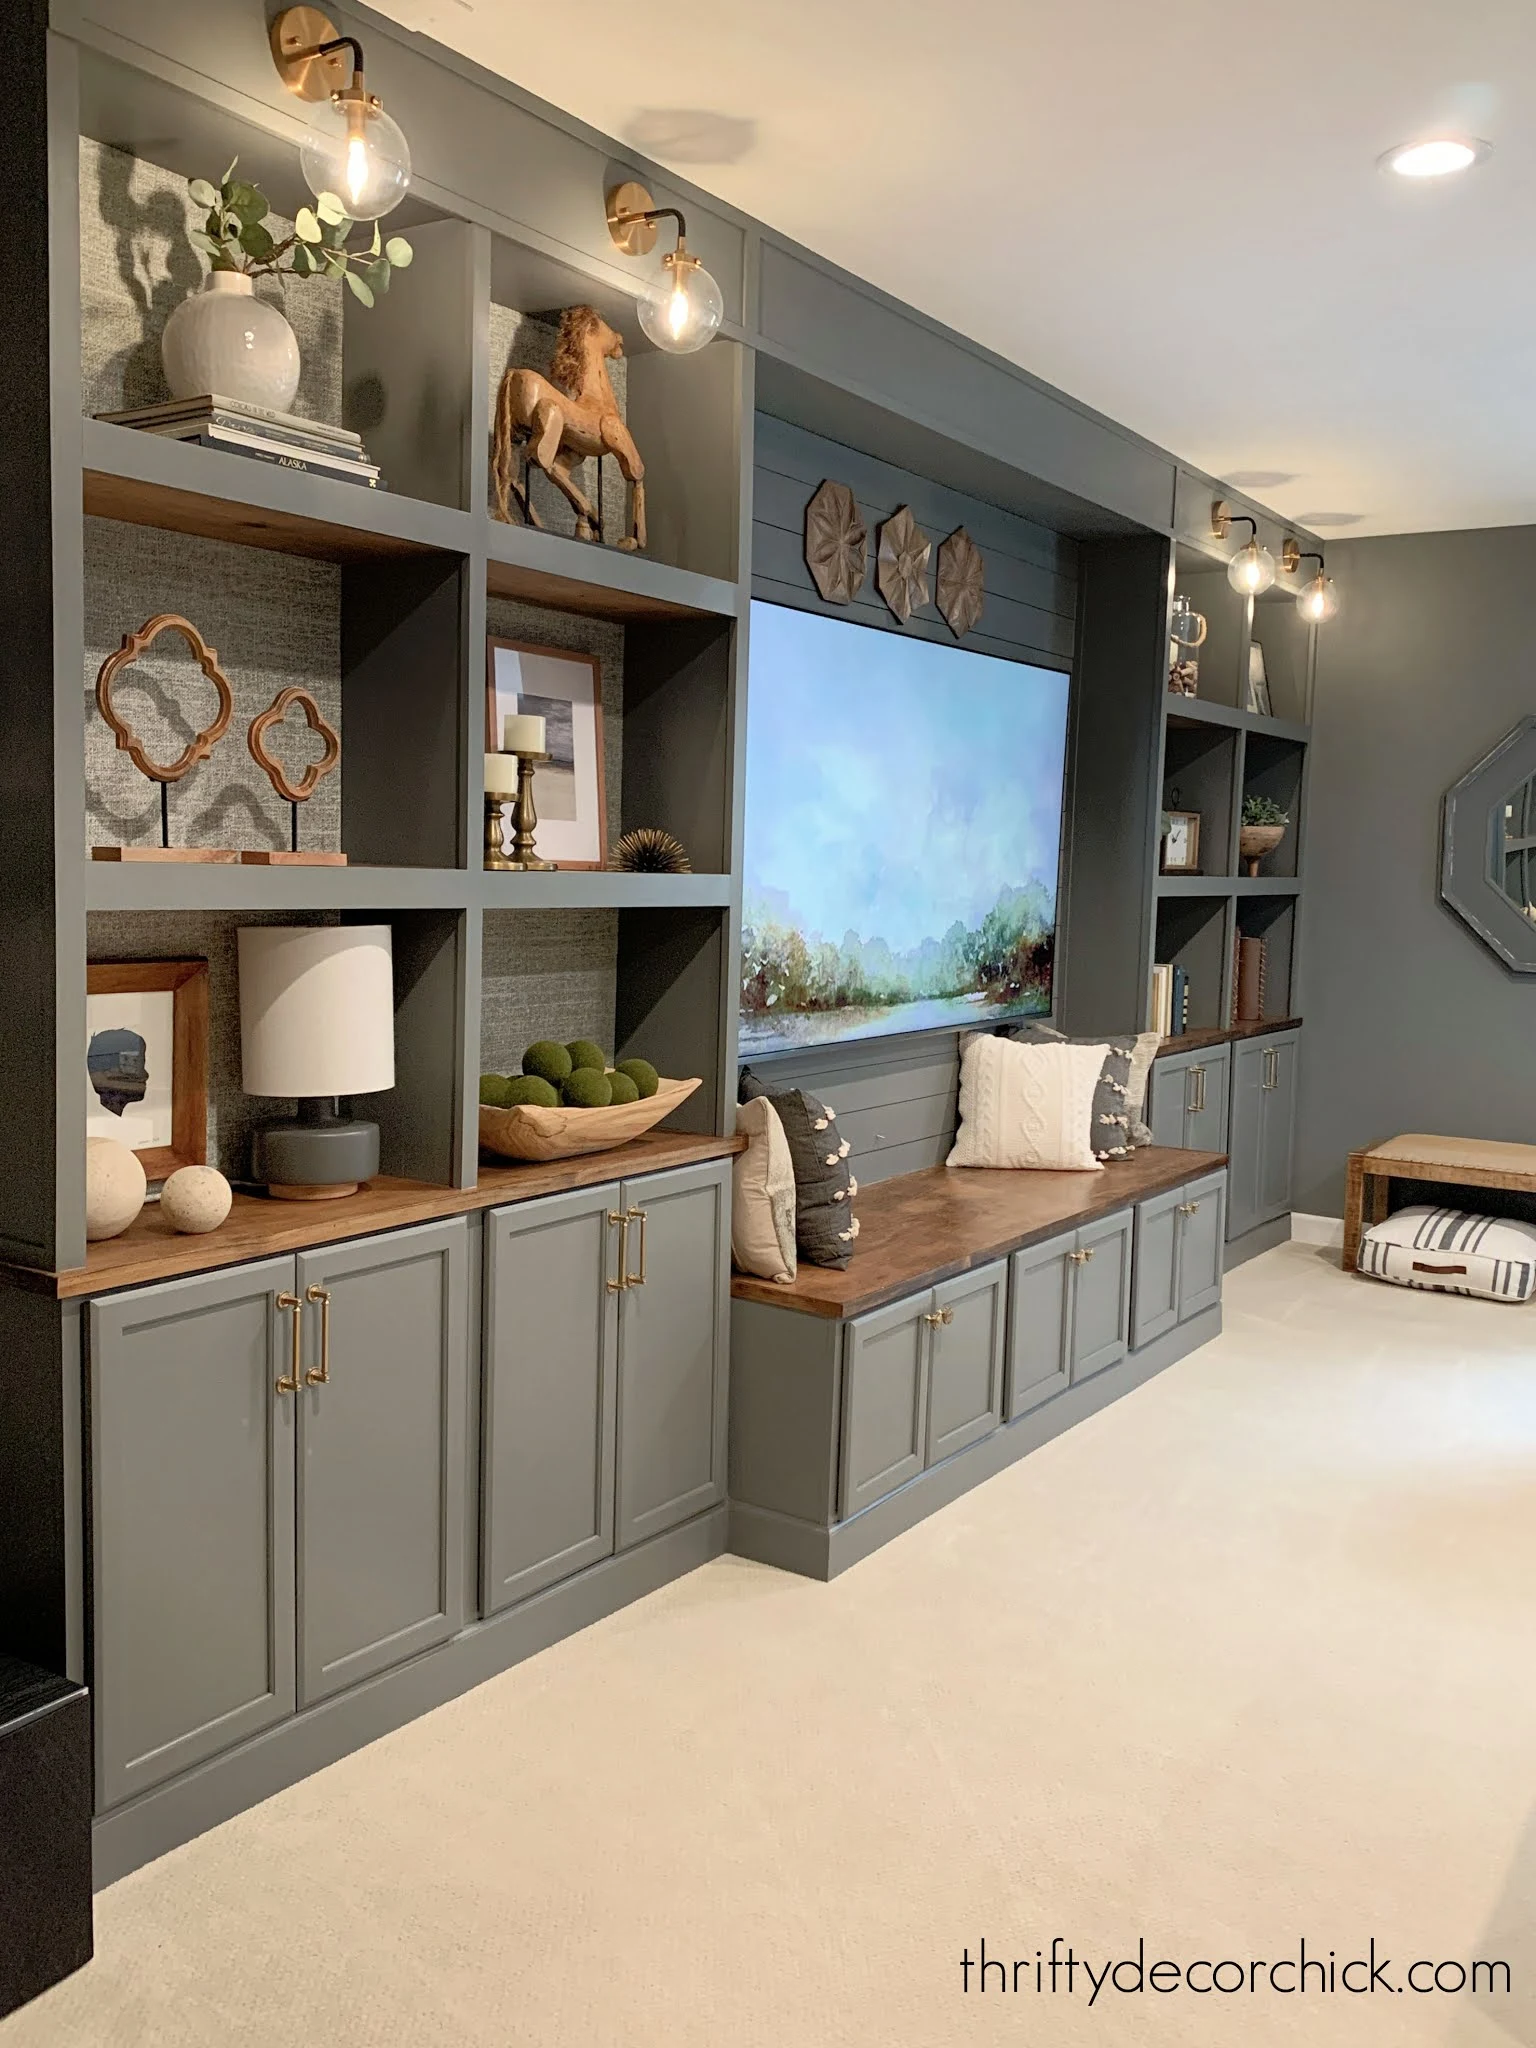
We planned to do something similar in this house -- we were bummed when the insert we had in mind didn't fit between the bench and the TV on the entertainment wall I built:
I've been talking with the Touchstone electric fireplace insert company since that DIY project.
When that spot didn't work out I told them I was going to figure out a new place for the fireplace somewhere down there.
Touchstone offers both built in and wall mounted fireplaces in various sizes, so we had quite a few options!
We played around with a few locations over the past year and finally decided on this game storage wall:
This post may contain affiliate links for your convenience.
See my policies and disclosure page for more information.
We used IKEA cubby units to store all of our games along that wall.
Because we have all the new storage on TV wall, we didn't need these cubbies anymore. Plus, as our son gets older he doesn't need all the toy storage, sniff. :(
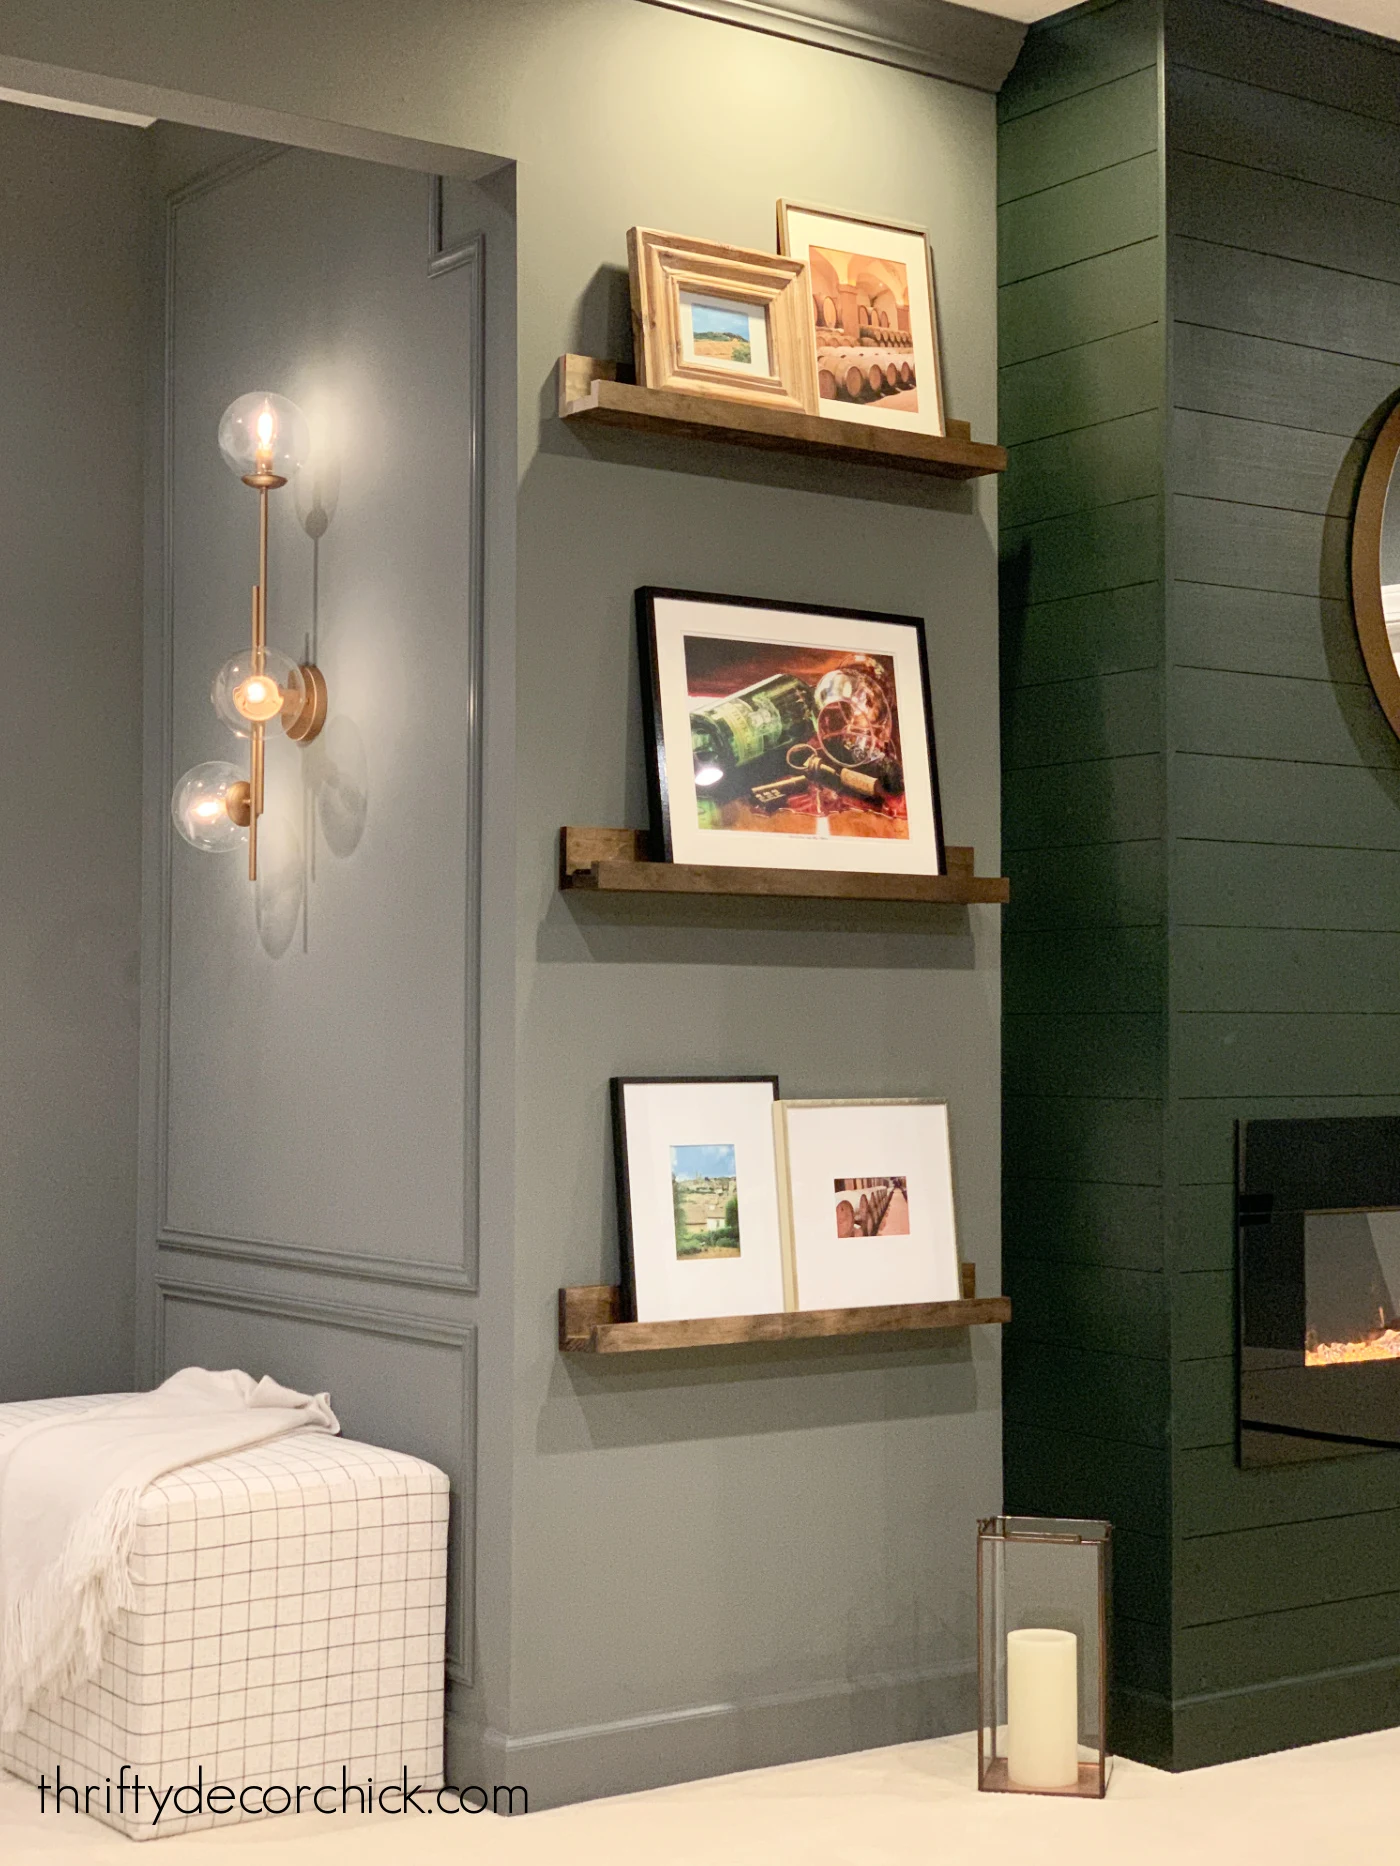
I LOVED those long DIY wood picture ledges, but I came up with a solution to keep them and the fireplace!
After removing everything, the first step was to build out the wall the fireplace would be installed into.
Thankfully Touchstone has all of the specifications ("rough opening dimensions") for each fireplace online:
This was helpful because we scheduled the contractors last minute one day, when we didn't have the actual fireplace on hand.
I got help with the framing part of the build because this is in the basement and we needed to be able to secure the frames into the cement floor.
Because of the treatment I was doing on the exterior of the fireplace, I didn't have to mud or tape the drywall.
Major bonus!:
The depth of the fireplace wall is up to you -- because the heat comes from the front of the electric insert, you won't need a ton of room behind the unit.
Make sure the spot for your fireplace insert is framed out with 2x4s so it can support the fireplace securely.
There was already an outlet on the wall, but we had an electrician adding accent lighting so he placed an outlet on the side as well:
I wasn't sure if I was going to add a mantel, so I wanted to have an outlet for Christmas lights just in case. :)
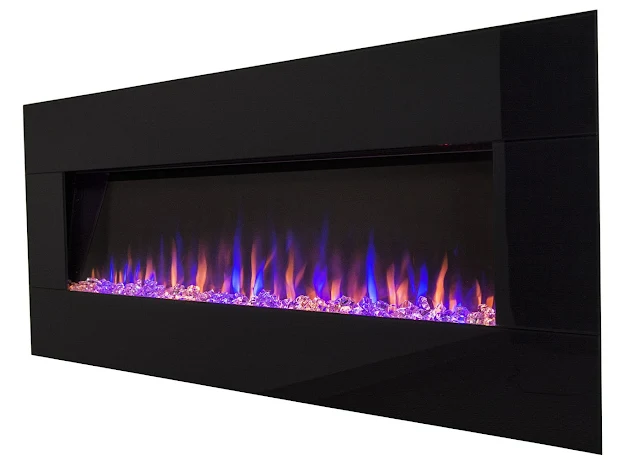
We picked the AudioFlare black glass electric fireplace (the black version is hard to find now) because we loved the long, modern design:
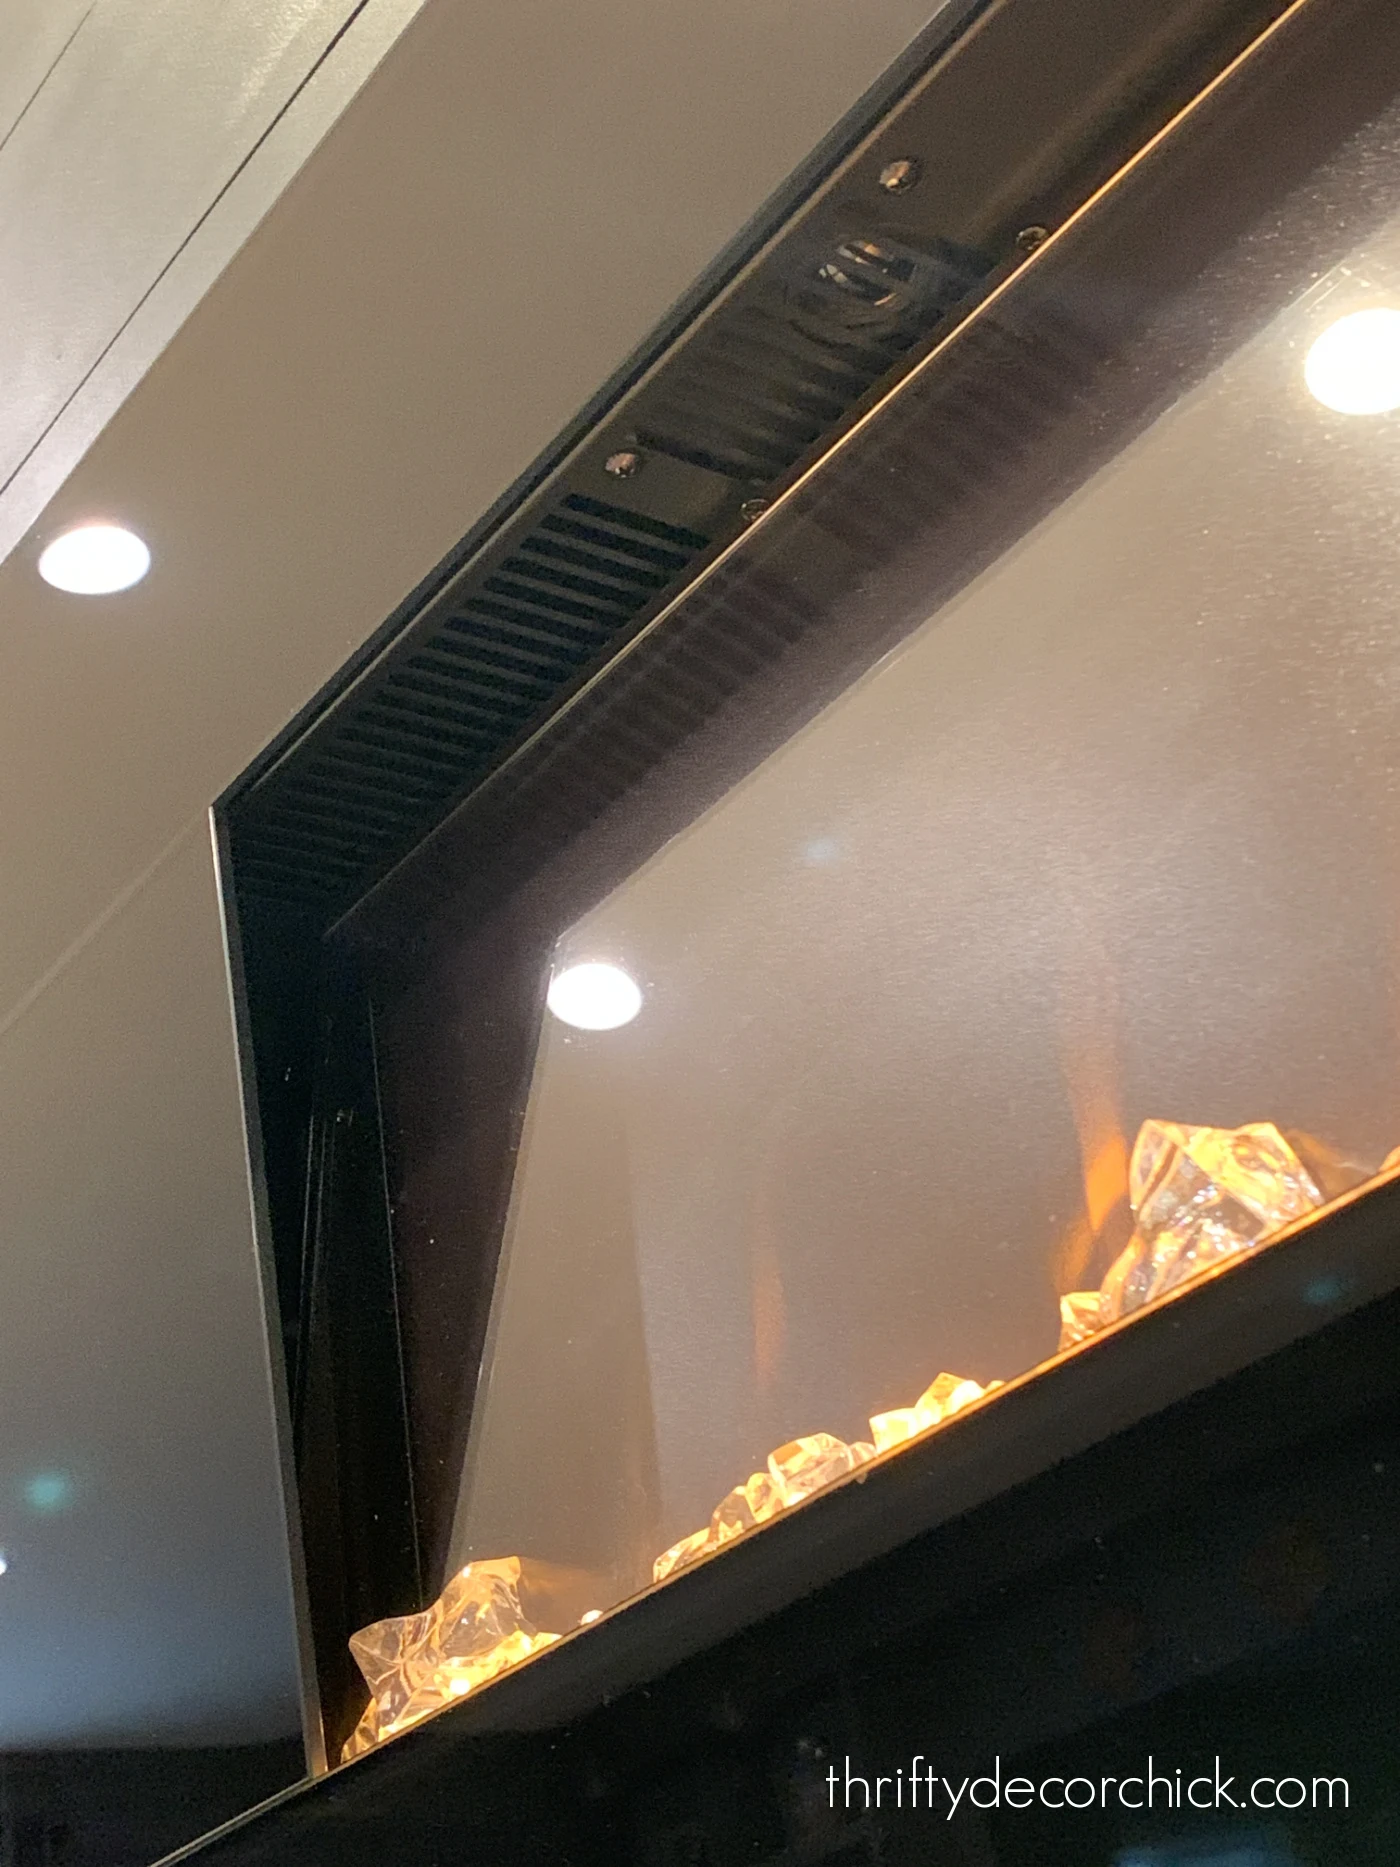
It comes with both clear crystals and the more traditional "wood" option:
They are easy to switch out and the fireplace installation was incredibly fast!
We slid it in to the 2x4 frame and then secured it with screws through holes on the sides of the fireplace frame:
You can leave the fireplace in as you finish up, or take it back out. It's easy to remove and install again.
Next up was deciding on the design details. Because this fireplace unit is long and modern, I wanted to keep things as simple as possible.
My first plan was to do stained shiplap, but when I saw how expensive stain grade plywood was, I switched directions. :)
I went with my tried and true inexpensive shiplap option instead. I've used this for wall treatments SO many times over the years, and it always comes out looking great!
You can have the strips of luan cut down at the hardware store. I went thicker this time -- each one is about five inches wide.
I took a flat sanding sponge and wrapped it around the edges to knock down the splinters and rough spots:
After that it was time to decide on the paint color!
We have cozy, moody gray walls in the basement, but I didn't want to do more gray on the fireplace.
I was so taken with our green Christmas tree and decor against the gray down there this past holiday, and started thinking about that as an accent color.
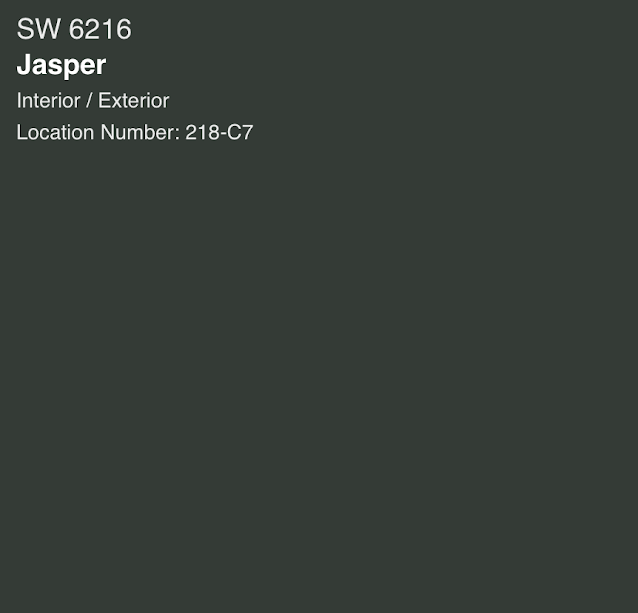
I went with this lovely deep green called Jasper from Sherwin-Williams:
I am completely obsessed with it! It is a gorgeous dark green.
I had plenty of extra gray paint (called Westchester Gray) so I painted one coat directly onto the drywall. That base coat does not need to be perfect because you'll barely see it.
You want your wall color to be a similar tone as your shiplap color.
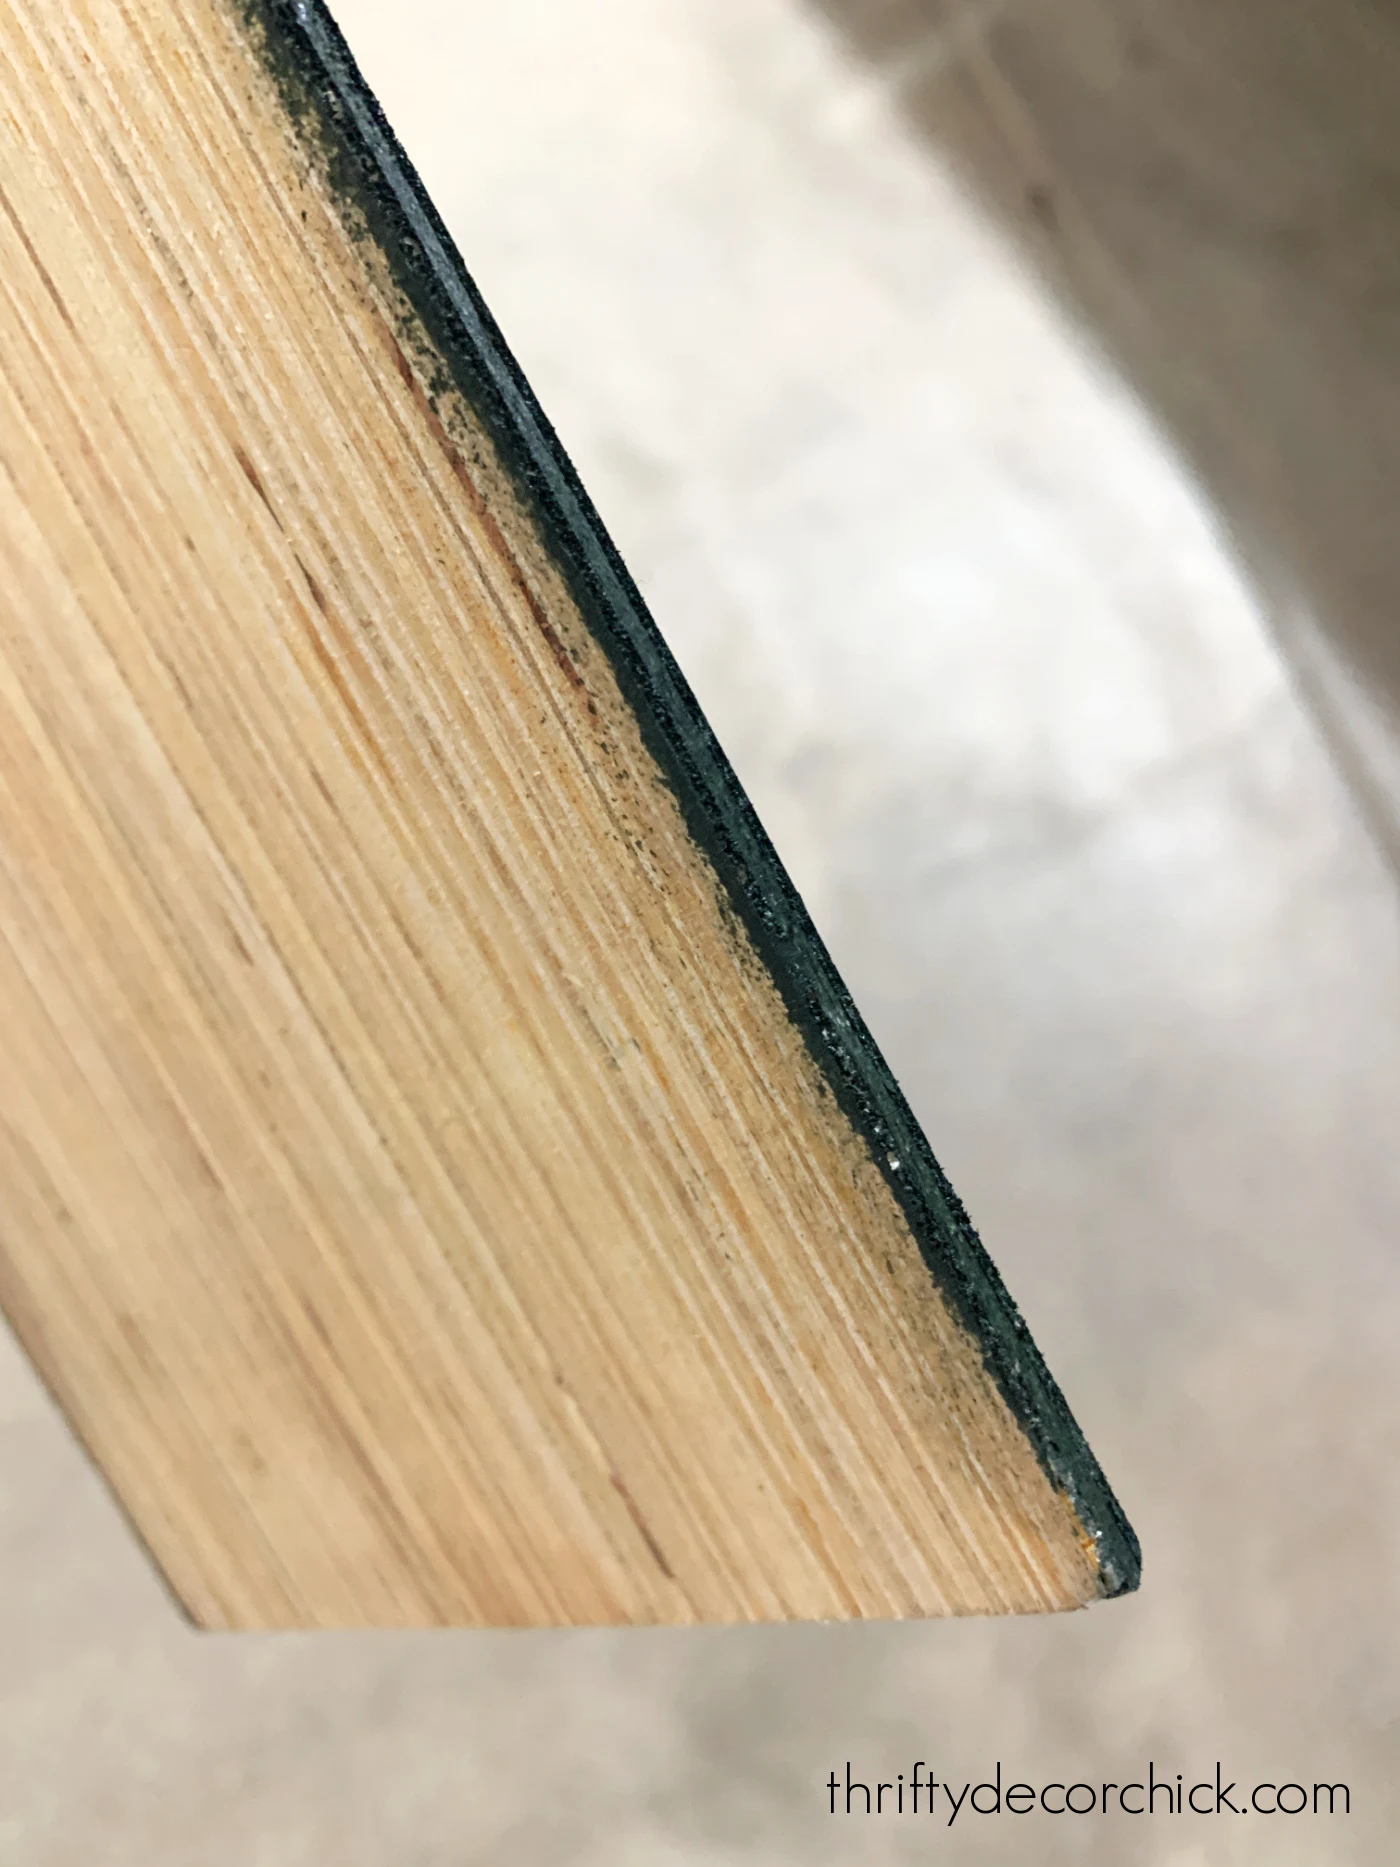
I usually don't paint my trim before installing, but with this thin luan I like to paint the edge with a foam roller before hanging it:
This way I could just roll the color on the front after I nailed in the shiplap boards.
I always start my shiplap at the ceiling, knowing I can hide the bottom strip behind the baseboards.
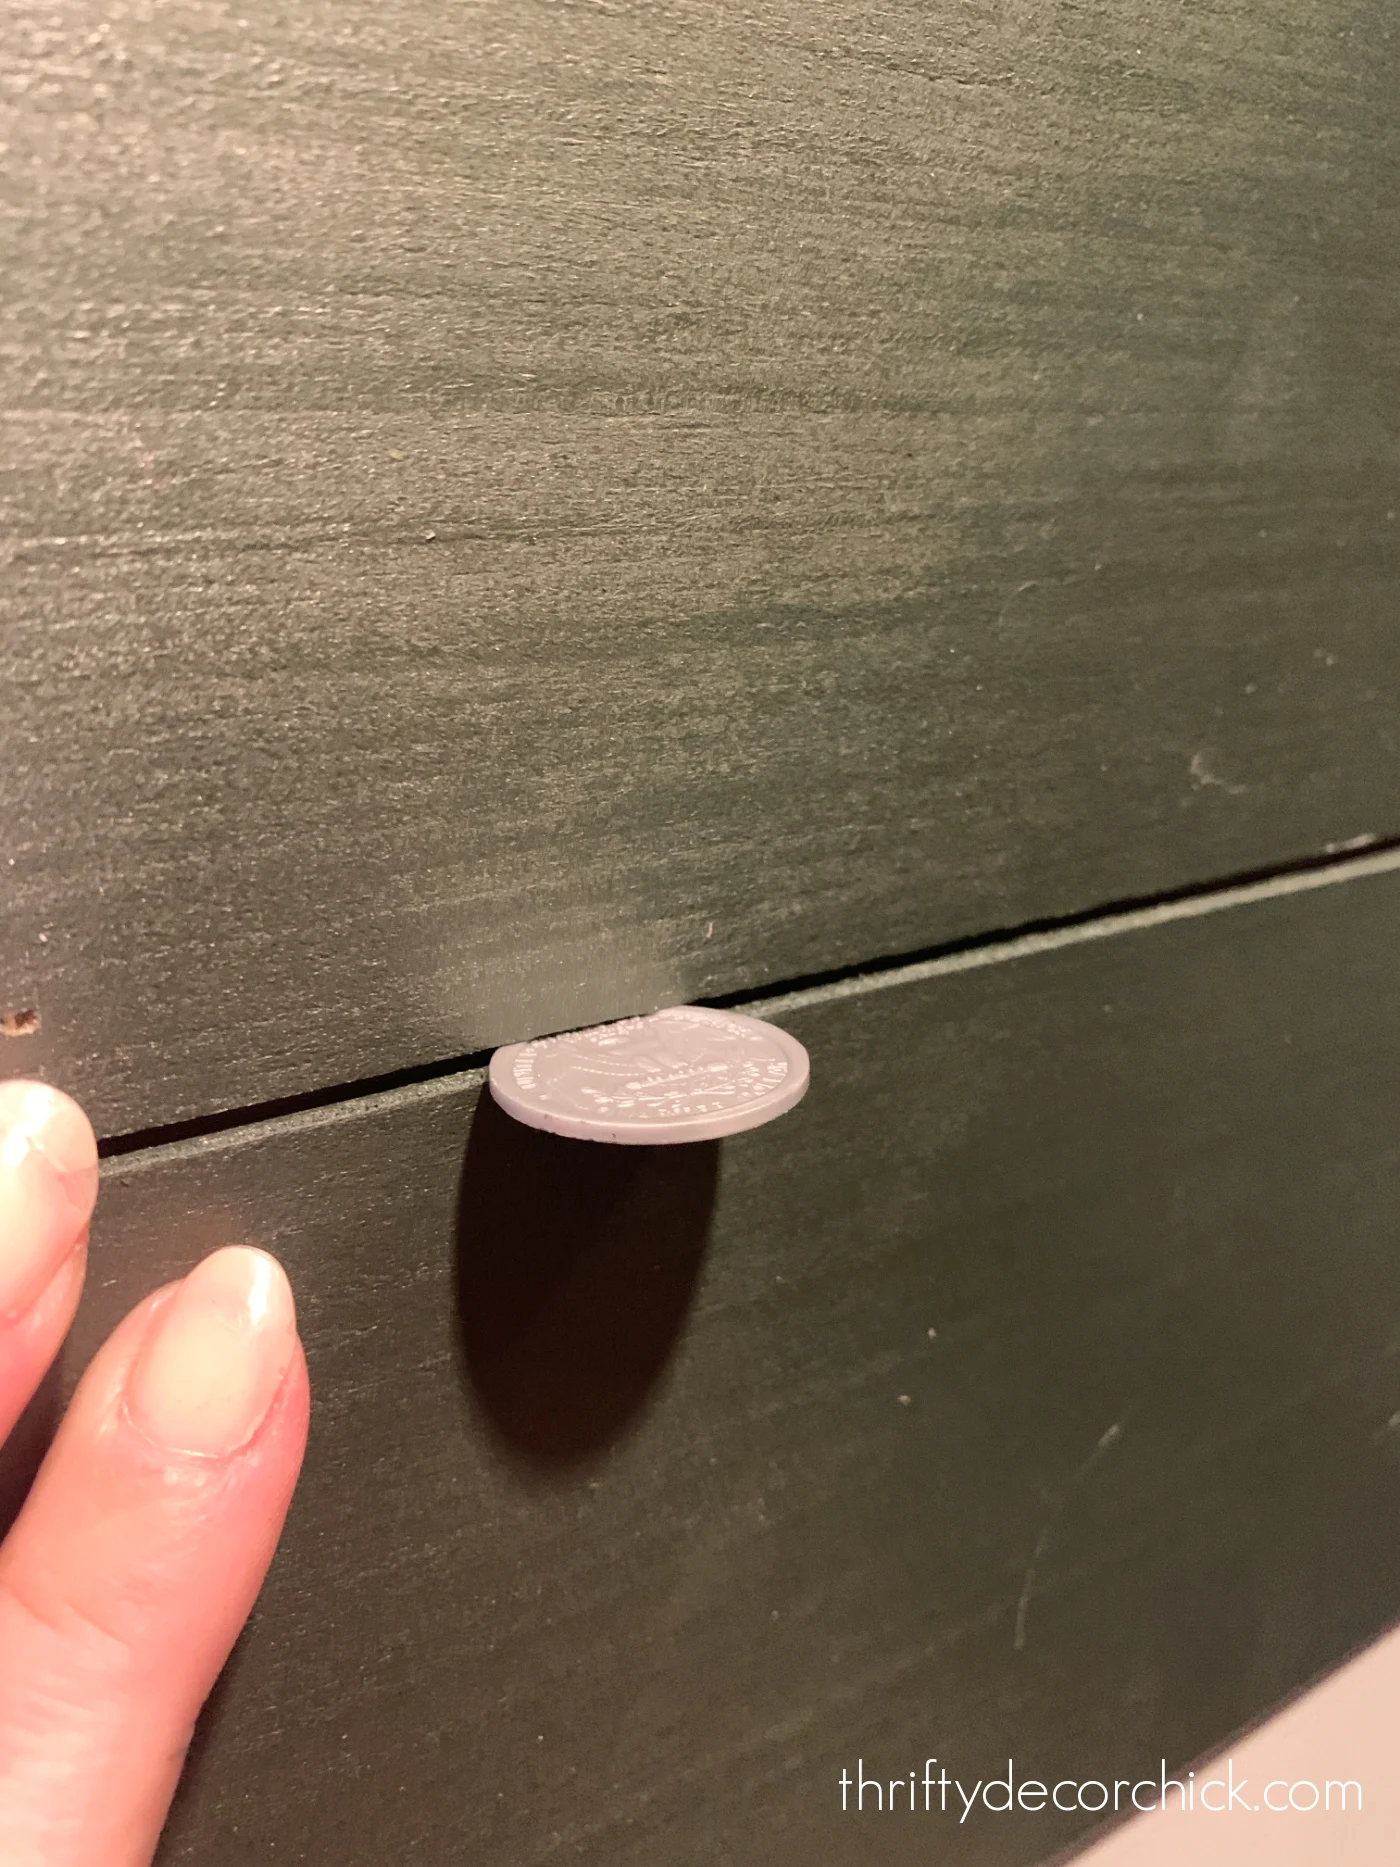
My little trick for perfectly spacing out the planking is using a coin. All I could find in the basement was a plastic toy one and it worked great. ;)
I did continuous pieces across the width of the fireplace to keep the look modern and simple.
I use a nail gun to attach all shiplap and trim (into studs if possible).
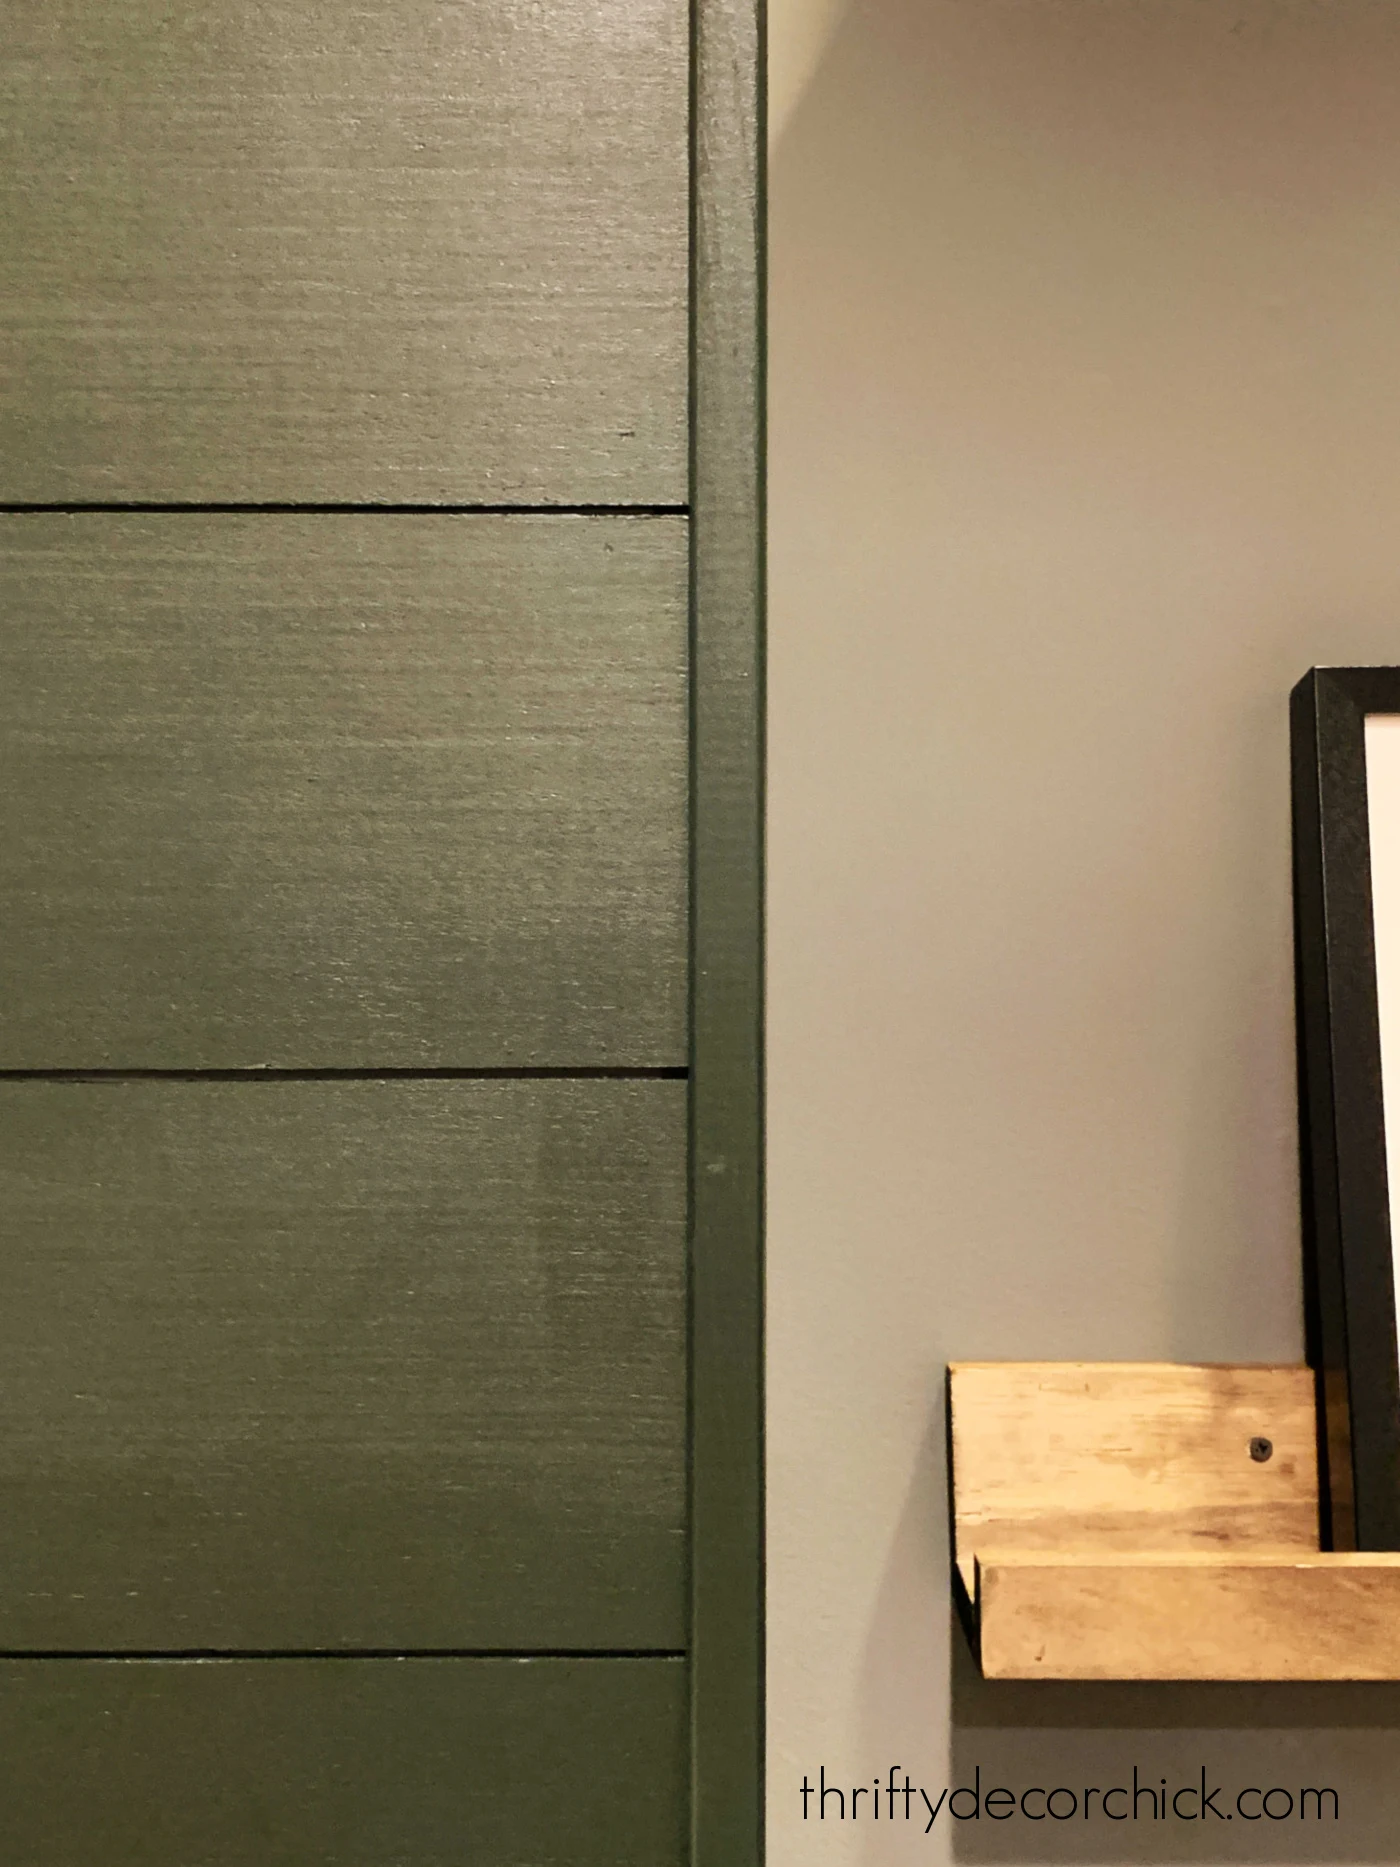
These wood corner pieces are available at most hardware stores -- I painted them and then nailed one in on both corners to finish it off:
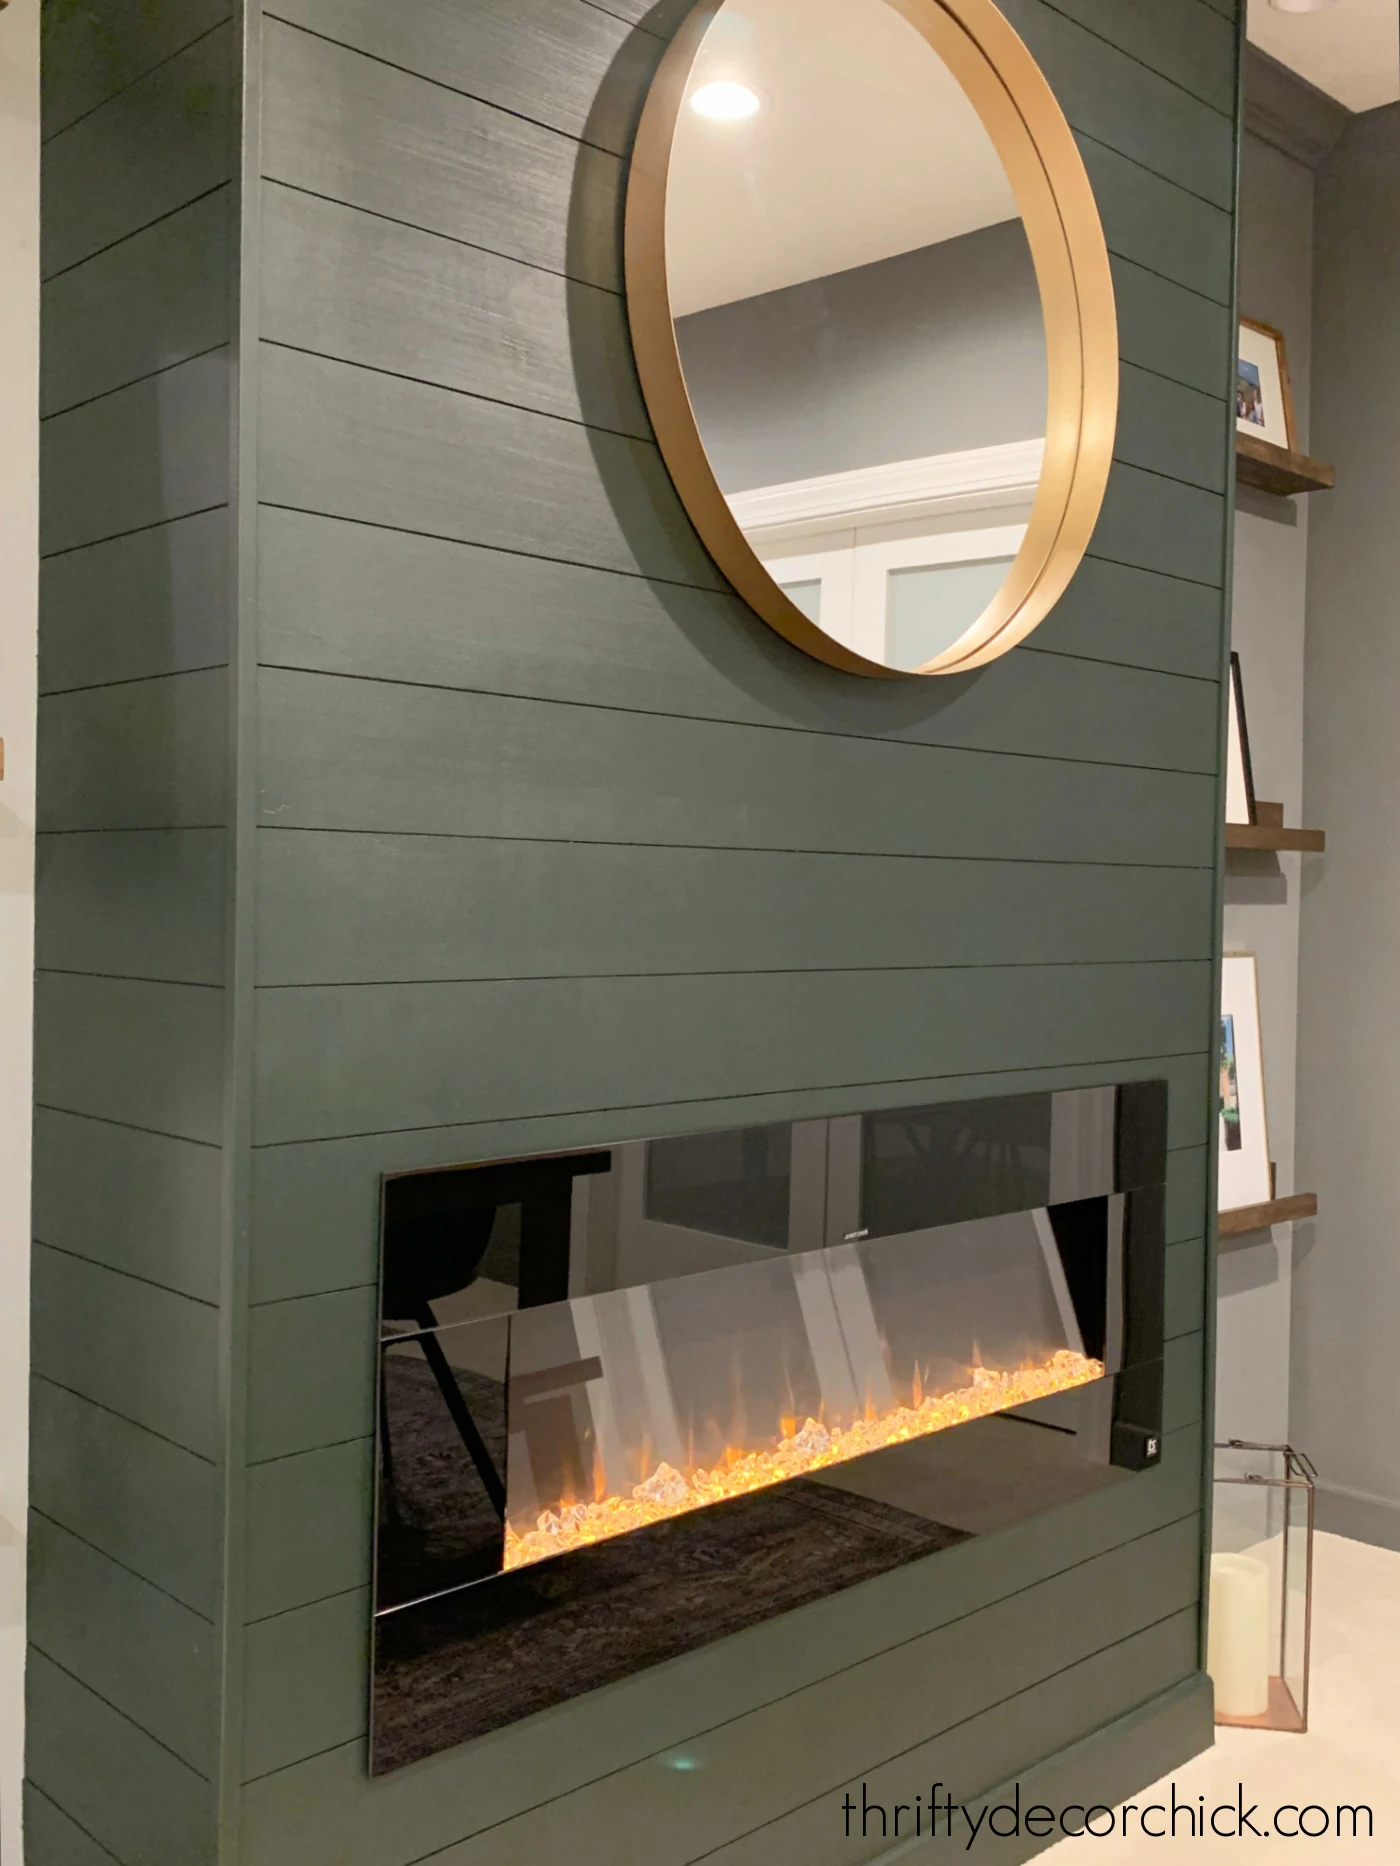
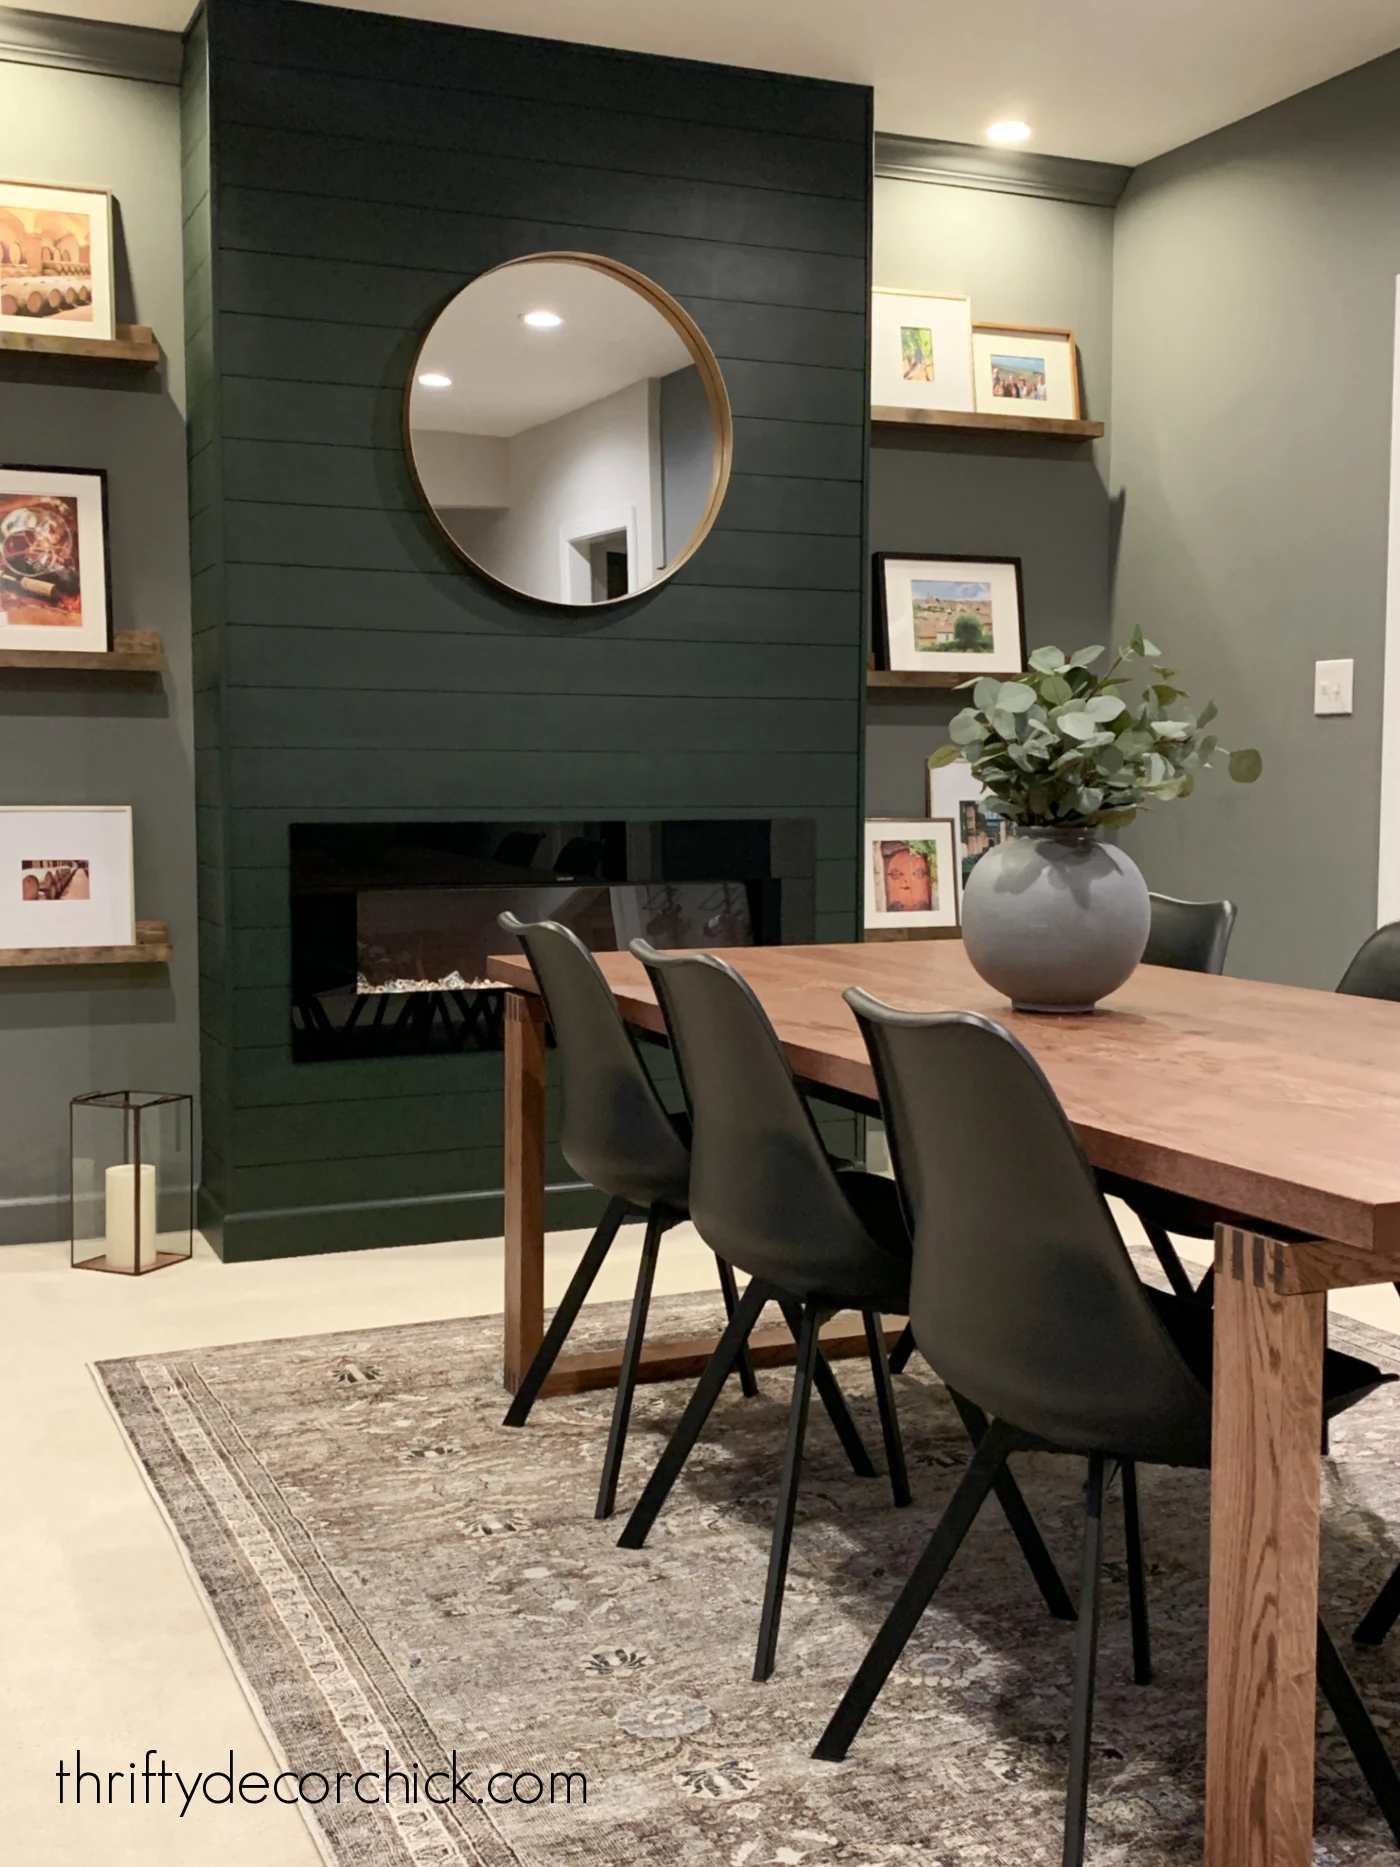
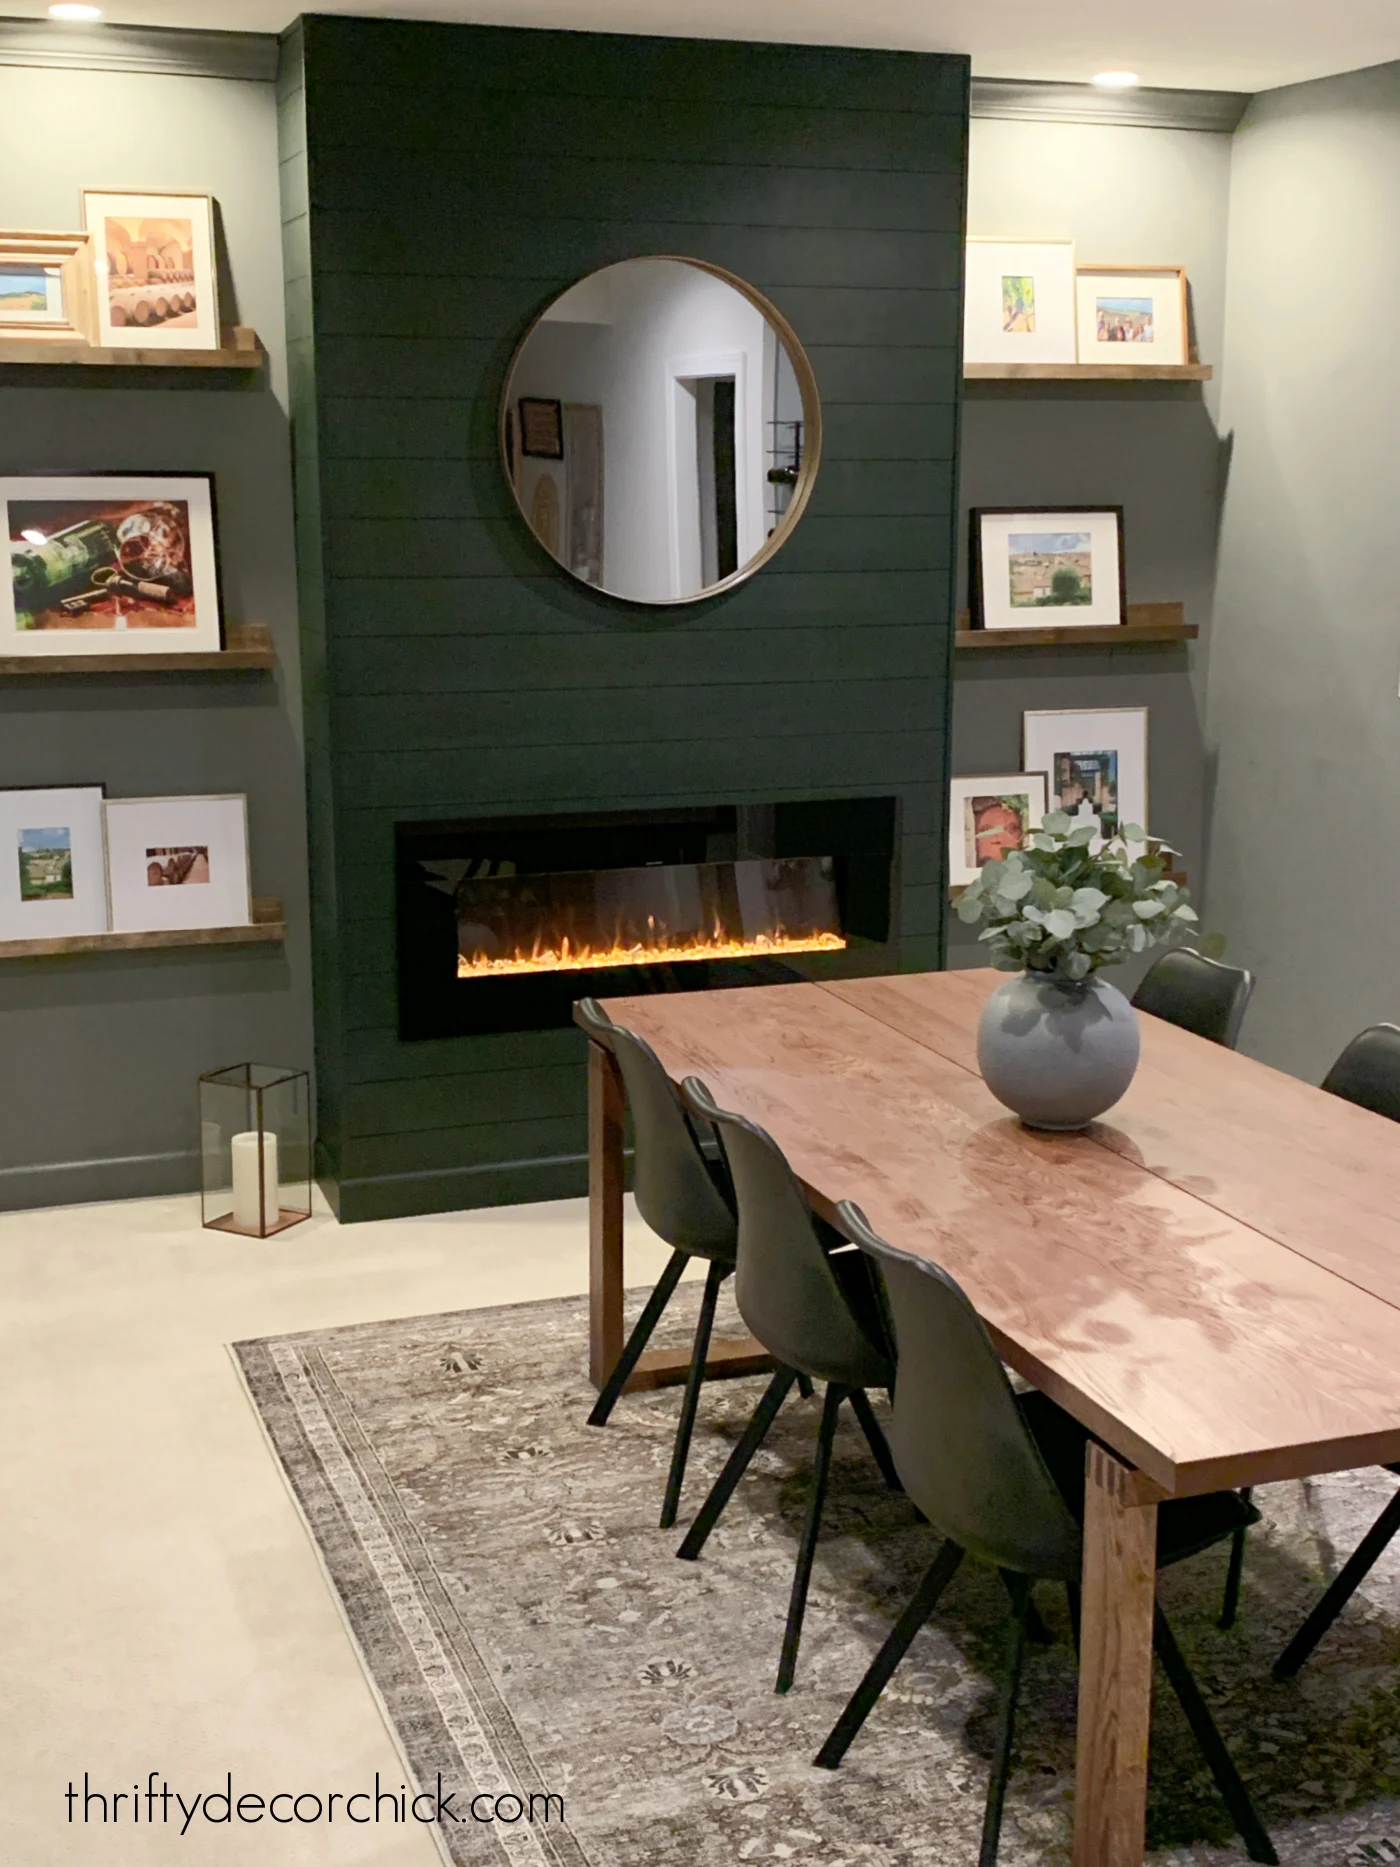
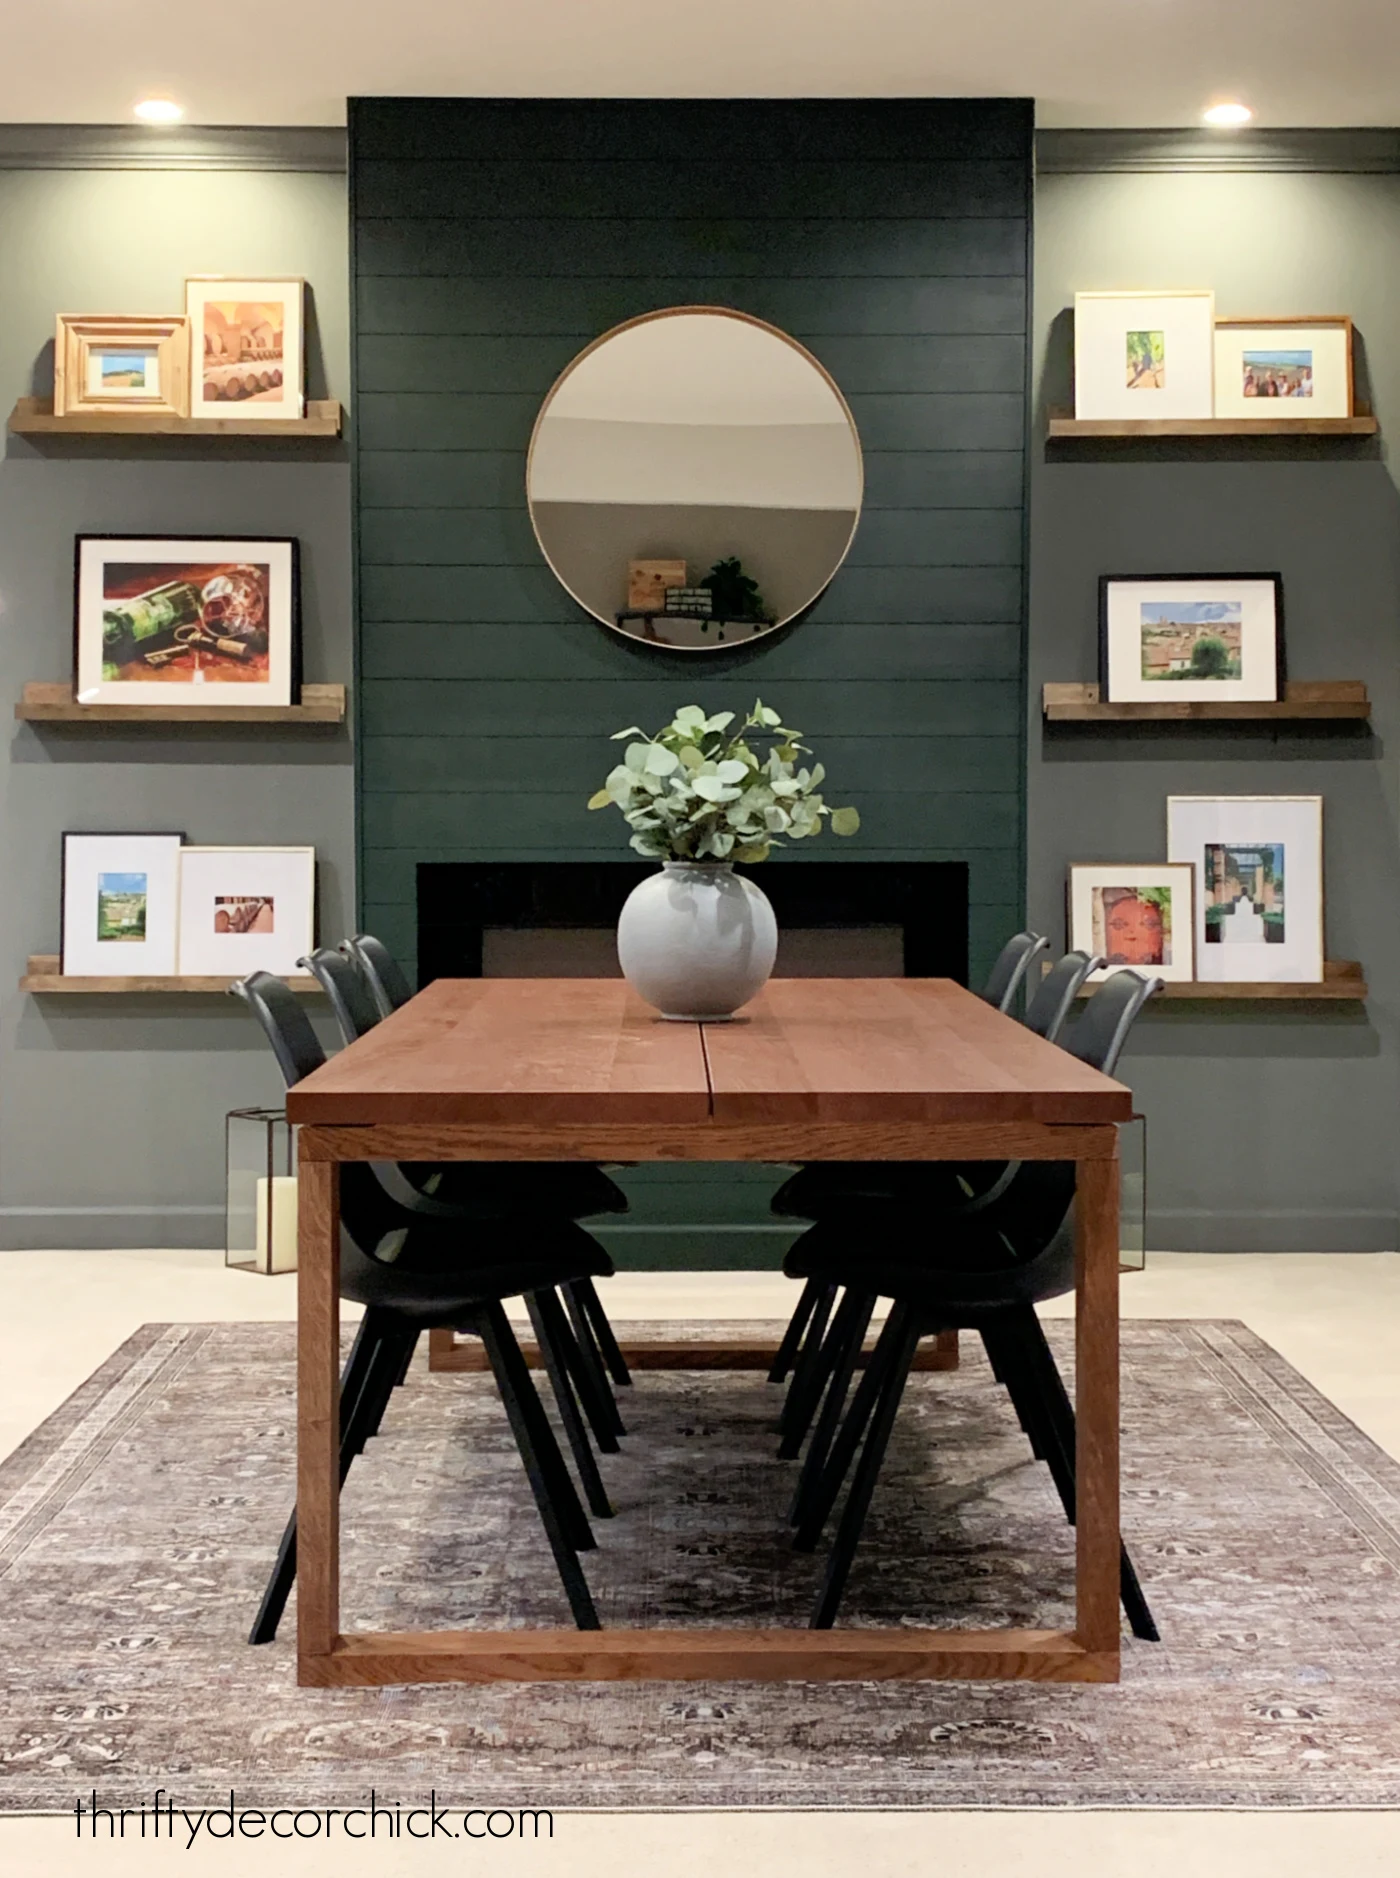
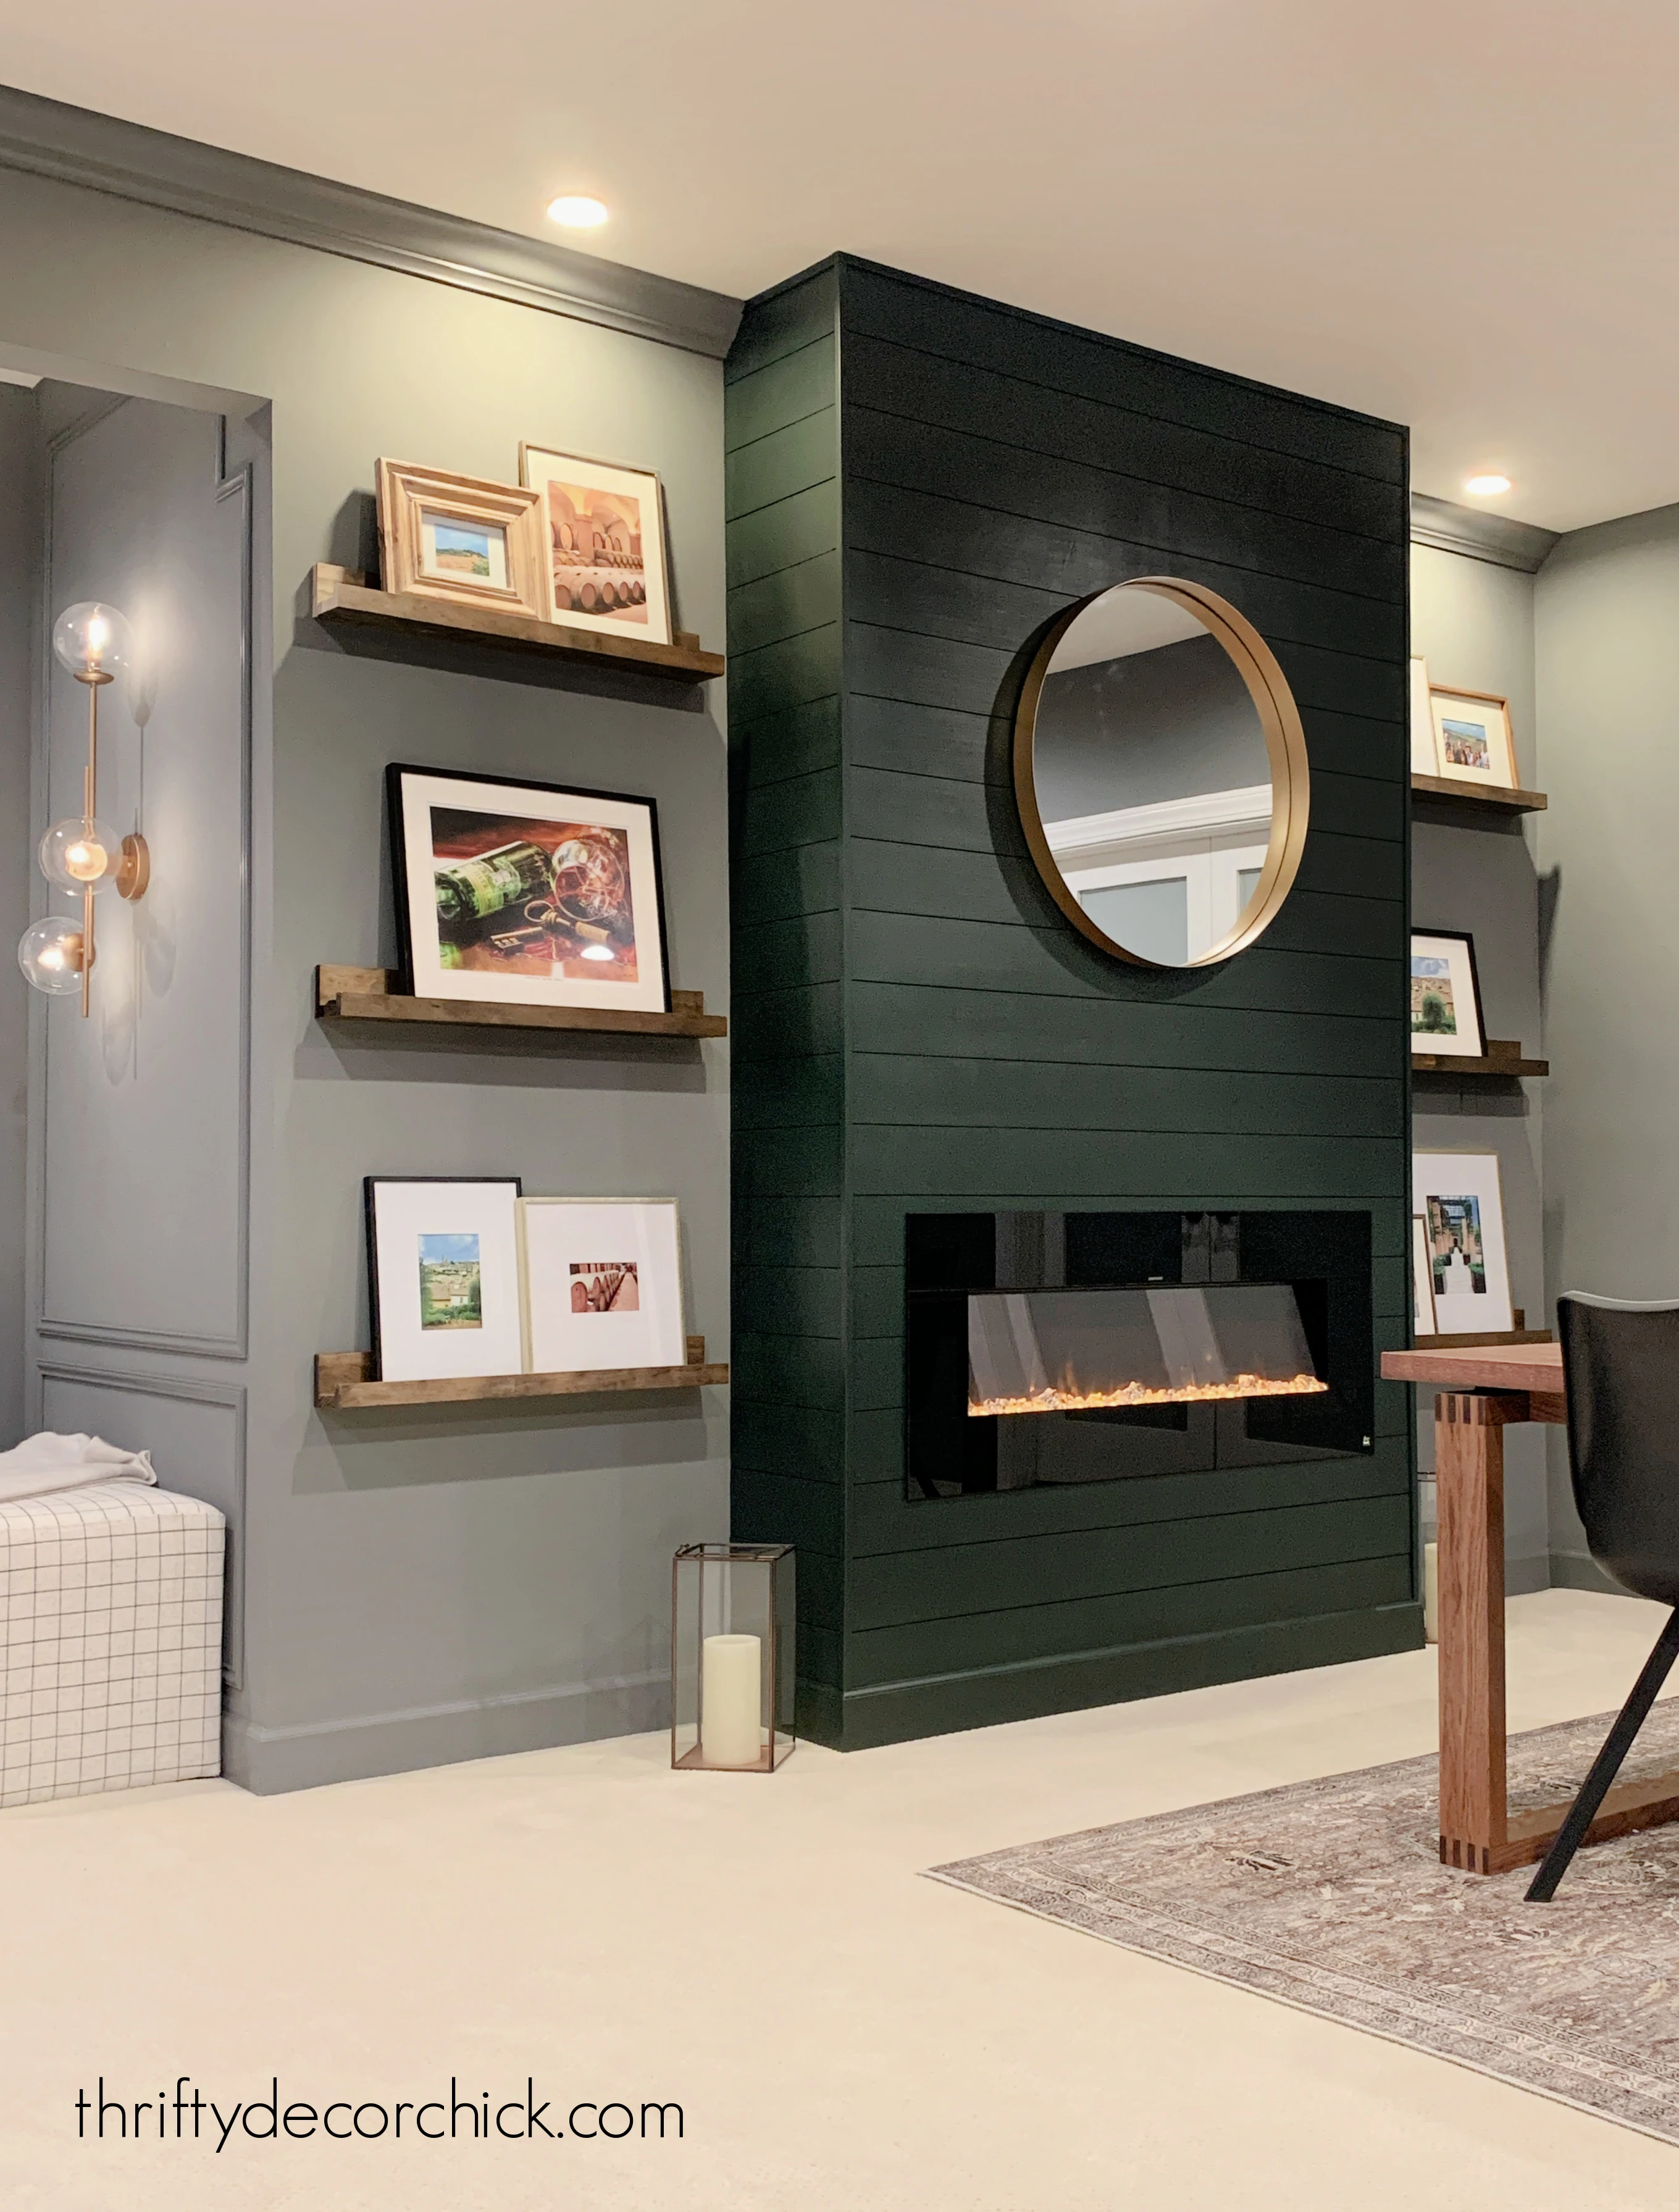
We LOVE how this spot turned out!
In the end I didn't add a fireplace mantel -- I felt like it was going to be too much and would give it more of a farmhouse look.
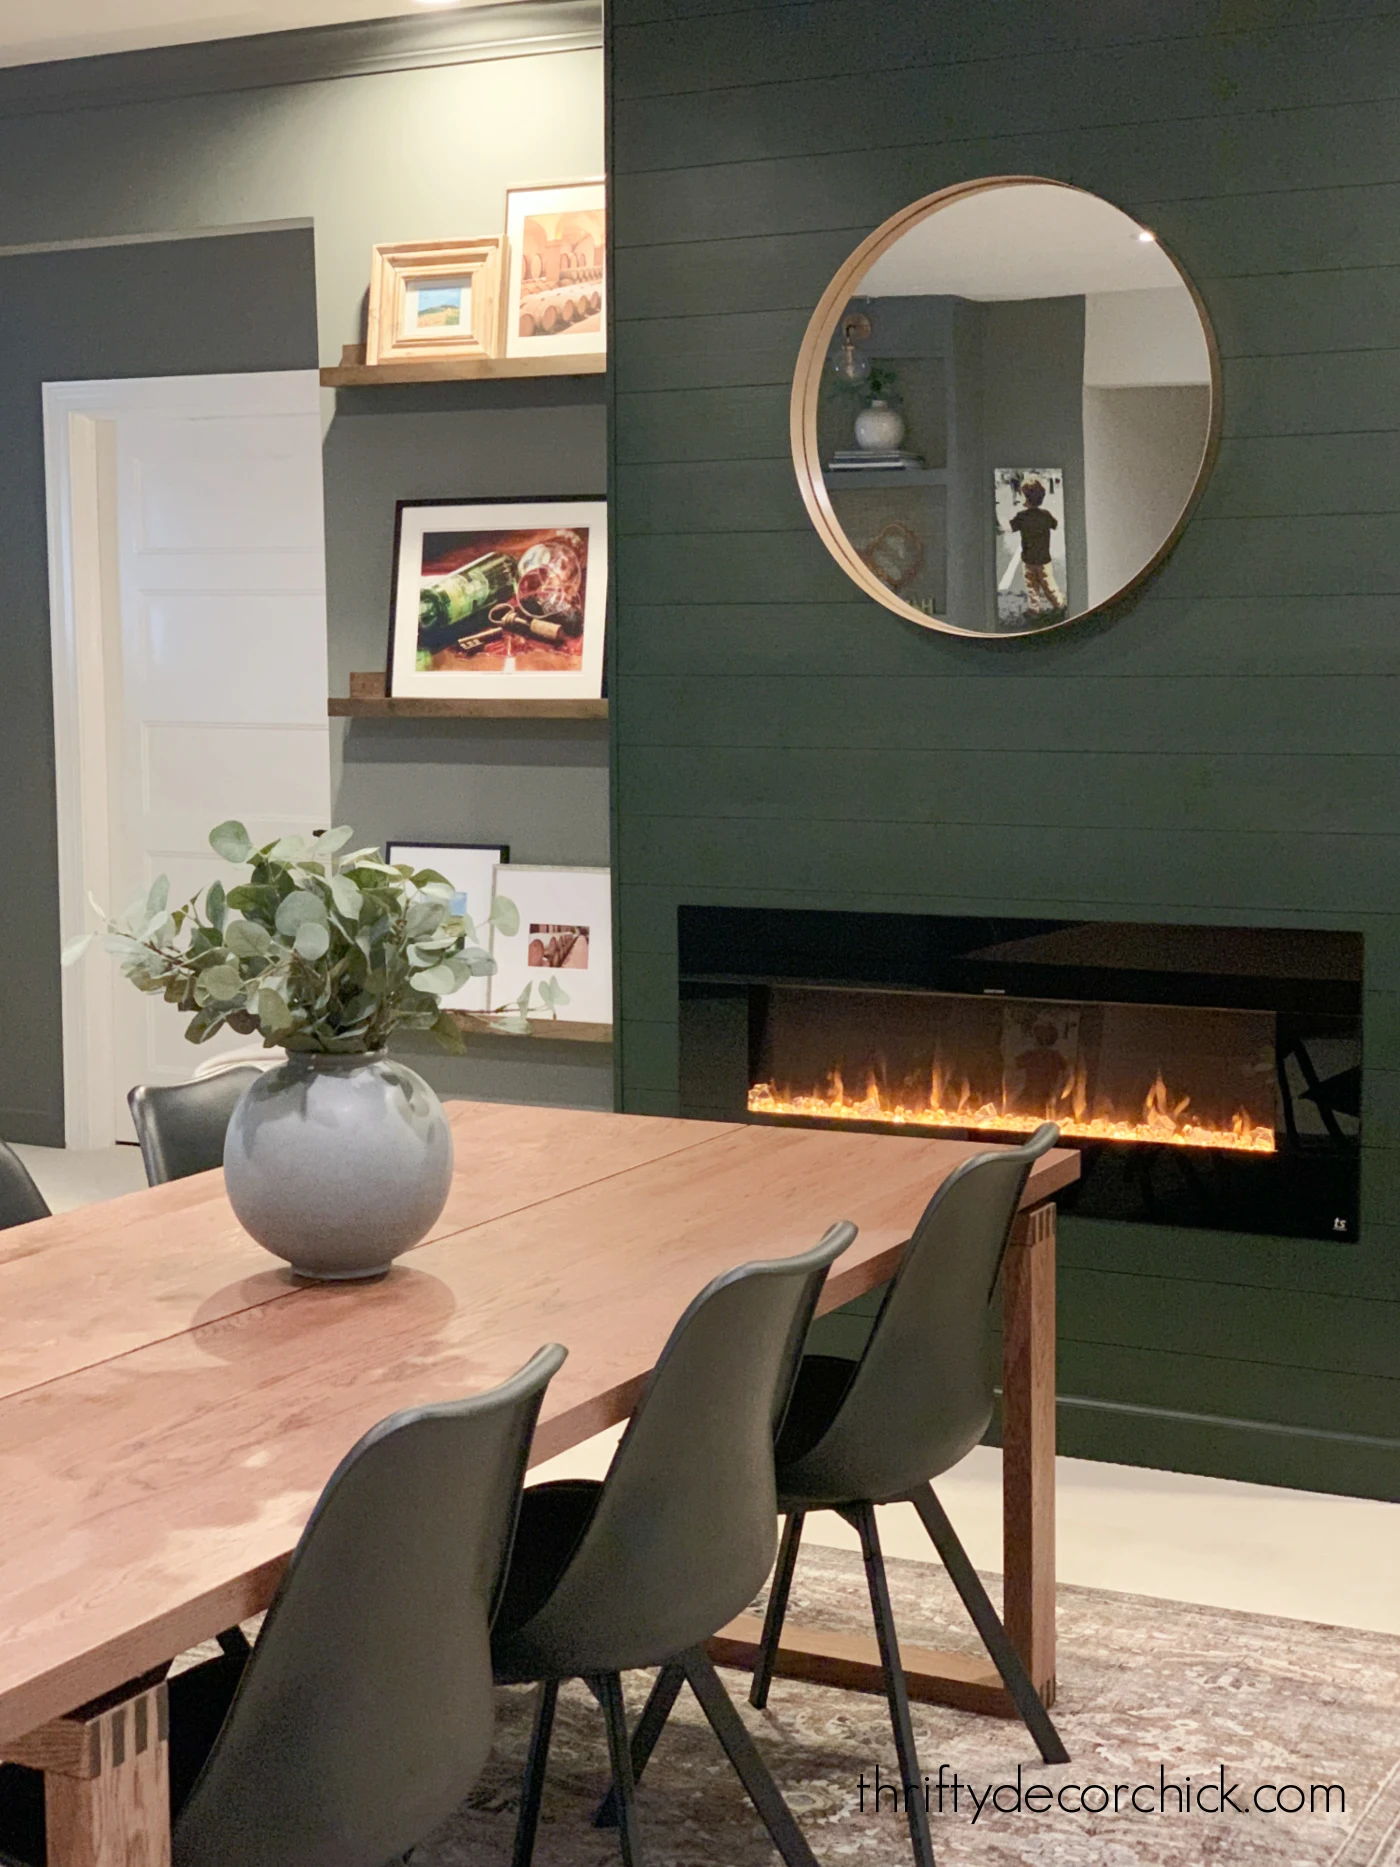
At least for now, it will stay simple with just this round brass mirror:
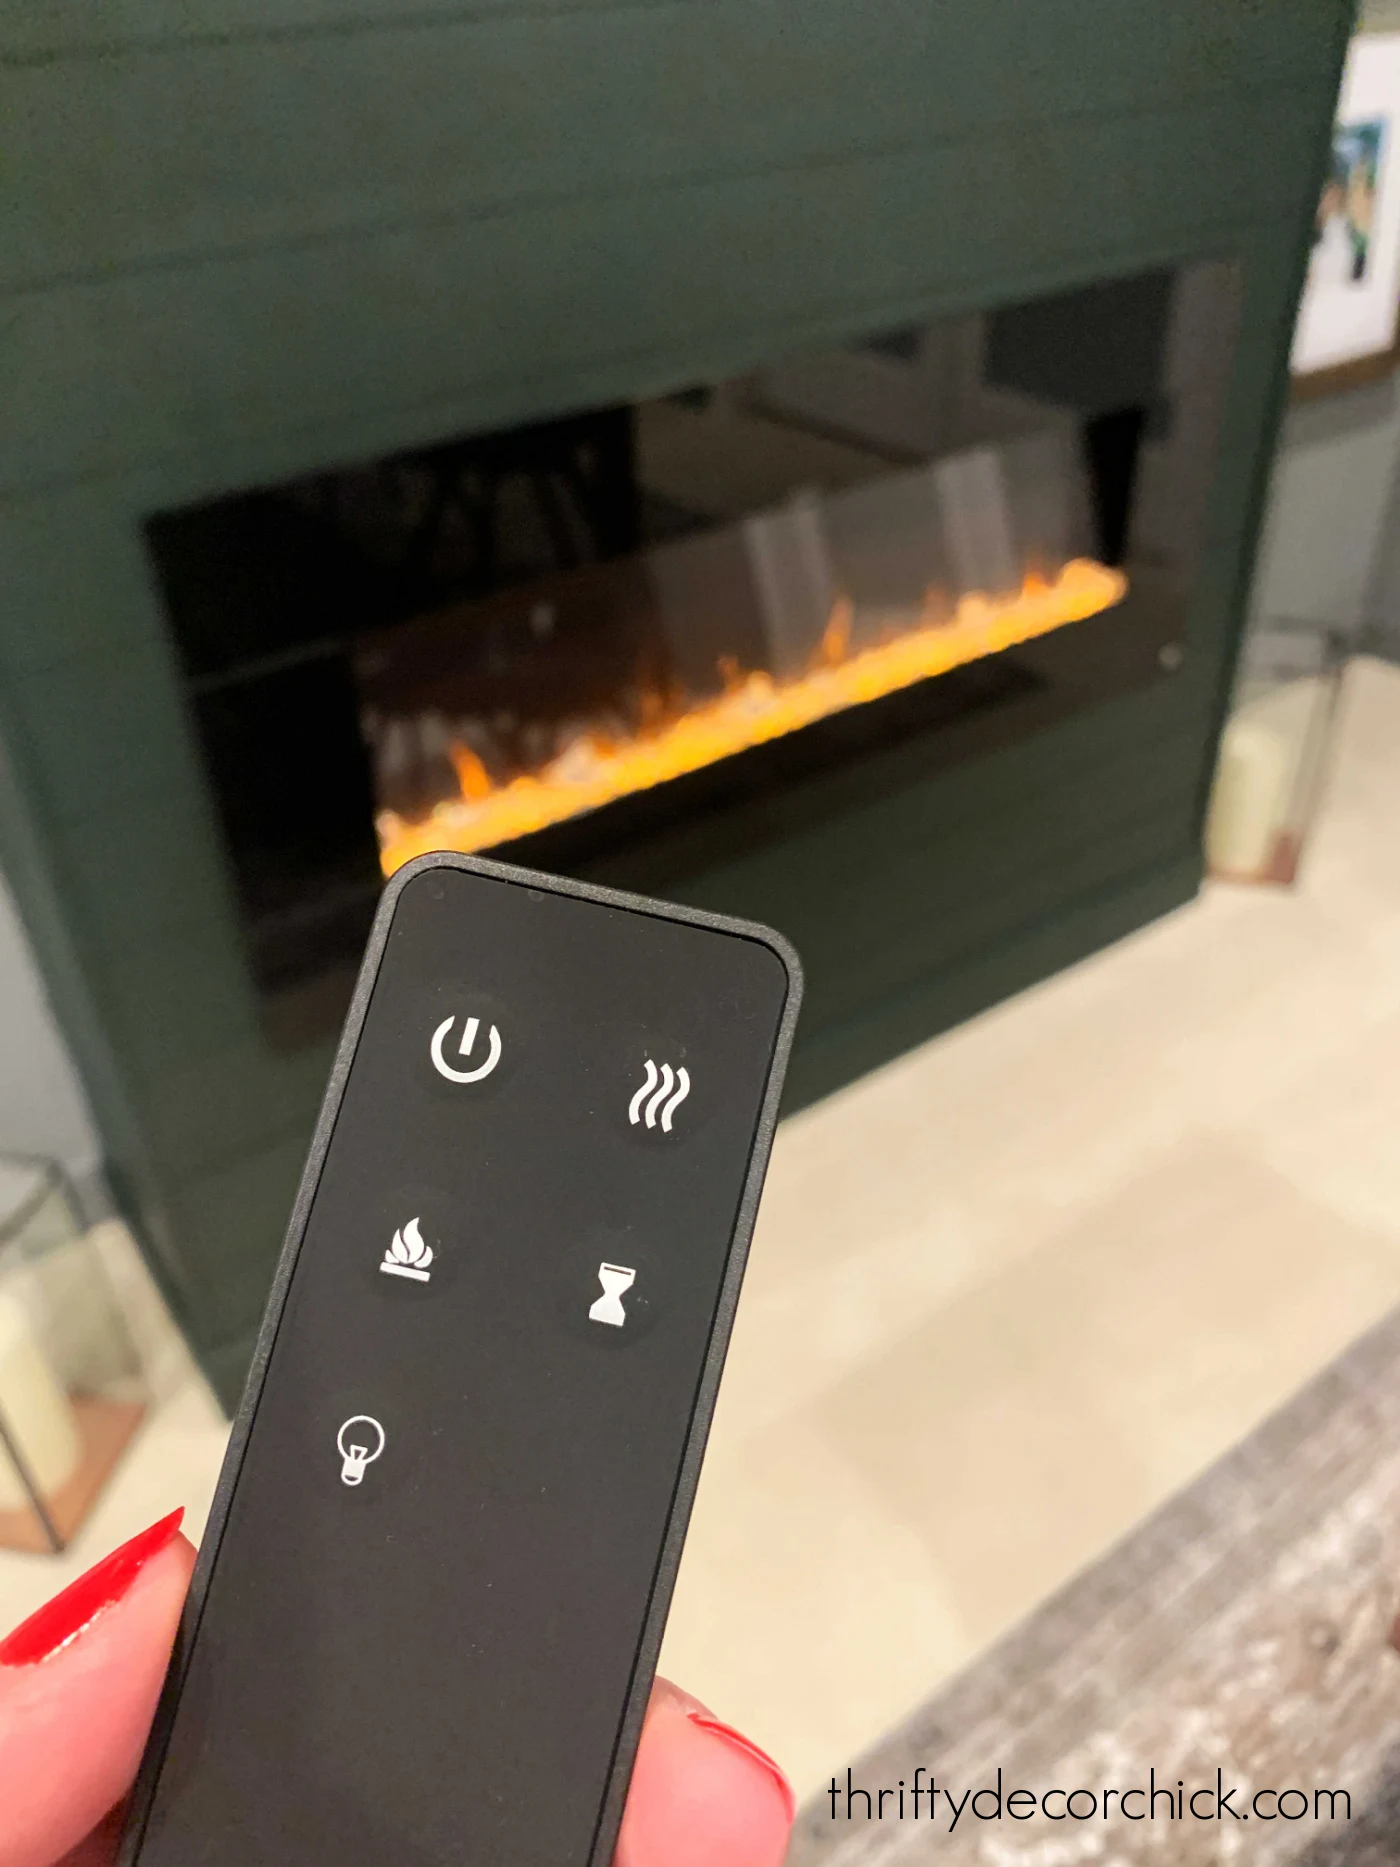
The Touchstone fireplace insert we got has a remote with a bunch of options!
There are five flame options for the "fire" -- from down low:
To brighter with higher flames:
Ours has three color options -- the traditional orange like above, and a modern blue:
And a combo of the two colors as well!
Want to know the coolest part of this electric fireplace? It has a Bluetooth speaker inside! How fun is that?:
You can play music or they suggest playing the sound of a crackling fire through it...so funny! We've done both. :)
Instead of building bookcases or cabinets, I cut my two long DIY ledges into three separate ones and hung them on each side of the fireplace:
They were a perfect fit!
We added small recessed lighting above each set of shelves:
My go-to is usually sconces, but we have enough of those around here already! :)
I wanted it to be simple, especially with the cool sconce and trim I installed around the corner:
I'm so glad I didn't go with stained shiplap -- with the table and the picture ledges it would have been way too much wood.
Whenever I share our basement I get comments on the green tones in the gray paint. I never really notice it until I share pictures here.
But the two really do complement each other well!
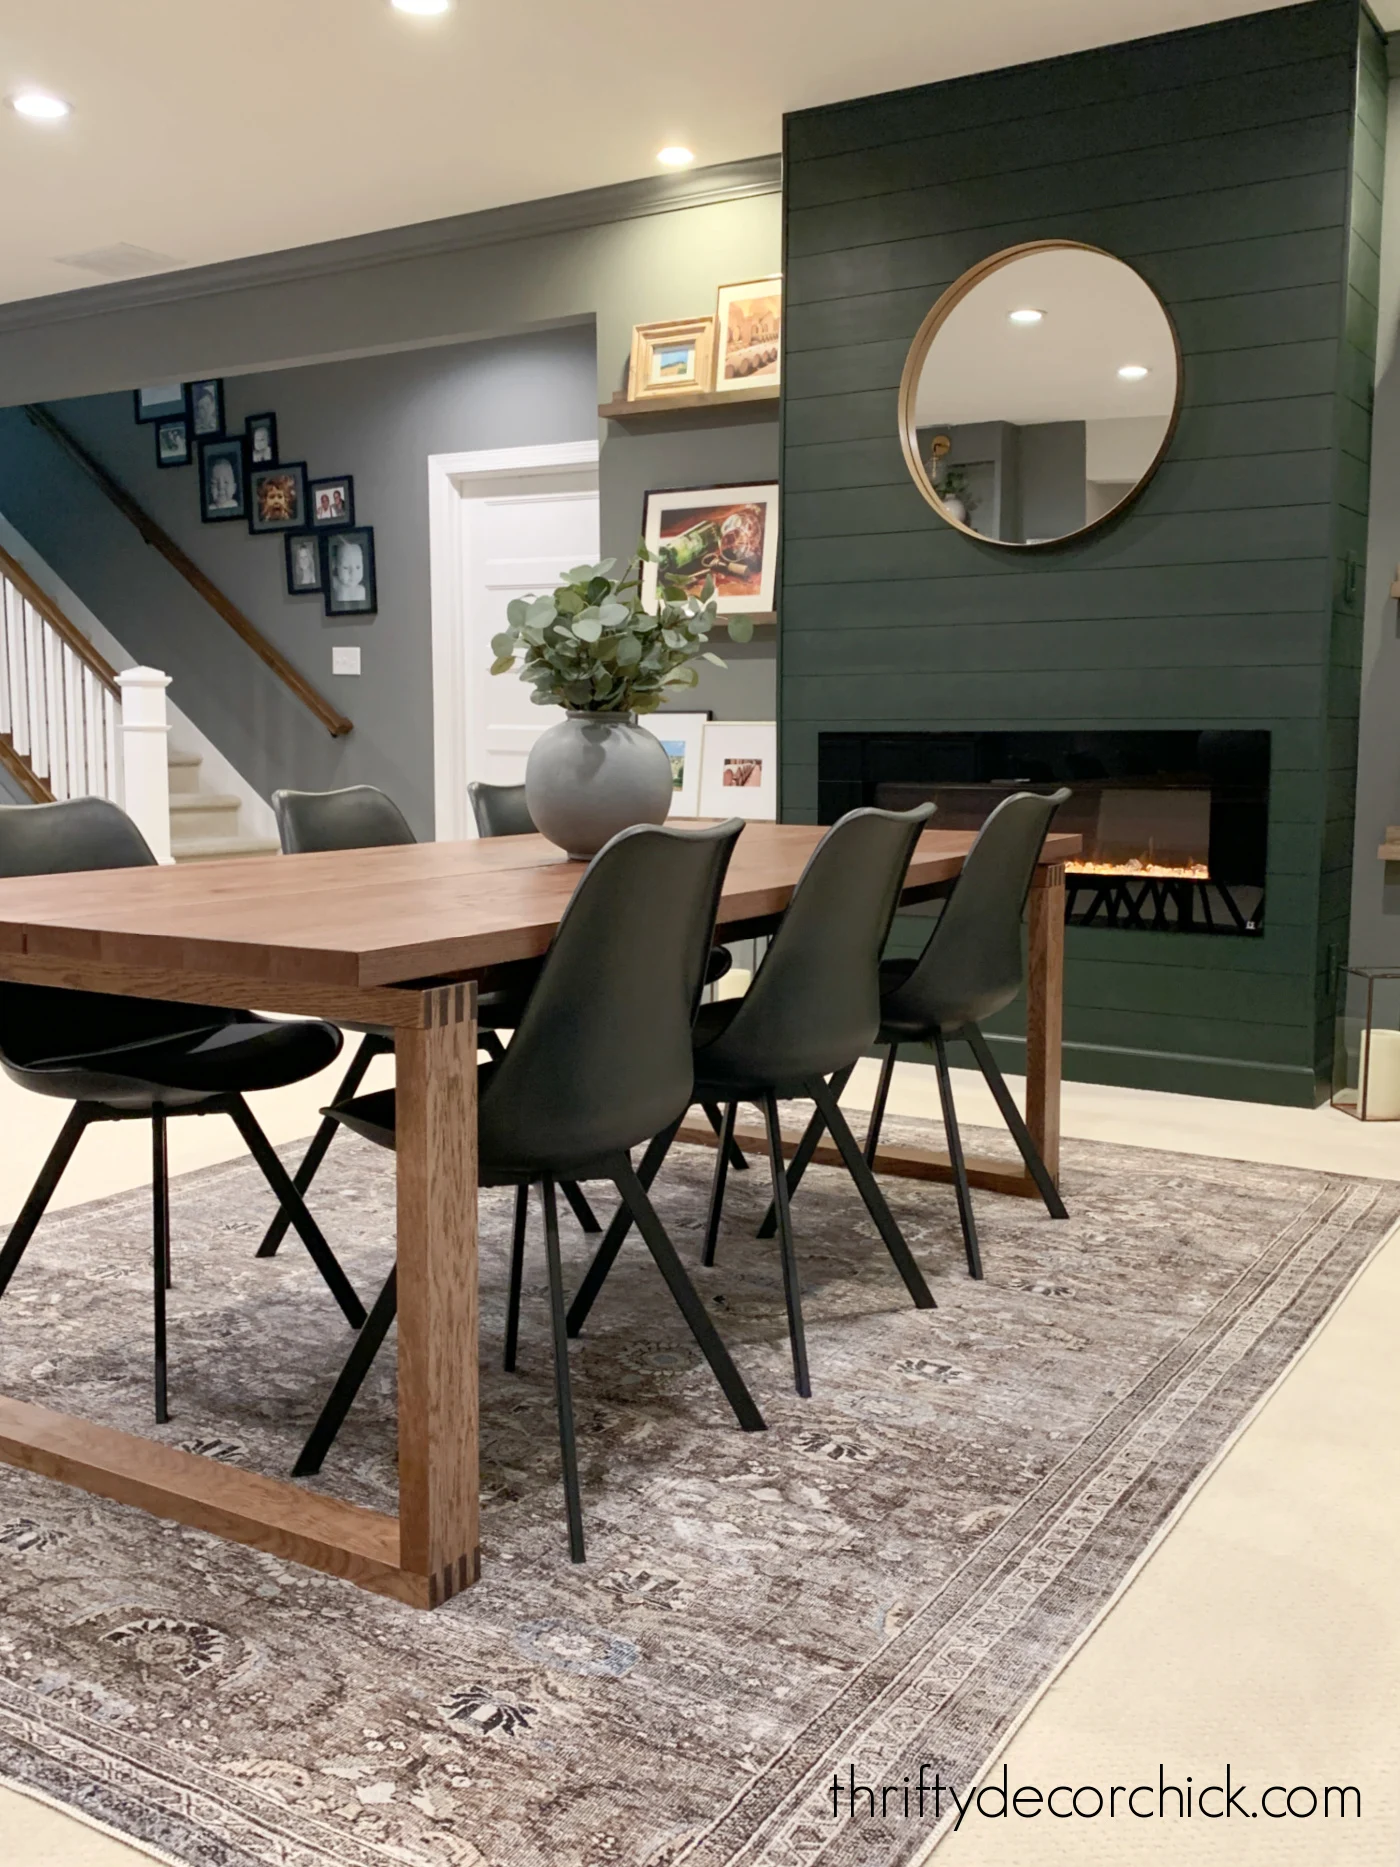
I love both colors with the warm wood of the ledges and the table.
You can find that flat rug with the green tones here!
This whole spot is such a "vibe" (as our son says) now -- it was so fun transform this spot from a basic wall into a centerpiece!
Here are a few more features of the electric fireplace we used:
- This AudioFlare option can be hung directly on the wall or inserted in a built out.
- It has two heat settings and will warm a room up to 400 square feet. It definitely works! We turn it on when we're watching TV on the sofa and can feel a difference in the room.
- This electric fireplace can be plugged in or hardwired.
- All mounting supplies are included and they have a bunch of helpful installation videos online.
Adding an electric fireplace insert is the perfect way to warm up your bedroom or living room during these colder months!
And even if you don't use the heat, it looks so cool!
The basement is a perfect spot for a little extra warmth:
Of course you can customize this DIY project however you want! There are so many sizes and colors available from Touchstone that will work with any design style.
Traditionalists can combine the inserts with a classic wood fireplace surround and bookcases, or if you're a modern lover, use our simple build out and install flat, sleek tile.
Thank you to Touchstone for providing our electric fireplace for this project!
Never miss a post by signing up to get posts via email.









The fireplace looks fantastic! Can you provide a link for the rug under the table? I love the bold, neutral look!
ReplyDeleteIt was hard to find this size! It's the Loloi II Layla rug in Antique/Moss. I'll try to find a link!
DeleteI just wanted to say WOW and well done!! What a beautiful, cozy area.
ReplyDeleteI have been debating installing a gas fireplace or an electric and this came at the perfect time! SOLD!! Thank you so much for posting. Your wall looks amazing!
ReplyDeleteThat is perfection, love the no mantel( had a stone fireplace with no mantel and I grew to really love the simplicity), love the shiplap and perfect paint choice, love the shelves on the sides. I agree stained wood to much and frankly design wise I think we are moving away from that a bit, so this is a fresher look. Question on the luan, can you do a herringbone design with the thin pieces or would that be to difficult? Just beautiful!!!
ReplyDeleteOh absolutely you could! That's a great idea. Thank you! :)
DeleteI mean, this is just perfection!! I love the green and the shelves are the perfect finishing touch!! LOVE!!
ReplyDeleteOkay, WOW. That looks fab, Sarah! Now I want one.
ReplyDeleteLooks amazing! I love all your projects and have used several as our starting point in my own home. Thanks for breaking it down for all to understand. You're a true inspiration. Thanks so much!
ReplyDeleteJust fantastic! And really seems achievable, would love something similar in my bedroom. Thanks so much!
ReplyDeleteYour basement is such a cozy space--I love all the projects you've done down there! I've used your luan shiplap trick in my entryway and plan to do it in my laundry room as well. Thanks again for sharing your beautiful home with us!
ReplyDeleteWow, well done. And I need to know more about that dining table!
ReplyDeleteThank you! It's the Morbylanga table from IKEA!
DeleteWhat are the dimensions of the fireplace wall? How deep is it/how far does it stick out from the gray back wall?
ReplyDeleteIt's about 14 inches deep and 60 wide, but measurements will depend on the size of insert you get!
DeleteThis is fantastic! We currently have an older, ventless gas fireplace in the house that we bought last year and I HATE IT!!! It gasses you out to even use it, and I've thought about just having the gas closed off and using filling the fireplace with candles. But this is giving me ideas!
ReplyDeleteYou may be able to find an electric insert that is the same size!
DeleteAre the chairs from Ikea as well?
ReplyDeleteThey are from At Home!
DeleteI love this! I am hoping to do this same project in a month or so and just love your blog. Thank you for the timely tutorial. Looks wonderful!!!
ReplyDeleteJust happened across this post, as we are thinking of doing something very similar in our basement space. I had a couple questions. You contracted out both the framing (for the concrete anchors) and the electrical. Do you think these portions are also DIY'able? Seems simple enough. Also, did you cut out the existing carpet and wall trim, or just build on top of them? Thank you.
ReplyDeleteYes the framing for sure! We just didn't have the nailer that nails into cement. I build on top of carpet -- that way you don't have to have it restretched. :)
Delete