Tips for Installing Base Cabinets for Laundry Storage
March 05, 2021
Share this
Tips for installing base cabinets for extra storage!
The
mud/laundry room storage makeover
is underway! I didn't expect to get started right away, but we lucked out when
the contractors we use were available sooner than I planned.
I can install base cabinets no problem, (I use them for built ins
all the time) but I leave making sure the uppers are supported correctly to
the professionals.
If you remember, I have big plans to make this part of the room work much
better for us:
This post may contain affiliate links for
your convenience.
See my policies and disclosure page for more information.
I've wanted to add cabinets under the folding table since we moved in. All
along I planned to purchase the same cabinets our builder used so they would
match the uppers in here. I didn't even consider looking into the big box
stores to see what they have.
Well...the other day I finally did that and low and behold...they had cabinets
in stock that matched ours almost exactly. The problem was they were only
available in white or gray -- I was fine with the gray, but I wasn't sure the
white would match our upper cabinets exactly.
And I decided awhile back that I want the base cabinets to be a deeper color,
not gray. So I looked into my old go-to -- the inexpensive
unfinished cabinets I use for my bookcase projects. I knew I could dress them up to look like our other cabinets with little
extra work.
I wanted a TON of storage...so I ended up going with all drawers. And they are
glorious. These are what I used:
If I could plan a kitchen all over again, I would do 90 percent drawers and
hardly any cabinets with doors down below.
When the contractors said they could come by sooner than expected to hang the
upper cabinets, I hurried to remove the current countertop so they didn't have
to work around it:
They got them up in no time:
These are the cabinets that were over our washer and dryer, but they are only
30 inches wide and the spot below is six feet. I had them hung like this so I
can add some small display shelves in between.
Now, onto how to install the base cabinets! I am NOT an expert when it comes
to this, but I've learned a few things over the years that are helpful. And
all of the cabinets I've installed are still standing, sooooo I'm fairly
confident in my process. 😂
Start by connecting the cabinets together first. Again, this works best
on base cabinets obviously. :) Someone recommended this to me and it really
does go so much smoother when you put them together first, then attach to the
walls.
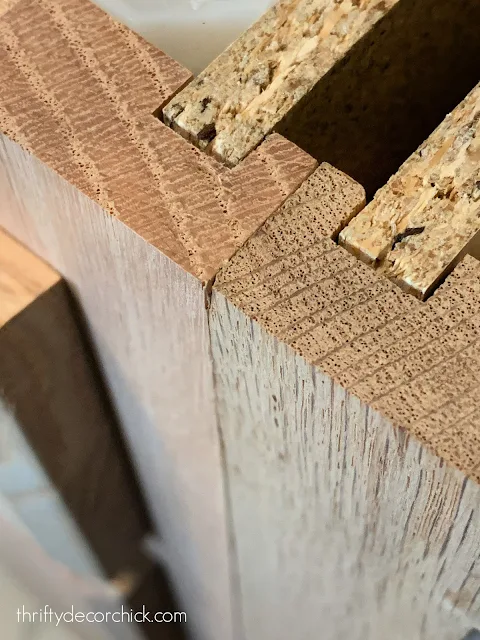
As you install, you'll need to look at two things -- that the cabinets are
level from side to side and front to back as you put them together, and that
they match up well at the front. This is what you want your cabinets to look
like when connected:
You don't want any major gaps (small ones can be filled) and you want them
to be flush. Connecting the cabinets together first definitely helps with
this!
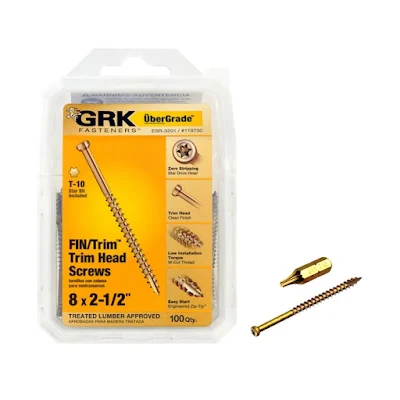
I used
these cabinet screws
for the first time for this set of cabinets, based on another
recommendation:
They worked really well -- you're not supposed to have to predrill your
holes with these, but I did anyway.
They install and sink nicely into the wood so you don't see the screw head.
I always use two to connect the cabinets -- one at the top and one at the
bottom:
This is the BIG thing you need to know going in -- very few walls are
actually perfectly straight. And very few corners are perfect 90 degree
angles.
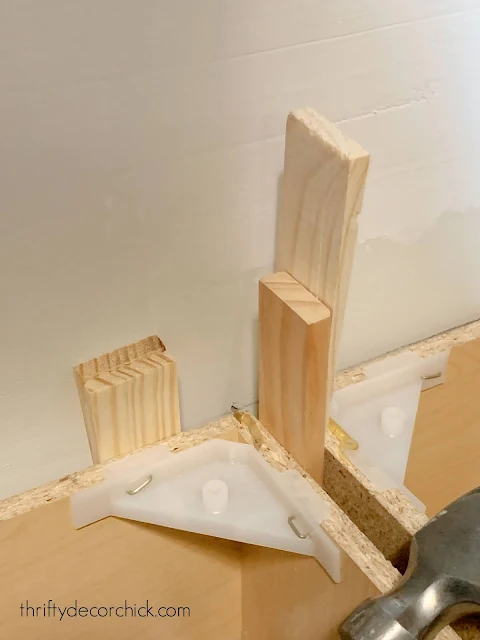
You'll need to adjust for those discrepancies with shims:
Another tip I find helpful -- add some scrap in between at the back of
each cabinet set, so that they are installed the same distance from the
back to the front. Otherwise the front of your cabinets may bow out a
bit.
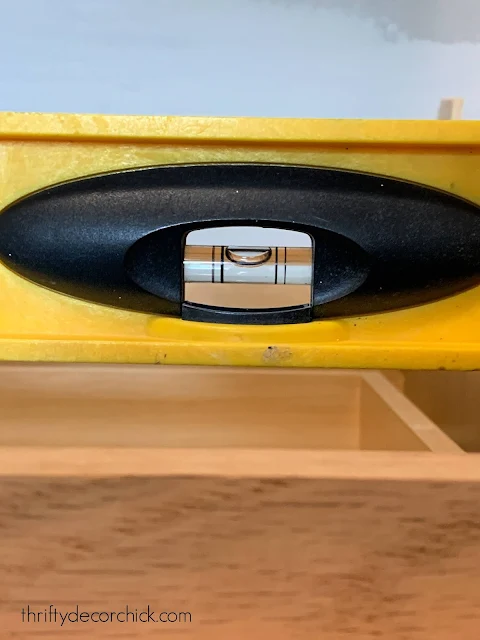
Before you connect two cabinets, check for level and see where you need to
add a shim. You can place them under or behind the cabinets against the
wall to even things out. Tap them in with a hammer until you are
level:
You can see that mine was not PERFECTLY level, and in my experience that
tiny bit does not matter. **It may matter more if you are having granite
counters installed.
It's a process of checking for level, adjusting with shims and screwing
the cabinets together one by one. Then checking to make sure all of them
are level as you connect them.
Once they are together and are as flush and level as you can get them, you
can install them into the walls. Use a
stud finder
to find your studs -- it's helpful for me to mark where they are on the
wall.
For this part,
these screws are awesome
-- they have a built in "washer" that makes sure the screw isn't going to
go through the cabinet back or sides:
I usually put one at the top and bottom at the back of each cabinet and some
on the sides into studs. Sometimes I find they don't need bottom screws on
every single cabinet -- if you can shake them around at all you'll need
one.
One more tip -- check any drawers as you install the cabinets to each other
and into the wall. They can be a little finicky because they are on slides. If
not installed properly, your drawers may catch or not operate well. Open and
close them as you go.
When everything is attached to the walls, you can remove the shims on the
floor by scoring them with a razor and then snapping them off:
I know this may sound like a lot, but as you get going it's not that bad. This
is one of those DIY projects that can be intimidating, but it doesn't take
long to get the hang of it.
I placed our countertop back on until we get the new one:
I'm splurging on two things in this room -- one is the countertop. It's a
beautiful butcher block that I've been wanting to use for YEARS! I can't wait
to show it to you.
Remember when I mentioned most walls aren't perfectly straight? When I removed
the old counter I realized how much caulk they had to use on the back --
there's a good sized gap back there. Good times! I'll have to do the same with
the new one.
These are not done yet though! I still have a list of changes I'll make to
these unfinished cabinets to make them look more custom. I'll be updating the
end of the cabinet
for a prettier look like I showed you here.
I also plan to make new drawer fronts that will match our other cabinets much
better. When I ordered these I thought they were perfectly flat, but they have
a slight beveled edge so my original plan isn't going to work:
I'll share that process with you too. And then of course, paint and pretty
hardware. :)
We can finally use all of the upper cabinets now! Before they were hard to
reach because our washer and dryer stick out so far.
You know I've already filled half of those drawers! I can't believe it's taken
me so long to put these in. It's already solved SO many storage issues for us!
LOVE them. Remember how this spot usually looked?:
If you have any other cabinet install tips, I'm all ears! Feel free to share
in the comments.
Here are the items I use for installation:
See more of
our home here.
To shop items in our home,
click here!
Never miss a post by signing up to
get posts via email.


Where do you have the littler box now?
ReplyDeleteWhere is the little box now?
ReplyDeleteWhere is the cat box going?
ReplyDeleteWe have a couple options for the litter boxes -- going to try one in this room first. I'll be sure to update!
ReplyDeleteEarly in this post you state connect the base cabinets together first, then later on you state check for level before connecting the cabinets, so which is it? I am installing two 21" cabinets in a 42.5" space with walls on both sides, so it is tight and I do not want to screw them together first, if that's not what you meant. Thanks!
ReplyDeleteCheck for level as you're connecting the base cabinets together. Place them where they'll go and then do adjustments as you connect. :)
DeleteAnother thing to note is to level the highest point on your floor first, that way you bring the lowest point up. I roughly leveled them, connected them then fine tuned the shims.
Delete