How to Make a DIY Fake Olive Tree for Less Than Buying
January 26, 2023
Share this
How to make an artificial olive tree for less.
If you love the look of decorative trees in your home, but don't have a green
thumb to keep real plants alive or the budget for an expensive fake
store-bought version, this tutorial for a faux potted olive tree is for you!
I've wanted a tall plant for the basement for sometime -- we do get a good
amount of daylight down there, but not enough that I could keep something
alive.
I have real fiddle leaf figs all over our house (see my
tips for taking care of fiddles here) so I wanted something different. I started searching fake olive trees
instead, but found they are pretty expensive. The best version (with good
reviews) I found was $115.
As I was searching online, I came across tutorials for fake,
do-it-yourself olive trees. Huh. I never even considered it, but
it got my mind going. I combined tips for this faux olive tree project
from here and another tutorial (no longer online).
This faux tree DIY was especially inexpensive because I got all of my supplies
at half the cost. Look for sales and use coupons!
Step one: Figure out your tree trunk
I started with the "trunk" of the tree. I could have easily gone and cut a
thick branch off of a tree. I was going to do that, but then I realized how
cold and snowy it was outside. I really didn't want to go forage in the
woods.
So instead I check out the "dried naturals" section at the craft store. They
had actual (thin) wood trunks, which cracked me up that we can buy
part of a tree at the store. But I wanted something that looked
a little more natural and organic than just a straight branch.
I figured those white branches on the left would be perfect:
This post may contain affiliate links for your convenience.
I may earn a small commission when you make a purchase through links.
See my policies and disclosure page for more information.
The package came with three branches (for MORE olive trees obvs) and I used
the biggest one.
I spray painted it brown...and was surprised when it looked real! You can use
any brown paint -- craft paint even.
I suggest using a matte paint finish for a more realistic look.
Step two: Attach your olive stems
I already had olive stems that I use throughout the year in our decor, so I
didn't want to use those. Instead I grabbed
bundles of olive branches
instead:
This is a way better bang for your buck. You'll get a ton more stems to use
for the price, compared to the single ones.
These also have some of the most realistic branches I've found. The silk long
leaves help to fill it in even more and the faux olives are a realistic dark
brown/purple color.
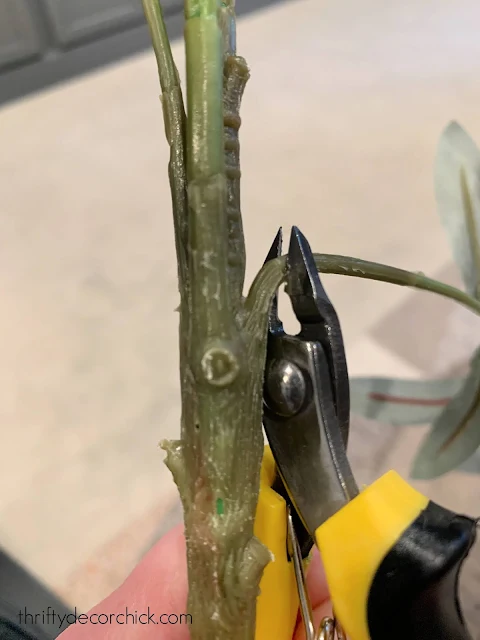
You'll need to cut each branch off the bundle -- sometimes you can just pull
down and break them off. But a wire cutter
will make quick work of this and give you a blunt end that is helpful:
Then start adding the cut branches to your "tree" -- this was a lot easier
than I thought!
I started with a few at the tips of the top branches. For these I attached the
olive branches with
brown floral tape. The brown blends into the tree branches really well:
I had to really search for them after I was done to take this picture! You
won't need much of the tape -- I only added a few at the tips, but overall
those did make for a more realistic look.
For the rest, I used a small drill bit and drilled tiny holes into the
branches:
Then just stick your olive branch in! No glue or tape needed.
I would add a few, step back and see where it needed more, and then keep
adding. There's no right or wrong -- just depends on the look you
want.
I also added them where the branches met for a more realistic look:
Also, if the tip of a branch was big enough, I drilled into those and stuck
one in there. On those I found it helpful to add a bit of the floral tape so
it blended better.
Sometimes my drill bit went all the way through a branch -- I did try to
avoid that on the thinner branches because I didn't want to weaken
them.
If you can, keep your holes shallow, just deep enough to stick the stem in.
I was a little shocked and kind of tickled with how good it looked as I was
going. I kept telling my family -- "Look at my TREE!" It
actually was turning out really well!
When I was done with the whole thing, I touched up any of the original white
branch that showed when I drilled holes. I just sprayed the spray paint on a
paper plate and used a Q-tip to apply small touch ups.
Step three: Plant your rustic faux olive tree
When I was done I used a block of hard foam in a plastic planter and stuck
the branch in there:
You may need to make a starter hole for the branch -- don't break it trying
to get it in! As you can see, I stuffed plastic bags into the sides to make
sure my tall olive tree wouldn't wobble.
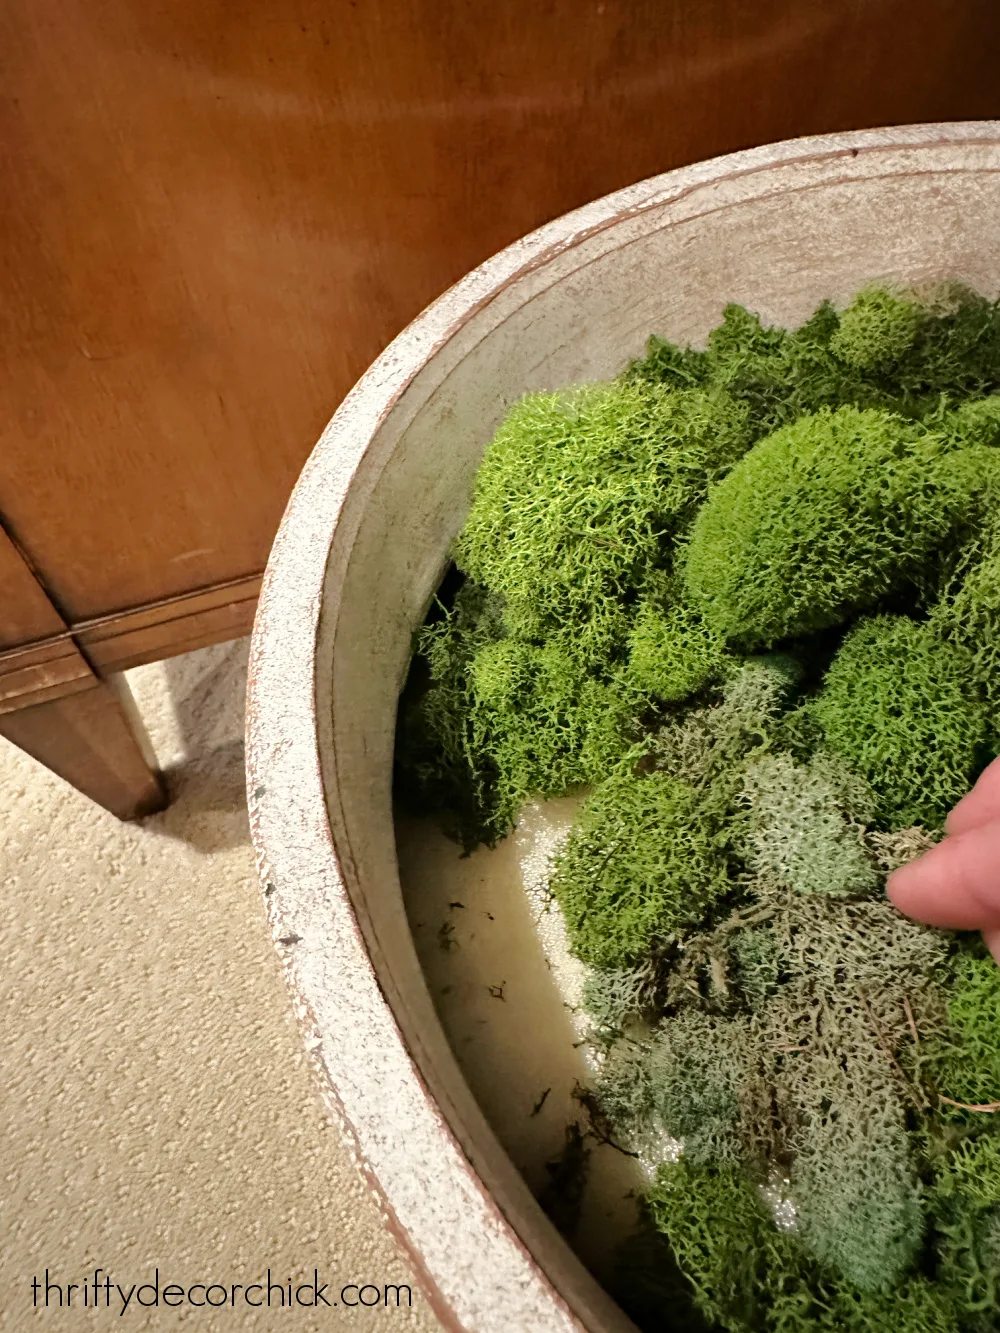
I covered everything with
soft, green moss
when it was in the pot:
It looks more realistic than a lot of the fake silk trees I've seen in stores:
Putting your real or faux tree planters in baskets is an
easy way to elevate the look of a room!
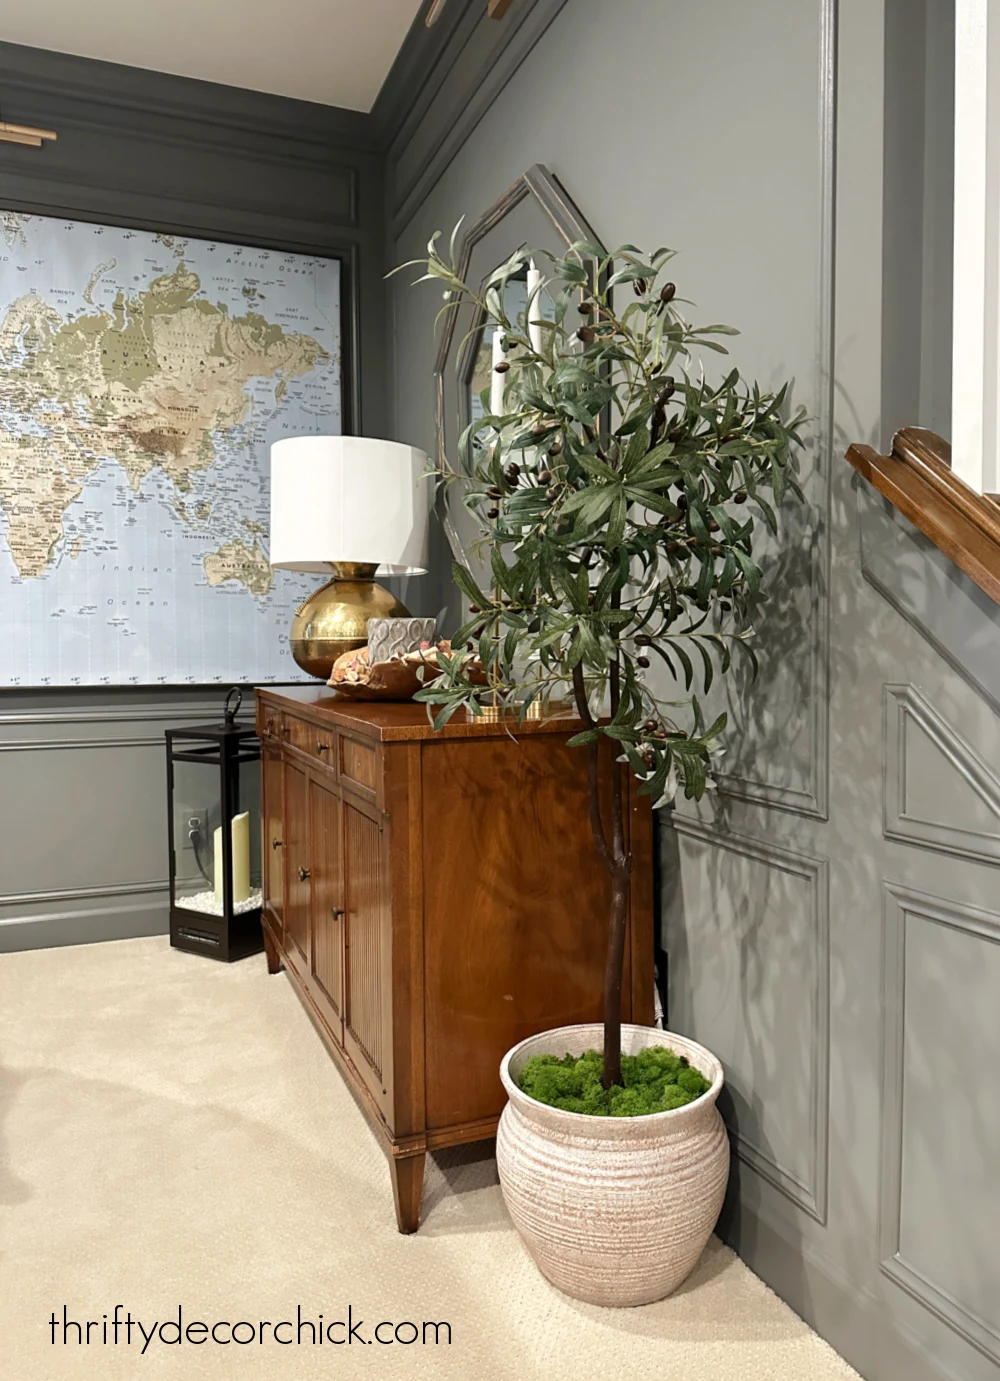
I was worried this DIY would be too good to be true for the price. I was so
wrong!:
She's so pretty! I brought her to the entryway for better light for photos --
but I really like it here! May have to make another one. ;)
My "trunk" has two long branches, but you can use a single trunk for tight spaces.
Mine will stay in the basement living room for now:
I'd like to find a bigger planter for it eventually. When it gets warmer out
I'll make it permanent by pouring quick dry cement into whatever planter I
ended up with.
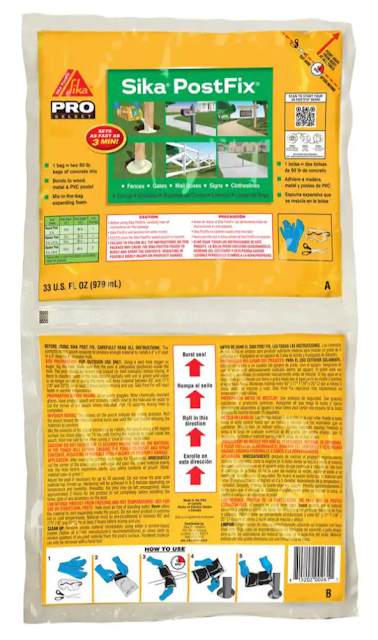
Update! I found a really cool product that allowed me to permanently
"plant" this into a pot:
You break the seal between the two pockets to let the product mix together and
then pour it into the planter with your tree inside.
It expands within seconds (actually really cool to watch) and then sets up
within minutes.
Keep the size of your planter in in mind when pouring it in! You can cut off
any excess off the top, but you don't want it going everywhere.
Make sure to hold your tree straight while it dries.
After it was dry, I placed the moss over the top of the foam:
That spot has changed a bit with the
decorative trim I added to all of the walls:
You can customize these artificial plants so many ways! Make yours a shorter
tree for a tabletop display, a smaller one for tight spaces, or go even bigger
and wider!
These zero maintenance trees would be great decor for bathrooms or any other space that needs a natural touch.
Be aware, this DIY is for indoor use only, although I think it would be fine
on a covered outdoor area like a porch or patio.
Overall my tree cost me less than $35 and the dimensions are five feet high
with about a three feet width at the top. You'd spend at least $100 to buy
that size. I had the planter, paint and moss already.
I highly suggest gathering your supplies when they are on sale, but even if
you pay full price it will be cheaper than buying.
Here's a list of the items in one spot in case you want to try this yourself!
DIY OLIVE TREE MATERIALS:
- Natural branches -- either from outside or from the store (mine were half off of $16 and I have more for later)
- Brown paint for trunk
- Olive stems or bundles. These have a lot of stems and are great deal for three.
- Brown floral tape
- Wire cutters
- Small drill bit and drill
- Foam block or cement
- Soft moss
- Planter or pot of some kind
Would you try making one of these artificial trees instead of buying? It
didn't take me long at all and was kind of fun. But I'm a little weird that
way. :)
Pin this image to save this tutorial for later:
Never miss a post by signing up to get posts via email.


you forgot the brown floral tape on your list of materials. Could you use green and then just paint it at the same time you paint the wood/truck part of the tree?
ReplyDeleteYou could, but you'd have to touch it up after, not when you paint the trunk. It's MUCH easier to paint that before you start. :)
DeleteThis is a cute idea. Do you mind if I share a link to your post on my weekly roundup -Dirt Road Adventures on Sunday?
ReplyDeleteSure, if you include a link that's great! Thanks!
DeleteI just love that you tried this project! My favorite line from the post was "you have to try, right?" So many of my home projects have come from watching you try something and then thinking I could do it too. You've helped make my home a better place and I love your blog Sara!
ReplyDeleteThanks again!
Jennie
LOVE LOVE LOVE I have done some faux floral projects myself but the stems are so expensive. I guess your right about waiting for a sale! I can't wait to try it! Lori
ReplyDeleteAbsolutely brilliant!!!!
ReplyDeleteYours is by far the most realistic I've seen. Really awesome job and yes, I'll try when I create the space for one!
ReplyDeleteI love this!! So pretty :) The olive bundle comes with three stems. How many stems did you end up using?
ReplyDeleteThank you! I used three bundles. I'd get more than you think you'll need just to be safe. (Be sure to cut and place each individual stem off of the bundle -- you can get more for your money that way.)
DeleteDear fellow weirdo...you rock and thank you ha!
ReplyDeleteHi there. What a great idea!! You had mentioned that you got your olive tree branches half off? Did you get the ones from the picture you included? Were those from hobby lobby? Thanks for sharing.
ReplyDeleteThank you! Yes I got those at HL. :)
DeleteCan you post a source for that planter? Thx
ReplyDeleteI got that at Lowe's, is the Allen and Roth brand!
Delete