How to Install Cabinet Hardware the Easy Way
January 29, 2021
Share this
How to install cabinet hardware for a perfect fit every time!
Lining up knobs and pulls on cabinets can be a pain, but there's an inexpensive and quick solution.
The
massive built in entertainment center project
is moving right along! I just finished up one of the "pretty" additions -- the
cabinet hardware.
I love getting to this point -- it means I'm near the finish
line! Installing cabinet hardware used to be one of my least favorite DIY
projects.
It was hard to get
the knobs in the exact same spot on every cabinet, and pulls were the
woooorst.
It seemed even though I measured the holes perfectly, they never
went on just right.
I can build a wall of built ins no problem, but installing the hardware was
always the hardest part. Makes total sense. :)
No more my friends! Years ago I
found a solution that makes this process much easier.
If you are replacing hardware and the length between the old holes is different, you'll want to start by filling at least one of those holes first.
Check out this tutorial for an easy way to fill large holes in furniture -- you'll need wood filler as well.
You'll want your new holes to be lined up perfectly, especially in new cabinets!
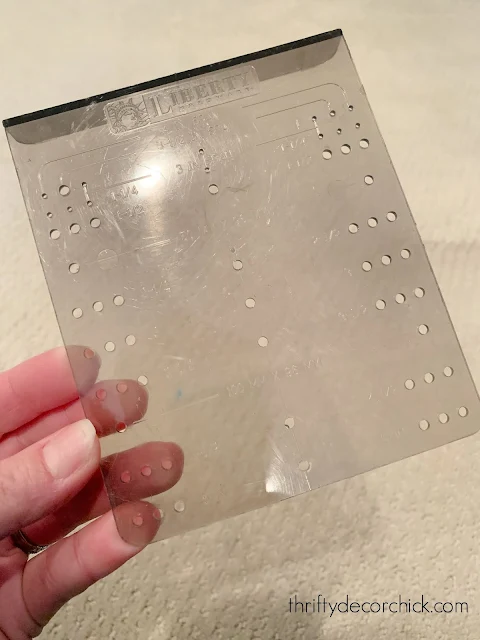
This hardware template will prevent a LOT of frustration:
This post may contain affiliate links for
your convenience.
See my policies and disclosure page for more information.
I've had mine for years and now they are updated a bit -- more on that in a
minute.
You just hold it up to your door or drawer fronts and figure out where you want your hardware placement.
It has tons of different widths for pulls and different
heights for knobs:
Mark with a marker or a pencil -- nothing permanent in case you need to make
adjustment.
I measured the width of the spot I wanted to install on, and
placed my dot there. These are clear, so you can see where you've marked
something underneath.
Your cat will be very helpful:
Use a drill bit to drill holes first -- the hardware screws are flat at the end so
they will not go in on their own:
If I'm adding numerous knobs, I'll mark my spot on the template as well:
This hardware template
is similar to mine, but wider.
And
this one
has an edge on both sides to keep the template extra secure on the corner of the cabinet door.
The hardware will come with screws in two lengths. Usually the shorter one
will work for cabinet doors and the longer one is for drawers:
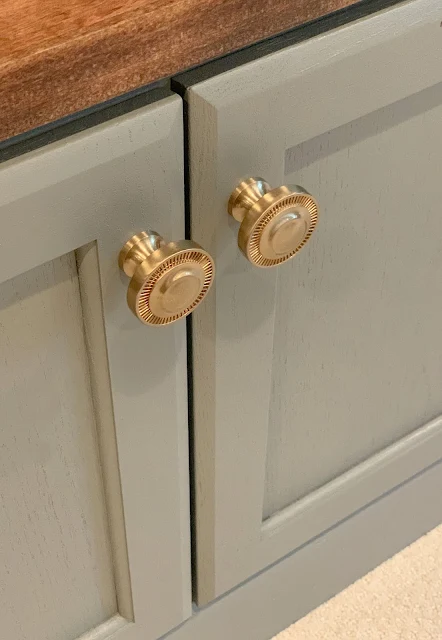
I LOVE the hardware I picked out!
The brass cabinet knobs look so good against the
dark gray (Westchester Gray):
That's a speaker wire by the way, not electrical. :)
These are the
Minted knobs from Sumner Street Home Hardware:
When I went to install the long cabinet pulls, I realized my templates were a little out of
date -- the hardware holes were five inches apart and the template only goes
to four inches.
So I had to do those the old fashioned way.
I used the template to mark the top hole and measured five inches down for the
second.
Make sure to mark the placement of the second hole in the exact same spot on the middle of the cabinet door framing.
They look GOOD!:
Those are the
Minted pulls from Sumner Street (you can also find them here). They come in a variety of lengths. So pretty!
Here are a few more hardware installation tips for your new cabinet handles:
- When you use your drill bit to make the holes, be sure to drill straight in, not at an angle. If your hole is at an angle at all the hardware won't match the screws exactly.
- You can make your own template! Use a scrap piece of cardboard or wood to mark and test your screw placement, then hold it up to the cabinet to mark your holes. Just make sure you place it in the exact same spot every time.
- You can also use painter's tape to do this, but I find that harder to place in the right spot.
- Drill from the front -- the bit will splinter the backside of the cabinet a bit. You can prevent that tear out by placing painter's tape over the spot, or placing a scrap piece of wood behind the cabinet as you drill.
This template will cut a ton of time and makes installing cabinet hardware
MUCH easier. Now I just need to get a bigger one!
I think I'll be able to finish up these built ins this weekend! WHAT.
This
time it took me less than two weeks to finish it up! I have some finishing
touches I want to add that will take a few more days, but overall I got it
done fast. I can't wait to show you!
Speaking of hardware, you can
find the BEST section of cabinet hardware here!:
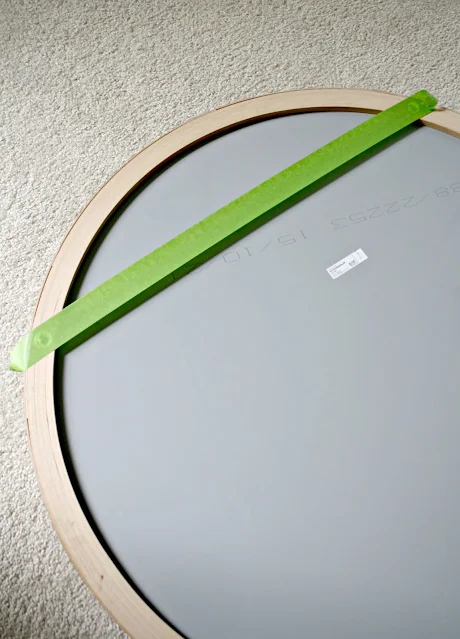
And if you're hanging art or mirrors with two screws or nails,
this little hack makes hanging items level
much easier:
Never miss a post by signing up to get posts via email.


I am always so impressed by your cabinet builds! They look gorgeous and this one will be no exception!
ReplyDeleteI need a template like that. I tend to make my own with cardboard. I just installed 12 handles on 2 dressers a few months ago and can’t imagine doing that without a template.
I have the same cabinet hardware in my kitchen, I love it!
ReplyDeleteWe found out the hard way about holding the drill level. Had work to do on the first knobs we placed. THereafter the 40+ knobs and drrawer pulls went in smoothly thanks to a homemade jig we made. You are so right that the template makes all the difference. It's the jewelry well!
ReplyDelete