How To Build a DIY Patio Fire Pit the SAFE Way
July 11, 2025
Share this
How to build a wood burning stone fire pit on top of a concrete patio.
There are a few safety issues to consider when building a DIY fire pit on a concrete surface. I'm sharing the how-to here!
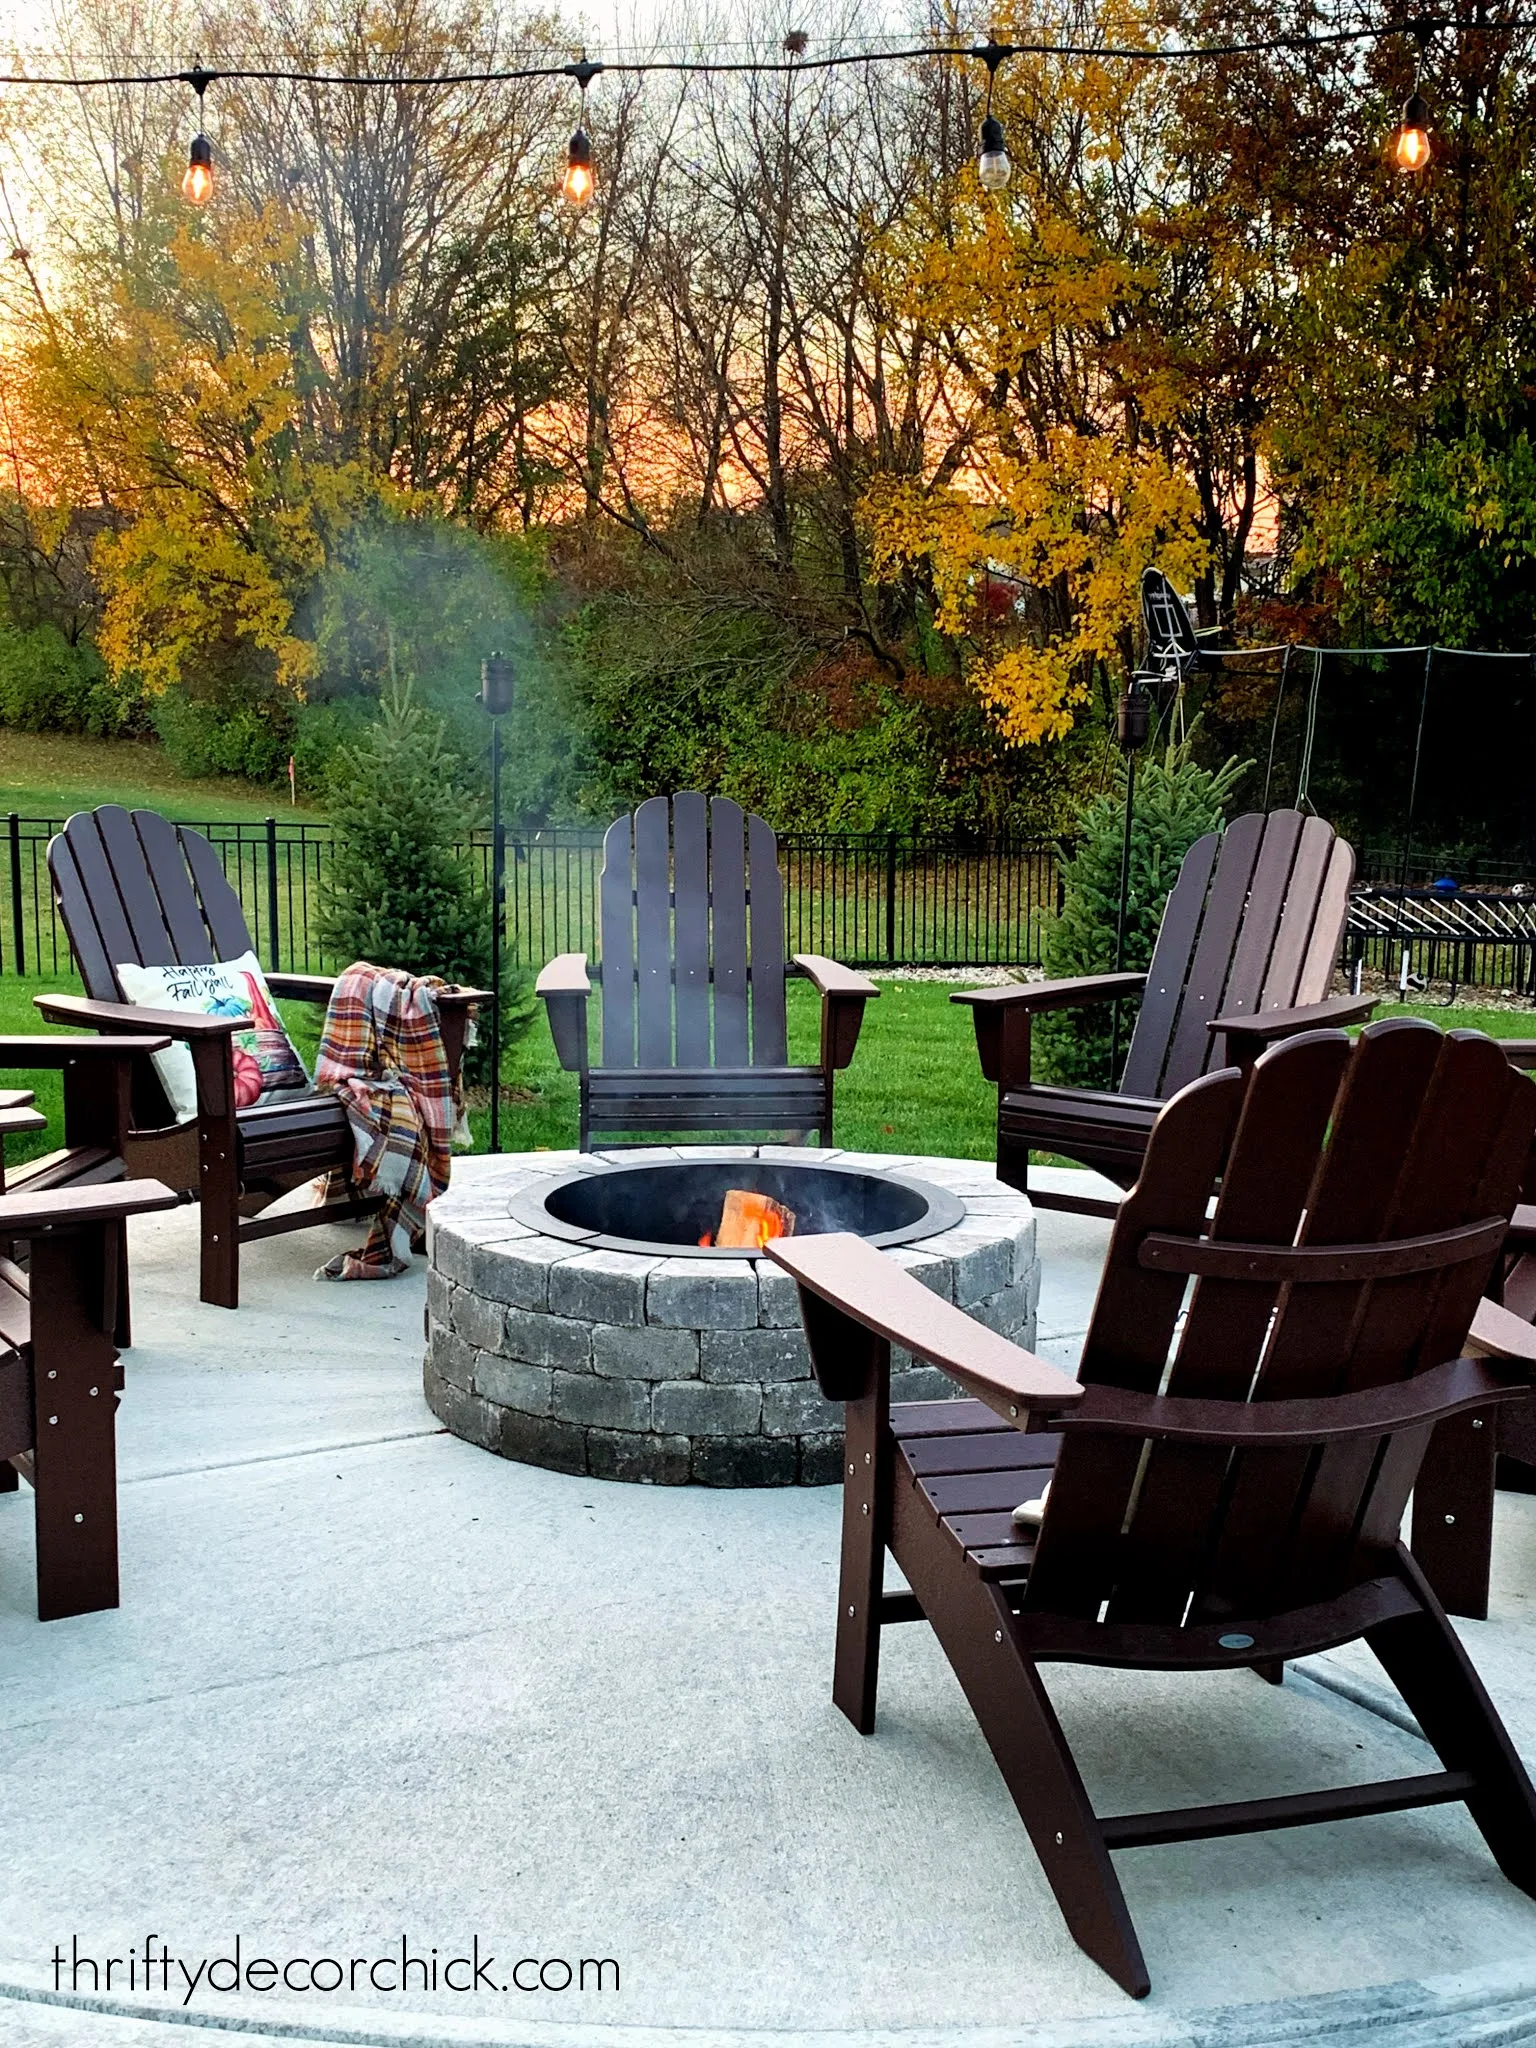
Years ago we had a large patio poured in our back yard. The best part was a 14 foot circular fire pit area we designed off to one side.
I shared how this part of the patio looked the day of installation:
One big project I had to hold off on was the DIY fire pit. The concrete contractors advised we wait a bit because the stone for the pit is so heavy. The patio had to cure for a couple of weeks.
Before I started, we got a quote for a small stone retaining wall around the circular fire pit area as well as a fire pit with stone that matched our house. The quote came back at almost DOUBLE what the entire PATIO cost. Lordt.
Soooo we decided to do it ourselves with a kit and it was crazy easy. It doesn't look custom, but it does the job...burns wood. ;)
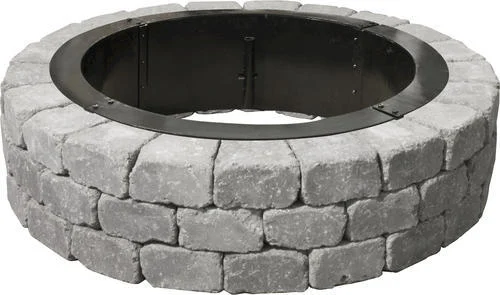
Here's the kit we got from Menards:
It is 3 1/2 feet wide and was under $200. WAY better! It comes with the stones, glue and the metal ring.
I figured it would be easy to build, but it was even easier than I thought! I'll share some specific tips at the end of the post, but here are the basic steps.
This post may contain affiliate links for your convenience.
I may earn a small commission when you make a purchase through links.
See my policies and disclosure page for more information.
I put the ring together first, and centered it on the hole the construction crew added for the pit:
I realized after I was done that it wasn't centered at all but OH WELL.
Our concrete company included that small hole so they could add a drainage pipe -- brilliant! Any water drains out to the back of the patio. If you are adding a patio with a fire pit, I highly recommend this!
The instructions called for 20 stone wedges on the first ring, but I only needed 19. If I had added one more I think it would have been too wide for the metal insert:
Quick tip -- when I started that base ring of stones, I was butting the sides up to each other completely, which made for too small of a ring.
I had to pull them out quite a bit and only place the long ends against each other so it made the circle bigger. Hope that makes sense!
This kit only calls for three levels of stone. The second level is centered over two stones so each row is staggered instead of right on top of each other.
The final ring goes back to the same as the first:
You can stagger them however you want, like tile patterns. Instead of staggering them on the center, you could do 1/3 of the blocks, or even 1/4.
As you can see, I didn't get the centering just right. It's OK. :) After the third layer of stones, you add the metal ring back in and you're almost done!
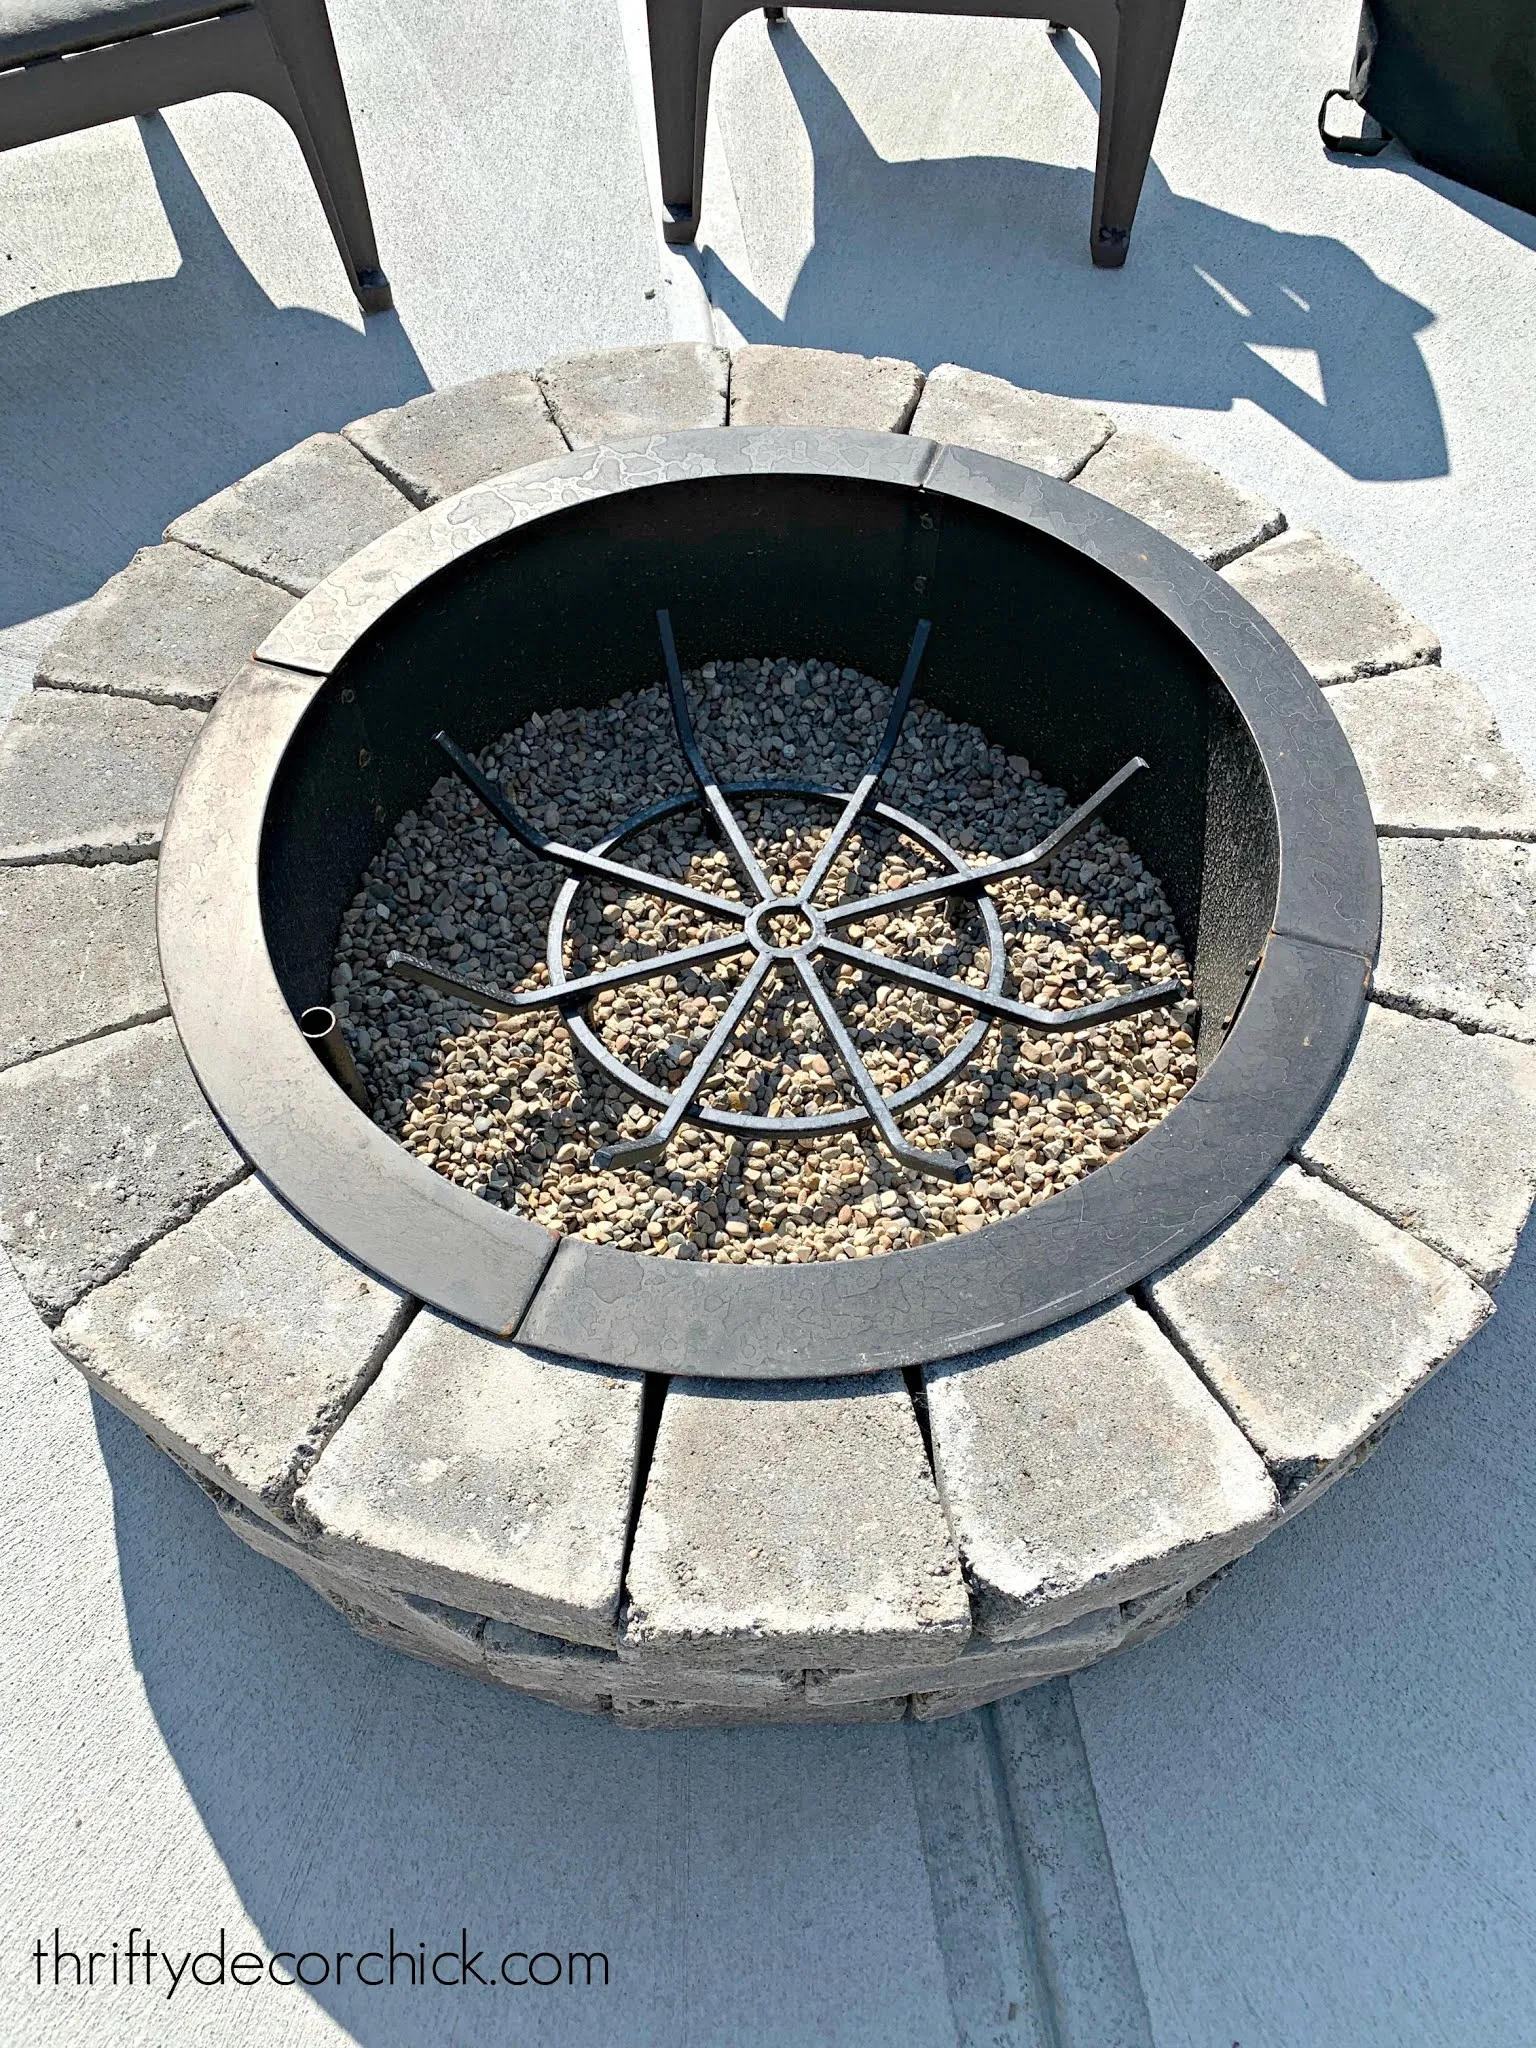
We added three bags of pea gravel to fill in the hole in the concrete and then up to the bottom of the metal ring :
We bought the grate for the firewood here.
That's it! It's plenty big, but if we find we want something grander in the future, we can just purchase a bigger metal ring and then add more stones to make it wider.
I later added one more layer of stone blocks to make the the pit a little taller and more comfortable to rest our feet on:
We added more pea gravel when we did this so it covers the stone at the base of the pit inside.
Here are a few tips if you want to try this DIY fire pit project on your own!
- Per the instructions, you shouldn't burn a fire directly on concrete, hence the gravel addition.
- A metal ring is necessary when building a fire pit -- the stones can crack or explode if in direct contact with the fire.
- We added enough gravel so that none of the stone was showing inside -- they are all covered with either the gravel or the metal ring.
- We did not glue the stone and haven't had any issues. But you can use a construction adhesive to secure them if you'd like.
- If you aren't starting from scratch with a new patio, you can use a fire pit heat shield or mat to help ensure the concrete doesn't get too hot over time.
We added evergreen trees around the circular patio the next year. This is how they started:
And this is how big those trees are about five years later!:
Have you built your own fire pit? Any fun treats or meals you make over the fire? This ring comes with an option for a grilling grate, so we may add that later on.
**See the finished patio with fire pit in this post!
**See the finished patio with fire pit in this post!


Wow, the fire pit looks good! Wish I had an outdoor space to do this too! ❤️✨
ReplyDeleteCharmaine Ng | Architecture & Lifestyle Blog
http://charmainenyw.com
Looks great!
ReplyDeleteawesome, sarah! you always find the best deals on quality products! id buy one of these kits in a heartbeat. but its not shippable at 895 pounds. :-)
ReplyDeleteI really appreciate the round grate, I hadn't looked for one yet.
ReplyDeleteWe are going to be doing a fire pit area in our yard in the future. I like the idea of a kit for ease of construction. Thanks for the post.
ReplyDeleteHave a lovely day.
Kim
So fun! We built our house at the same time you were building yours and had the builder install a patio in that exact shape! Love it! We currently have a gas fire place but my husband would LOVE a wood burning one instead! Thanks Sarah!
ReplyDeleteI love your backyard/patio/fire pit area! We are currently planning the landscape design for our backyard patio. On your fire pit, is it wood burning? Or did you run a gas line?
ReplyDeleteThank you! It is wood burning.
DeleteHow big is the whole round area that the fire pit is on?
ReplyDeleteIt is 14' across.
DeleteHello, I love your patio and my wife and I will getting our patio done this summer and like the layout of yours. Do you know or could measure the width and length of the rectangle portion of the patio, and I’m assuming it’s a 14ft diameter circle for the fire pit area ?
ReplyDeleteThanks again
Thank you! The main part is about 15x30 feet.
Delete