Window seat, ship lap and craftsman trim
July 25, 2016
Share this
OK, well I lied. ;) I said I wasn't going to share more of the loft redo for a week or so but I was a beast this weekend. I mean, BEAST. We didn't have much planned so it was great to have tons of time to dedicate to this space. I made some major progress that I'll share with you this week.
My goal was to have this space done by the time school starts and my time is quickly dwindling. I'm going to try really hard to get it done but I doubt it will happen -- I lose four days out of town for a conference. Who knows? Maybe I'll pull it off. None of the remaining projects are hard, they're just busy work.
SO. Last I left you, I had installed the baseboards throughout most of the room, including the window seat:
Here's a view of the other side:
My first project was to trim that seat out with the same trim I use all over our house. I seriously use this stuff everywhere. It's called sometimes called lattice and it's very thin. I always get pine:
Menard's has wider sizes than anywhere else I've found -- this one is 1 3/4 inches wide. The other hardware stores carry thinner sizes. You can see all the ways I've used this stuff around the house here and I also used it on our extended kitchen island. It's the perfect detail to finish off projects (and it's cheap!).
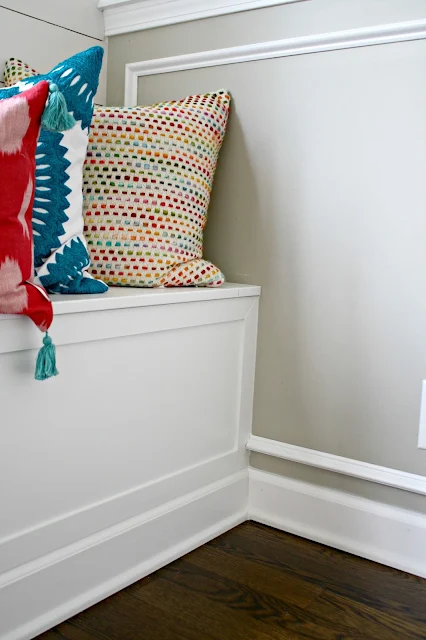
I did a simple look on the window seat -- I framed out the front and then just put three smaller vertical pieces down the front to create panels. Then I painted the whole thing in out in semi gloss paint. I use semi gloss for all trim and built ins:
I was SO happy with it when I was finished and couldn't wait to get to the next part:
I pulled out the old window sill and then trimmed out the window with my DIY craftsman trim like I showed you how to do a couple years ago. I lowered the bamboo blinds back down inside the window frame (they were hanging above the window before) and it helped tremendously. It looks so much cleaner now!
For years I had plug in sconces flanking the windows and when I took them down the old pink paint color was still there. Plus, I used my cord covers on the wall and they had been up so long they ripped the drywall off. I knew eventually I would address it so I've left the walls like this for years. Good times.
I'm SO happy those spots are covered up!! I used the same planked wood as for the the large wall for these smaller areas:
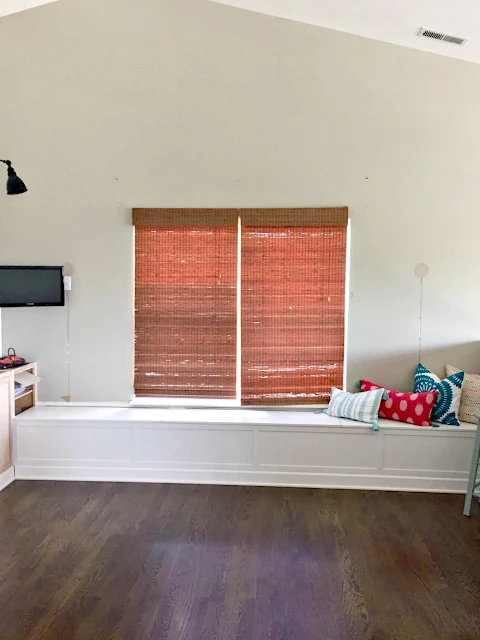
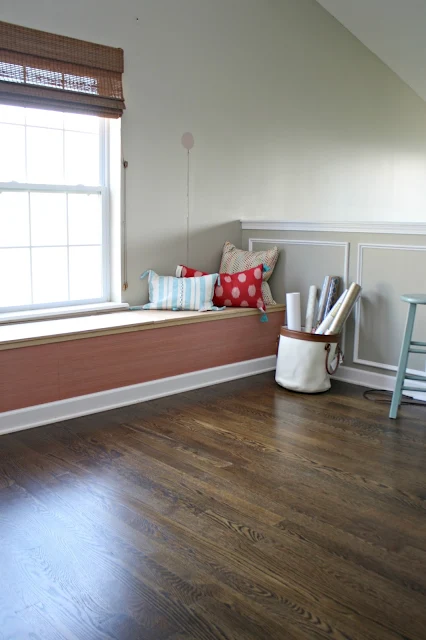
This look will continue around the room as well. Here's a look at both sides with the new window trim:
I added some trim to the tops and each got a few coats of paint and caulk to hide any imperfections. Told you I was in beast mode. ;) I didn't work out for three days because stepping up and down off of that window seat was plenty.
It looks SO LOVELY. I'm thrilled with the progress in this space. Here's a closer look at the simple trim on the window seat:
And the new trim on the window:
I don't have a table saw so I had that bottom wall piece cut down and will install it today.
I also finished up a little DIY project for that wall to the right last night, but I'll show you that later this week:
I still need to do some minor things like touch up the wall paint around the window (I had so many holes in the wall from moving drapes and art around over the years) and make or find some more pillows, but other than that this wall is done and I LOVE it. OH and cushions…not sure when those will happen though.
Many of you asked about those pillows and I found them all at HomeGoods. I'm going for fun and a bit girly in here and the colors look beautiful against the white:
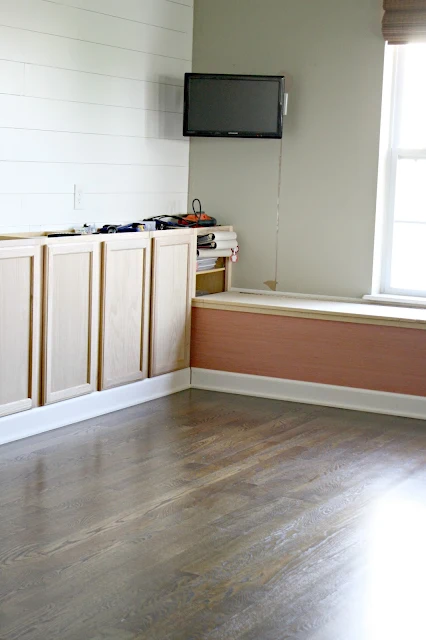
Here's a before of this corner of the room:
And here's how it looks now:
That open cabinet will get a door once I cut it down and rework it.
Here's how this corner looked last week:
And how it looks now:
And the wide shot, before we had the floors put down:
And the progress so far!:
OH my goodness, I love it! I'll share my little project on the wall to the right later this week -- any guesses what it is? :)
If you have any questions about the items or projects in this room please let me know! Here's the posts on this space so far.
- Removing baseboards the easy way
- New floors and craftsman door trim
- Window seat and a planked wall
- Scones and tons of storage


Have you ever heard of the app called Home? It has a TON of cute pillow covers that are only $2 and then $1 for shipping. You should check it out! I think you have said before you have a place for cheap inserts--most of these pillow covers are 18x18. It looks great so far!!
ReplyDeleteDid you share a tutorial on the paneling? I know you have used different types throughout your home and I am wondering what your favorite method was and why?
ReplyDeleteHere is a post about the walls! http://www.thriftydecorchick.com/2016/08/how-to-add-shiplap-look-to-your-home.html
DeleteI LOVE this! I keep on coming back to your site because I've been wanting to do something like this on a wall in my entryway. A question - do you think these pieces of lattice would be strong enough to hold coat hooks and the weight of a winter coat, back packs, etc.? Some of the hooks I'd be able to hit a stud in the wall, but some of them not. Thanks for all the work you do here! It's so helpful.
ReplyDeleteIf you attach them to a stud yes! If not I'm not sure they would hold that more than the weight of a coat. :)
DeleteLove! Living vicariously through your work (don't lift 80 lb.cement bag. Very very bad idea) as I'm a bit inconvenienced lol. Question: what's going to happen on the half/short wall by the stairs? Built-in? Shiplap? Gosh, I love this space!
ReplyDeleteWow...amazing.. LOVE IT. Cant wait to see the finished room.. Best wishes on getting it done on your time schedule..[You did amazing this weekend..]
ReplyDeleteWOW!! That looks great. You continue to amaze me.... very talented.
ReplyDeleteLooking SO great, Sarah!! So impressed!!:-)
ReplyDeleteI just love your blog! It is such a treat to take a few minutes and see what exciting project you are up to. This looks fantastic! I can only imagine how much fun you are going to have using this new space.
ReplyDeleteLooks great! Awesome progress. I love seeing this space come together :)
ReplyDeleteI have a question about adding the base molding to your kitchen cabinets for your built-ins: do you fill in the toe kick area with something or just nail the trim flush with the bottom edge of the cabinets? I also had the same question about your kitchen island but I couldn't tell from the pictures. Thanks!
ReplyDeleteGood question -- this time when I braced the cabinets I built it flush with them. So I was able to just lay the base on top. In the past when I've built the "stand" and attached it underneath, I've added scrap wood to make it flush, if that makes sense.
DeleteWhat an awesome makeover! I am anxious to check out more of your renovation ideas. I would love to add a little shiplap in our home. You have given me inspiration.
ReplyDeleteBlessings from Lynda at Still Woods Farmhouse