How to Build a Simple DIY Garage Workbench
November 27, 2013
Share this
How to build a simple DIY garage workbench.
A tutorial on how I built a quick and easy spacious work table in our garage. This one is stationary, but I include options for mobile workbenches as well.
This is the wall I was planning on addressing:

I had my saw on that storage cabinet for years now and it worked OK but not great. I wanted to have a lot more room to spread out.
My dream has always been to have a workbench in the garage and that dream was much easier to realize than I thought.
I put a plan together and gathered my supplies. Even a beginner could do this this project! You'll need a saw and a drill -- but the wood can be cut down at the hardware store if you don't have a saw big enough.
Here's the material I used for this DIY workbench:
- One pine 1x4 boards
- Two pine 4x4 posts
- One 4x8 foot plywood sheet
- One 1x2 for trim
- Plenty of wood screws
All of the wood pieces I purchased were eight feet long, but the finished size will depend on your workspace.
The first step was to figure out how high and long I wanted the table to be. I measured the length and it turned out to be right at eight feet, which was a bonus because I didn’t have to have to make nearly as many cuts.
As far as the height, I knew I wanted it taller than the plastic cabinets so I could store them underneath.
I marked the height and then attached the 1x4 board (making sure it was level) to the studs along the wall with two inch screws:


This post may contain affiliate links for your convenience.
I may earn a small commission when you make a purchase through links.
See my policies and disclosure page for more information.
Be sure to attach this board into wall studs!
Next I held the 4x4 post up against the board to mark the height of the legs, since my plywood (the top of my workbench) would sit on both the board along the wall and the 4x4’s in front.
I cut three posts down to use as supports along the front, then placed the plywood (I used a 4x8 foot board cut right down the middle, so two feet deep) on them.
I secured the workbench top into the legs with screws:

It's always a good idea to drill pilot holes into your wood before drilling in the screws. This will keep your wood from cracking or splitting.

It's always a good idea to drill pilot holes into your wood before drilling in the screws. This will keep your wood from cracking or splitting.
I made sure the posts were perfectly horizontal (with a level) before securing them to the top. I put four screws in through the top of the plywood into each of the posts.
I secured all three posts and then did the same at the back of the plywood, up against the wall:

You could easily do that part first and then the posts, it doesn't matter what order you do it in. This is where I opened my mouth, stuck in my foot and said, “Wow, this is going so well!”
I'll never learn. :)
Initially I added another 1x4 as an “apron” across the front of the top shelf -- I just thought it finished it off nicely and looked a little better.
Then we realized the storage containers wouldn’t fit underneath with it on there. So I took that off, put them under again and realized the container doors to the right wouldn’t open with the wood along the front.
So instead I used a scrap 1x2 I had -- losing those two inches made it so I could open everything just fine:


I secured that to the posts with screws as well:

This large DIY work table is made with a brace along the back wall with plywood on top and 4x4’s as supports in the front.
It's an easy and simple design!:

I didn’t secure the posts into the cement floor since the weight of the wood and saw keeps them where they are.
Since the table is so close to the door to the house, I smoothed down the hard edges and corners with a sander for safety:

Can I just say how much I love this? Why did it take me so long?
Even with my slight mess up this project was much easier and quicker than I thought it would be.
The total cost was less than $50 -- the main expense was the piece of plywood that was $25. (The thickness 3/4 inch for extra strength.)
If you're using this simple workbench plan and need a spot for tools and accessories, wall pegboard storage like mine is super inexpensive!
The garage is like night and day from before. I can’t believe how much better it looks and functions now. It has stayed clean for three weeks now -- that’s how I know it finally works for us! Isn’t that a great feeling?
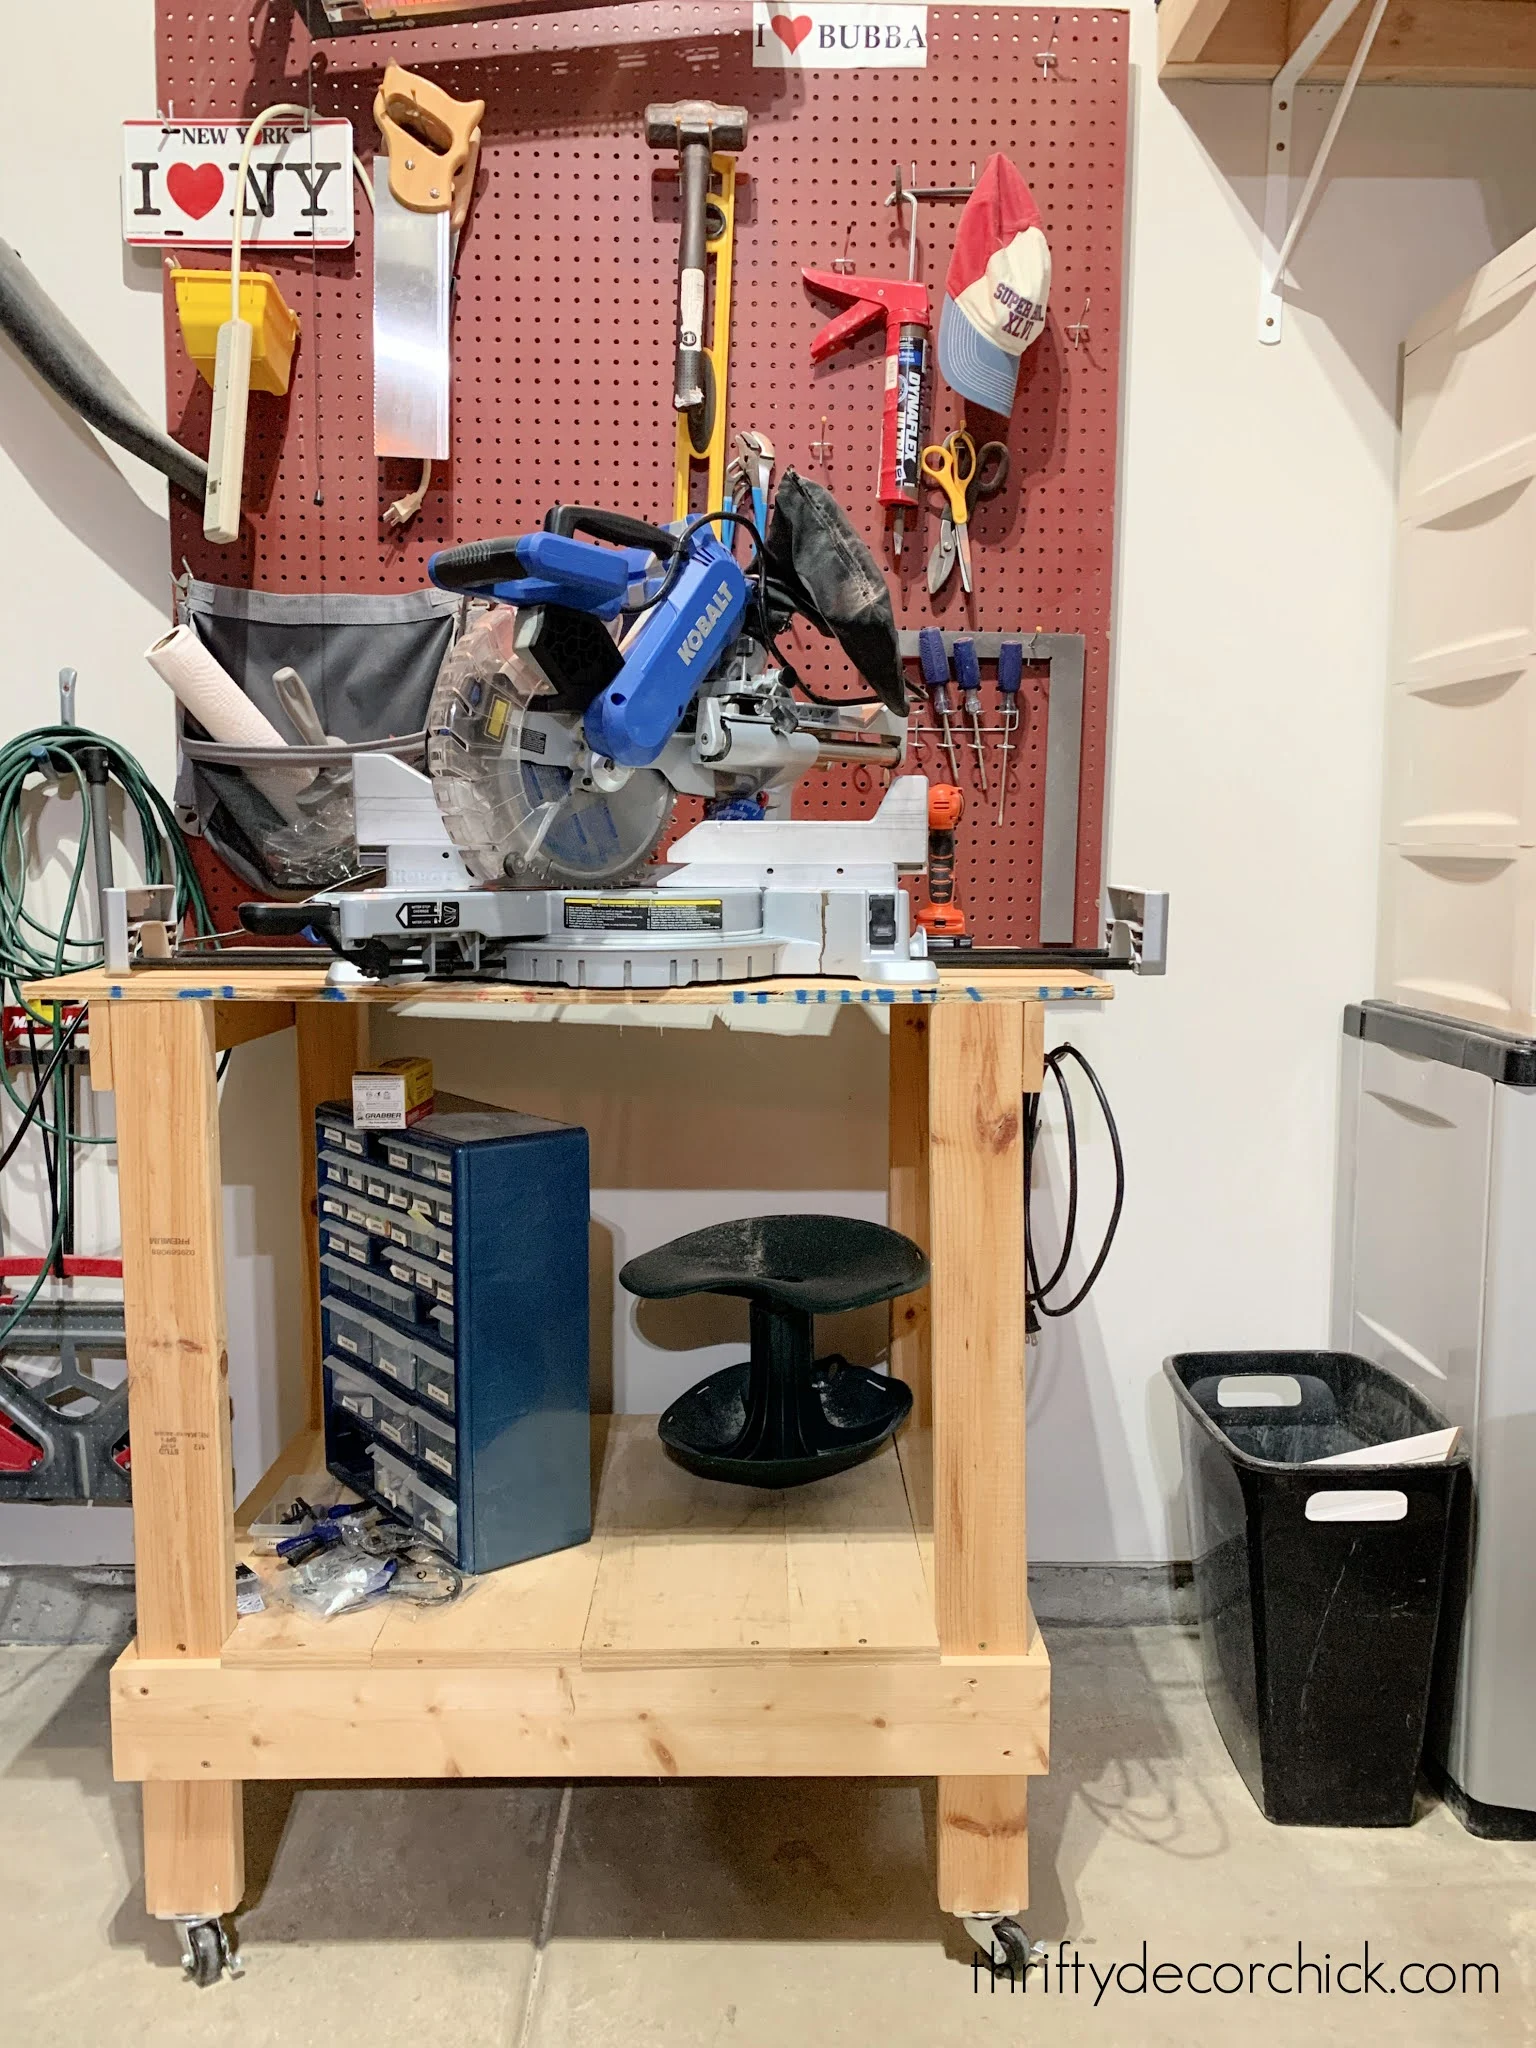
I made a smaller, rolling version of this years later with a bottom shelf for storage:
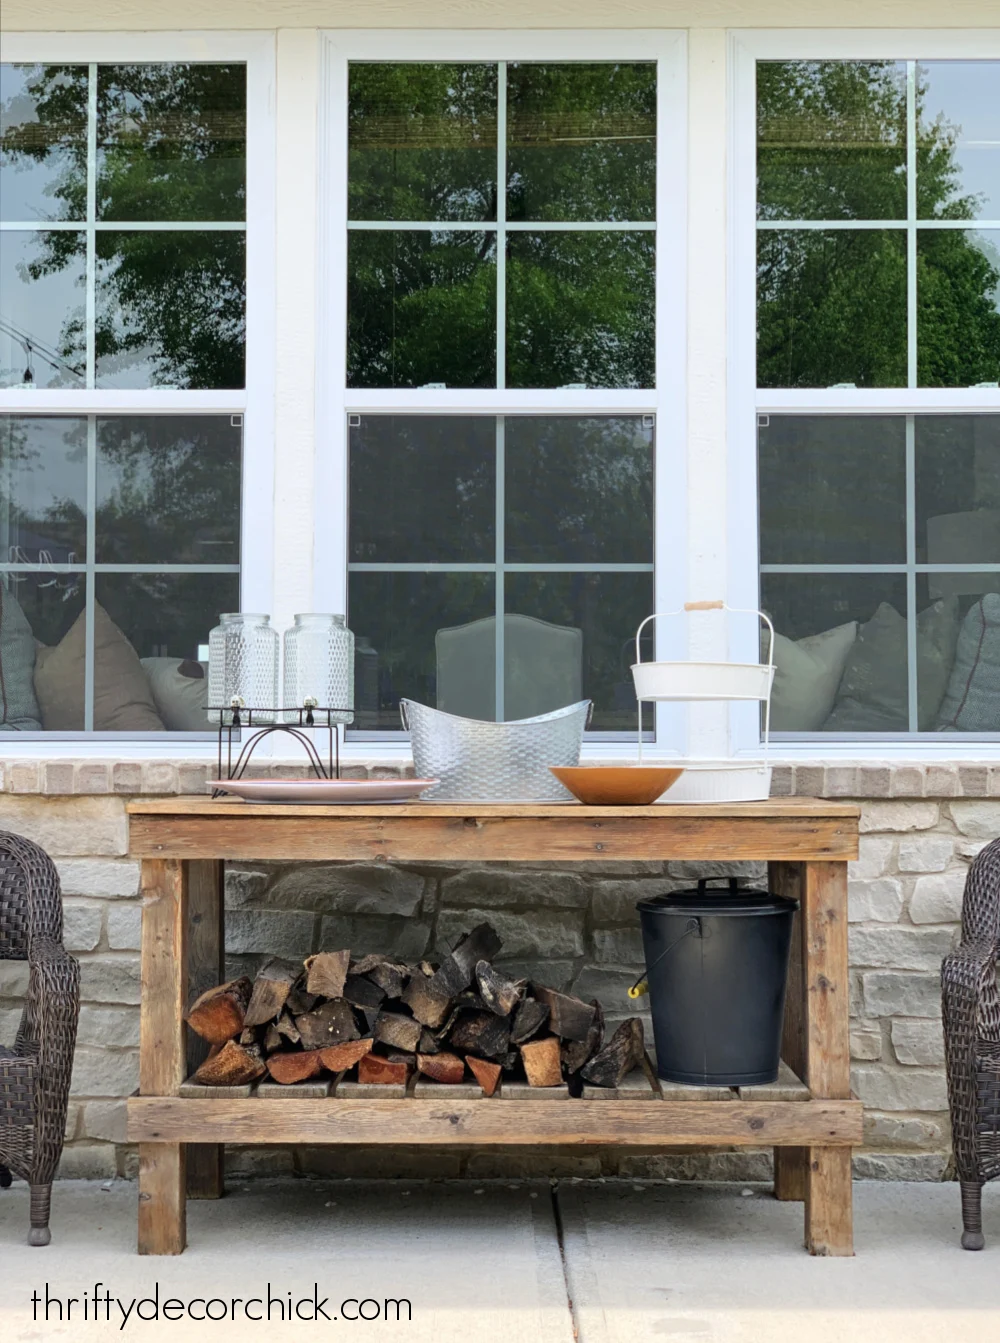
And that was just a smaller version of my DIY cedar potting bench serves the same purpose as the long table above:
But this option has more storage and can be made into a mobile workbench with casters.
I added hooks to the sides of both of these versions, which is great for keeping tools close and for extra storage.
Never miss a post by signing up to get posts via email.


Oh I love it. I so need to get ours cleaned out and a workbench would be a total dream. This is fabulous. Hugs, marty
ReplyDeleteThat looks wonderful! That last comment you made makes so much sense, it is so much easier to keep something clean when you have it organized right.
ReplyDeleteJust a quick question from a novice DIY-er. Do you need some sort of brace or cross or something to keep the table from eventually wobbling or listing?
ReplyDeleteI love it. The workbench came out great!
ReplyDeleteWow, Sarah, that's awesome. So cool it ended up being easy for you. I am making a mental note to show this to DH. I am also giving you mental applause since the garage rehaul is *working.* I know what you mean. If it's not working, you find out very quickly!! Happy Thanksgiving! -Anne
ReplyDeleteWell done! I have a beautiful workspace in my garage, but it's only usable for late spring, all of summer, and till fall is done. Our garage is unheated and Canadian winters can get quite cold... very very cold to be honest, and I'd rather not put my fingers through a saw because they are numb and I can't feel them. I have made myself a work space in my basement, and love it. It isn't quite this fancy, but it sure works for what I need. After seeing this, I'm thinking I could ditch what I have in the basement (an old icky door on 2 sawhorses), and make this. It would give me back my sawhorses. It sure is exciting to look back on a project and realize how easy it actually was. :) I love DIY projects... my blog has a few if you wanted to look. ;)
ReplyDeleteI've been dreaming about doing the same but here is my question, what about saw dust? I was thinking of making mine on wheels so I could drag it out to the driveway and decrease the amount of dust getting in the garage. Do you have a solution for that that I don't know about?
ReplyDeleteSarah! I cannot thank you enough for this post! I've been struggling with how to build a work bench for our garage and you just showed me a solution that even *I* can understand!
ReplyDeleteFANTASTIC! The is one of the reasons I love you and you are in the "must read" section of my feedly. You have the courage to dive in and do the projects you want, make it work, and know when not make it more complicated than it needs to be. I'm definitely pinning this one and eyeing a location for this in my basement. Keep up the great work!
ReplyDeleteAnother great project, and thanks for the tutorial on how you accomplished it. At my house, a clean surface that close to the door that is used by all family members numerous times a day, would not stay clean, neat nor organized for very long. Too tempting to "just lay something there for a few days, until I need it". I'll be curious to see if that becomes a problem, plus I am looking forward to reading your answer to Laura's question about the sawdust getting all over the nice clean garage. Enjoy your holiday time.
ReplyDeleteNot a whole lot of anything. By the time I got turkey, ham, dressing and all the other sides made I did not want any of it.
ReplyDeleteWhat did I have for Thanksgiving dinner yesterday? Every year I look forward to going to my mother-in-laws for her homemade pies, and my mom's for her traditional sweedish meatballs and au gratin potatoes and ham. This year, I ended up eating a little mashed potatoes with gravy and just a meatball or two. I had surgery on my face Tuesday for skin cancer removal. They took a lot more than the size of the spot itself, and the repair was even bigger. The right side of my face is still swollen. It made trying to eat and wanting to eat difficult. Yesterday was the most painful so far. This morning things were a little better, so I treated myself to a (leftover) ham and egg sandwich on a whole wheat roll. The best thing I've eaten in 4 days. Happy Thanksgiving and hope I win. Love the blog!
ReplyDeleteWe had Turkey with all the trimmings, and the best part was the pumpkin pie!!!!
ReplyDeleteI SO need to do this. I bet we even have some 4x4 fence posts hanging out in the garage, too!
ReplyDeleteIt's my first comment here. Your bench looks awesome. Cleaning up, organizing and having proper tools makes life so much easier and pleasant!
ReplyDeletenow that looks much more practical! and safer!
ReplyDelete