Hemnes glass cabinet makeover in bathroom
September 13, 2018
Share this
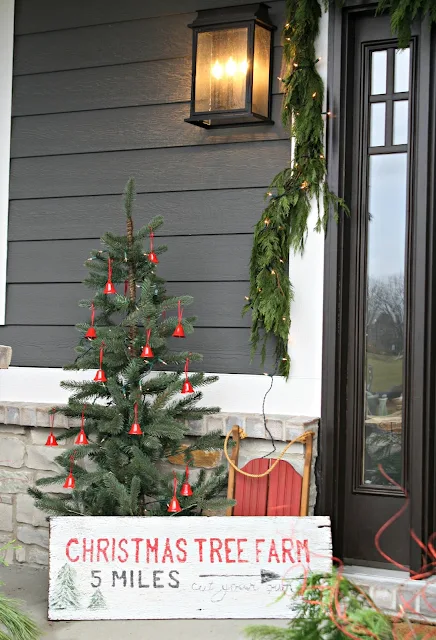
I was thrilled last year when IKEA asked if I'd partner up with them to share some projects with you. I've always been a fan, even when I had to drive four hours round trip to get to the nearest store! I showed you our porch decorated for Christmas last year and today I'm excited to show you a pretty addition to our master bathroom. I just LOVE IT.
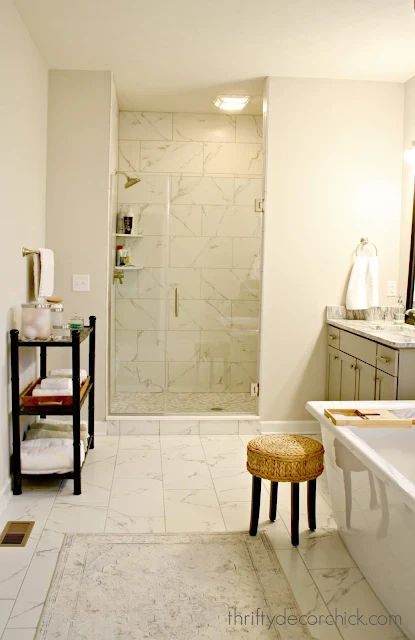
I gave you a tour of this room a few months ago and not much has changed. The wall to the left with the black shelves is the area I tackled recently:
As much as I love that bamboo piece (you can see how I made it into a bar cart here), it never felt substantial enough for that spot.
Our storage in this bathroom isn't quite as plentiful as our old one. The linen closet is about half the size and I was a dummy and didn't do drawers in the vanities. That is one of the only regrets I have throughout the whole build!
SO. I've always known I wanted something with more storage here. I looked online for nearly a year for a secondhand cabinet I could transform. It had to have drawers and some shelves, and preferably some glass doors as well. I looked at Craigslist and the marketplace on social media and never found anything I liked.
Enter IKEA...a couple months ago I was walking through and found exactly what I wanted. Well, near exact. It checked all of the boxes except for one -- the color. I wanted a true black. But I knew I could easily fix that (I was planning to paint a wood piece anyway).
The HEMNES glass door cabinet was a perfect fit (not too deep for this spot) and offered all the storage I wanted! I had an idea in mind for the final finish, so I went with the wood version of this cabinet:
I thought it would take forever to put together but I was pleasantly surprised. I had it finished in about an hour. I'm getting really good at building those drawers!
We actually quite liked the wood grain. My husband wanted to keep it this finish, but he knows how my brain works and knew I had a vision. ;) So I taped it off to start the painting process. (I had already secured it to the wall at the top -- I just added one line of painter's tape along the back so the paint wouldn't hit the wall.)
I get this question every time I paint -- why not paint it all before you put it together? I never do that because inevitably something will get scratched in the build process. And there are some spots I don't think need to be painted. I don't do the backs of drawer fronts for example. I find it much easier to paint when it's all together. 👍
I primed this piece because I wanted to make sure the paint adhered well. The wood wasn't super slick to start with so I think it would have held paint directly. But I've learned it never hurts to take this extra step:
I used BIN Primer for the first coat (I have it tinted). You can see how I use this on our interior doors when I paint them as well. It's a very thin paint that is super easy to apply and dries incredibly fast. Because it's harder to clean up you have to protect your surfaces well and I use cheap paint supplies for this coat.
I get the detail areas with a small brush (see above) and then roll on the larger areas:
Because it dries so fast you can move along pretty quick. I used the same black color as our mud room door for this project, called Tricorn.
IKEA does sell a dark version of this cabinet (as well as white), but it's more of a brown/black. I wanted a true dark black for this space.
Again, I use a small angled brush for the detail areas, and then roll on the flat spots. A foam roller will give you a super smooth finish!:
I always go over the surface a few times with my roller -- you may see some small bubbles at first, but a few more swipes will take care of those.
Once it was dry I was able to put the new hardware on. So pretty!:
Do not fully tighten your hardware for at least a week after painting. It takes a good amount of time to really cure.
My idea to make this cabinet look a little different came from IKEA -- they have a white version of this cabinet that has the wood tone inside. I went for that look with the black:
I LOVE the two-toned look! All black would have been beautiful but I love warmth that the wood gives.
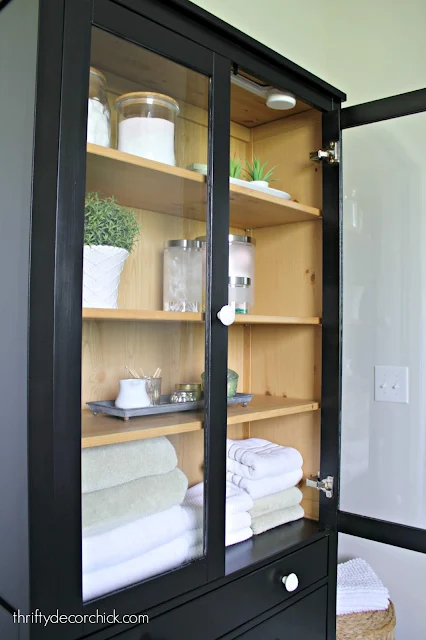
This cabinet is perfect in this spot and we're thrilled with the extra storage:
Want to know our favorite part? One of our cats is obsessed with cotton swabs so he is always sniffing them out. He'll knock jars of them over just to get inside. I told you he was weird.
Anyway, now he can't get to them...buwhahaha. AND they look super pretty in here:
We already had most of the storage jars (from IKEA) but grabbed a couple more as well. I'll list all of the products at the end of this post.
Isn't it pretty? I am so thrilled with it -- I'm glad I decided to paint it:
I also ended up adding a battery-operated light from IKEA as well. (This was my husband's request cause he's like me when it comes to cool lighting.) I hung it at the top of the cabinet inside.
You can only see the actual fixture when the doors are open (take a look at the pics above). It gives a soft glow that's even prettier at night:
This room kind of demands some pops of black with the marble tile. I added some with the IKEA light above the tub first. I knew a tall black cabinet would really balance it all out.
Here's a view of that area before:
And here's how it looks now!:
I have big plans for this room (I think crown molding is next), but this piece is a beautiful addition. I could not be happier with how it turned out!
Have you ever painted a piece from IKEA? If you use a good primer your possibilities are endless! I love these pieces as they come but they are so fun to customize as well.
Here's a source list if you're interested:
- IKEA 365+ serving plate used as tray, IKEA
- Frosted storage jars, DROPPAR storage, IKEA
- IKEA 365+ jars with cork lids, IKEA
- Knobs, Hobby Lobby
- FEJKA faux plant, IKEA
- HEMNES tall cabinet with glass doors
Check out our IKEA Christmas porch here:
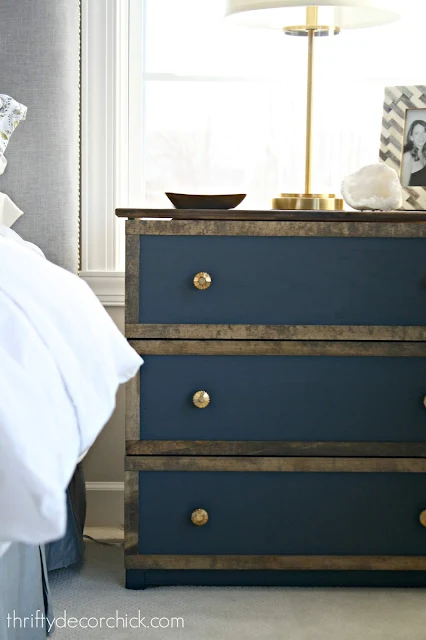
And see how I transformed this IKEA TARVA dresser here:
Share this
September 13, 2018
bathrooms
before and after
DIY
Master Bathroom
painting furniture
shopping


I love the new look of the glass cabinet. The cooler, darker colour looks so refreshing!
ReplyDeleteCharmaine Ng | Architecture & Lifestyle Blog
http://charmainenyw.com
I love your cabinet makeover! I am getting ready to paint a lot of furniture, thank you for the tips!
ReplyDeleteLooks great! Do you have any concerns about the drawer bottoms being sturdy enough? That is always my worry with IKEA pieces.
ReplyDeleteWe’ve never had any issues. 😊 The wider ones (bigger dressers) have supports underneath each drawer so they hold up great!
DeleteMy cat loves cotton swabs too! used (gross) or new... she knocks over trash cans or tips over containers to get to them! I bought a cute storage container for them and now just have to hide it in a drawer :( Glass doors like yours are perfect for showing off with protection haha
ReplyDeleteGlad he’s not the only weirdo! 😂
DeleteLove this! Especially leaving the inside natural.
ReplyDeleteI love this cabinet. I've been oogling it for years-since we got our IKEA here in town several years ago. My hope is to put it in our living room. I just keep going back and forth because I have 2 boys...I'm not sure the glass would survive! I love those drawers though! This whole piece is so great. I love the Hemnes line.
ReplyDeleteLooks great. We have s few IKEA pieces but not familiar with this piece. Your bath is so spacious!
ReplyDeleteWe have one cat that loves q-tips. Have to keep the bathroom door closed or he snags them out of the trashcan!
ReplyDeleteIt looks lovely, Sarah! Perfect fit for the bathroom... definitely nicer than the cart. ;-)
ReplyDeleteSpa
ReplyDeleteVery nice, I think it gives the room more depth and texture and maybe the no drawers oops, wasn't so much of an oops after all!
ReplyDeleteHi Sarah, that cabinet is beautiful, and I'm now wishing I had a place for one in my home! I'm painting bedside tables that were already painted. I have used chalk paint in the past as a primer which has worked; however, this time when I paint the final paint over the chalk paint, it just peels right back off onto the roller. It won't stick at all. I've used the foam roller as well a very low nap roller. Has this ever happened to you? Any suggestions?
ReplyDeleteHmmm...are you sure you didn’t put wax over the chalk paint? It sounds like there’s a protective coat. If not, I would still try sanding it down and seeing if that helps! 👍🏻
DeleteThe cabinet looks great in that spot and love the two tone look. Can you share your bathroom wall color? I’m currently struggling with choosing a paint color for my living room and kitchen. Ugh, why is it so hard!?!
ReplyDeleteIt's called Agreeable Gray by SW. :)
DeleteThis is beautiful Sarah, and your bathroom is gorgeous!
ReplyDelete