Adorable DIY Halloween eyeball votives
October 11, 2009
Share this
These cute cheesecloth and paper wrapped votives are an easy Halloween DIY decoration!
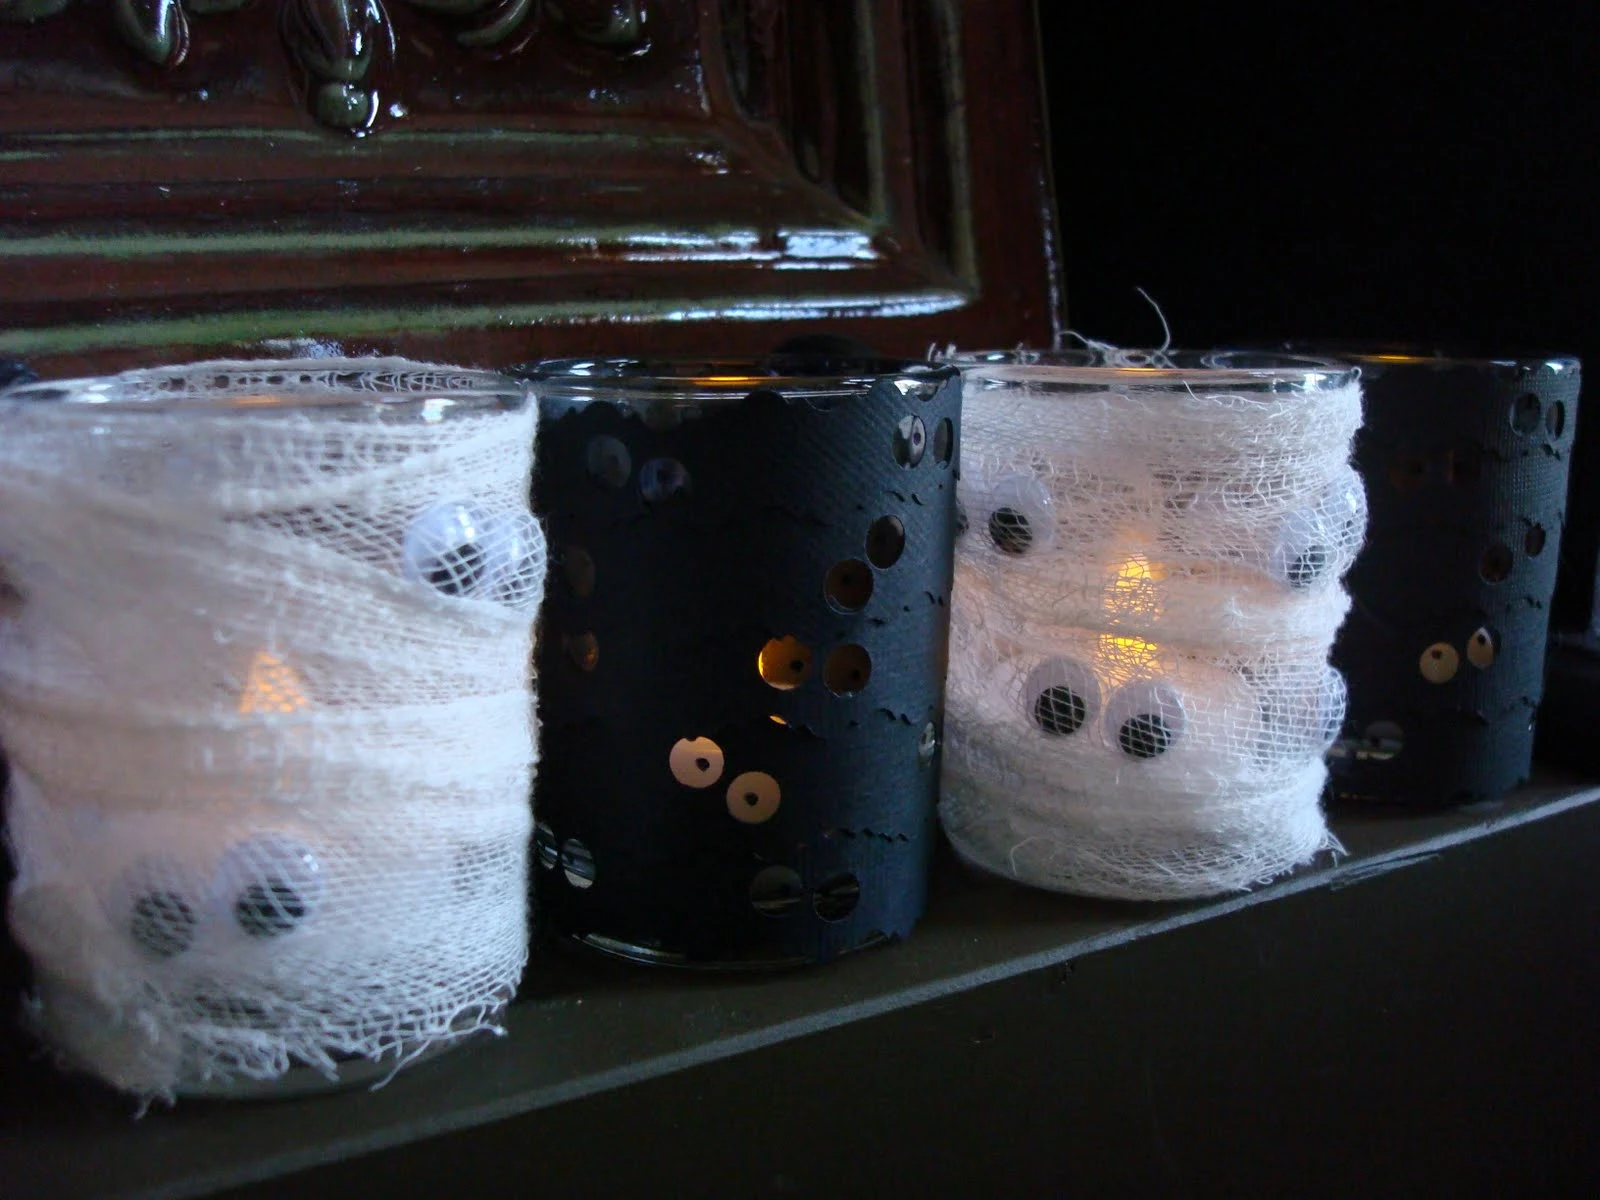
I just adore these spooky little votives dressed up for Halloween. I made two versions -- a black paper option and a cheesecloth one that looks like tiny little mummies:
This post may contain affiliate links for your convenience.
See my policies and disclosure page for more information.
They are SO cute!
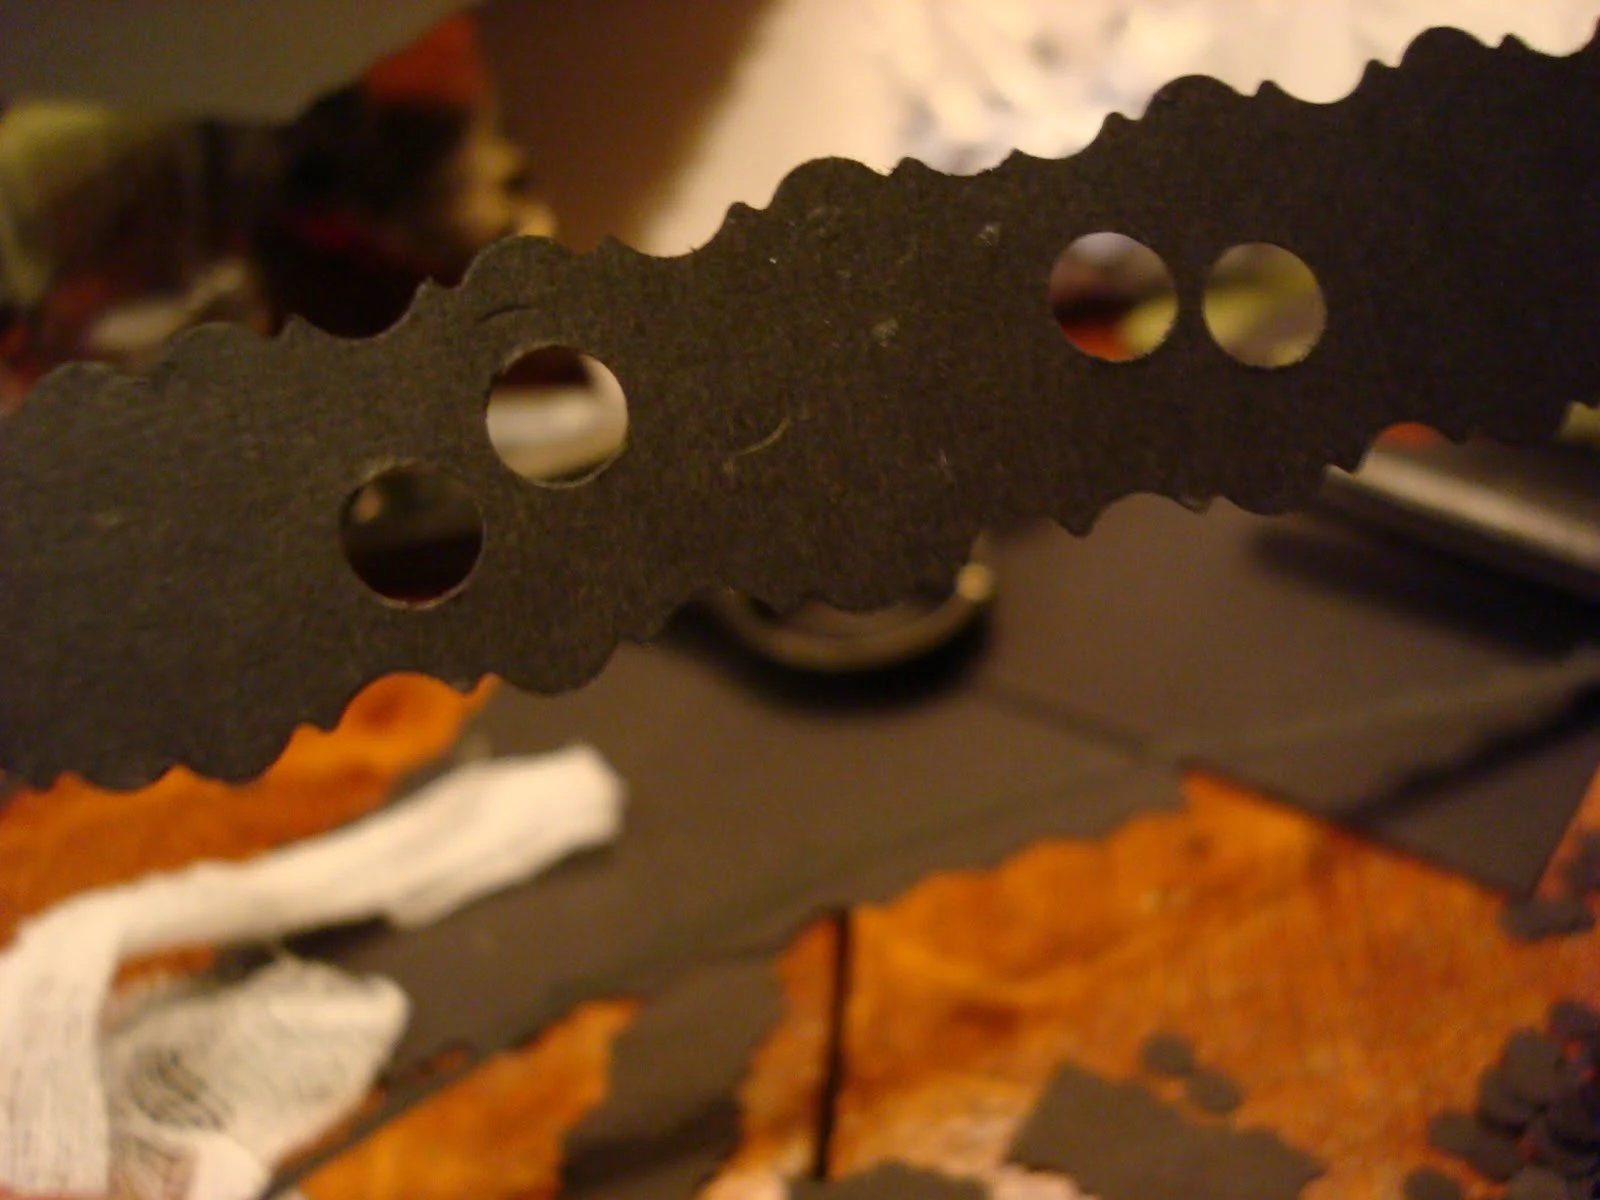
For the first version you'll need black construction paper or card stock. I started these paper wrapped Halloween votives by cutting black card stock into strips using my wavy craft scissors.
I made sure they were long enough to go around the glass votive once:.JPG) You can also tear pieces of paper and glue them on, but I thought this was much easier!
You can also tear pieces of paper and glue them on, but I thought this was much easier!
Before you glue the paper on, grab a hole punch and make "eyes" all down the strip:
.JPG) You can also tear pieces of paper and glue them on, but I thought this was much easier!
You can also tear pieces of paper and glue them on, but I thought this was much easier!Before you glue the paper on, grab a hole punch and make "eyes" all down the strip:
Hot glue the start and end of the strip to the back:

Keep going with the strips till you get to the top. I think I had about five strips per candle, but you could do less if you made them thicker.
Then, I used a black Sharpie to complete the eyes:
.JPG) I made them go every which way -- and some crossed-eyed. Those are my favorites! ;)
I made them go every which way -- and some crossed-eyed. Those are my favorites! ;)
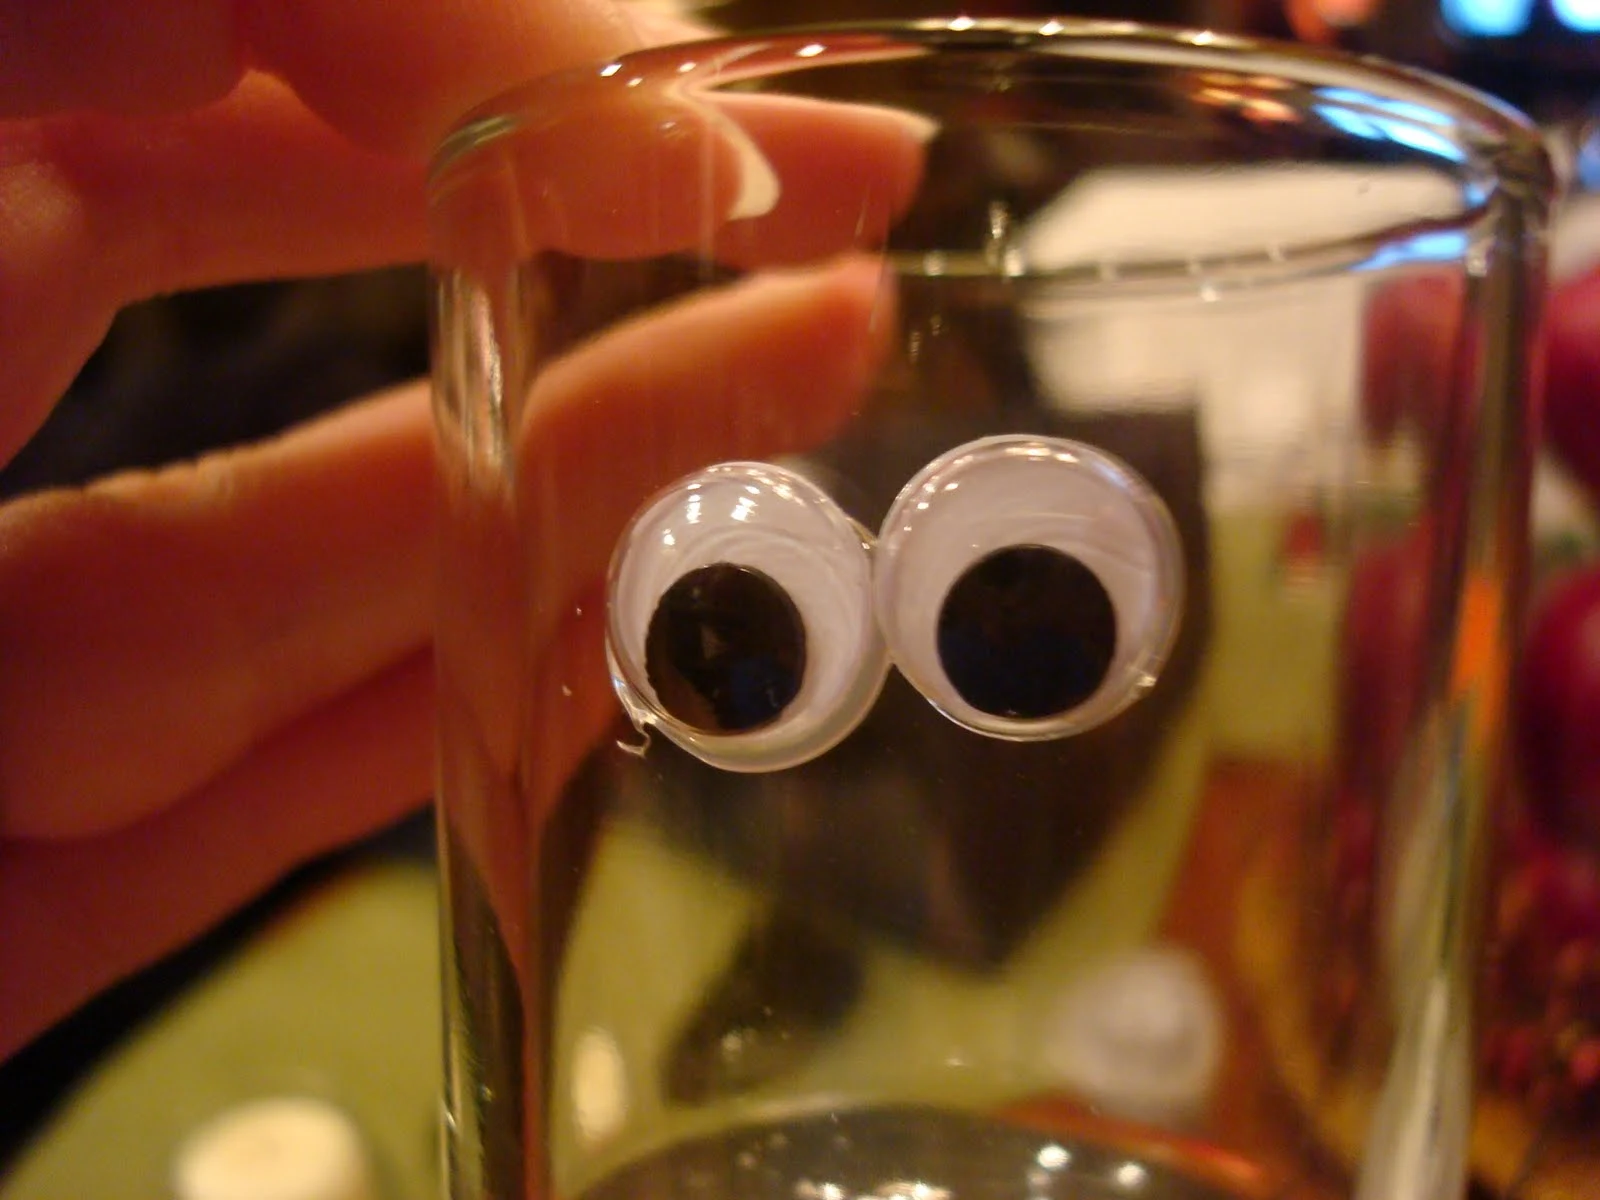
For the little mummy votives, I took some googly eyes and hot glued them all over the votive holder:

It's OK if glue smudges out, you won't see it later.
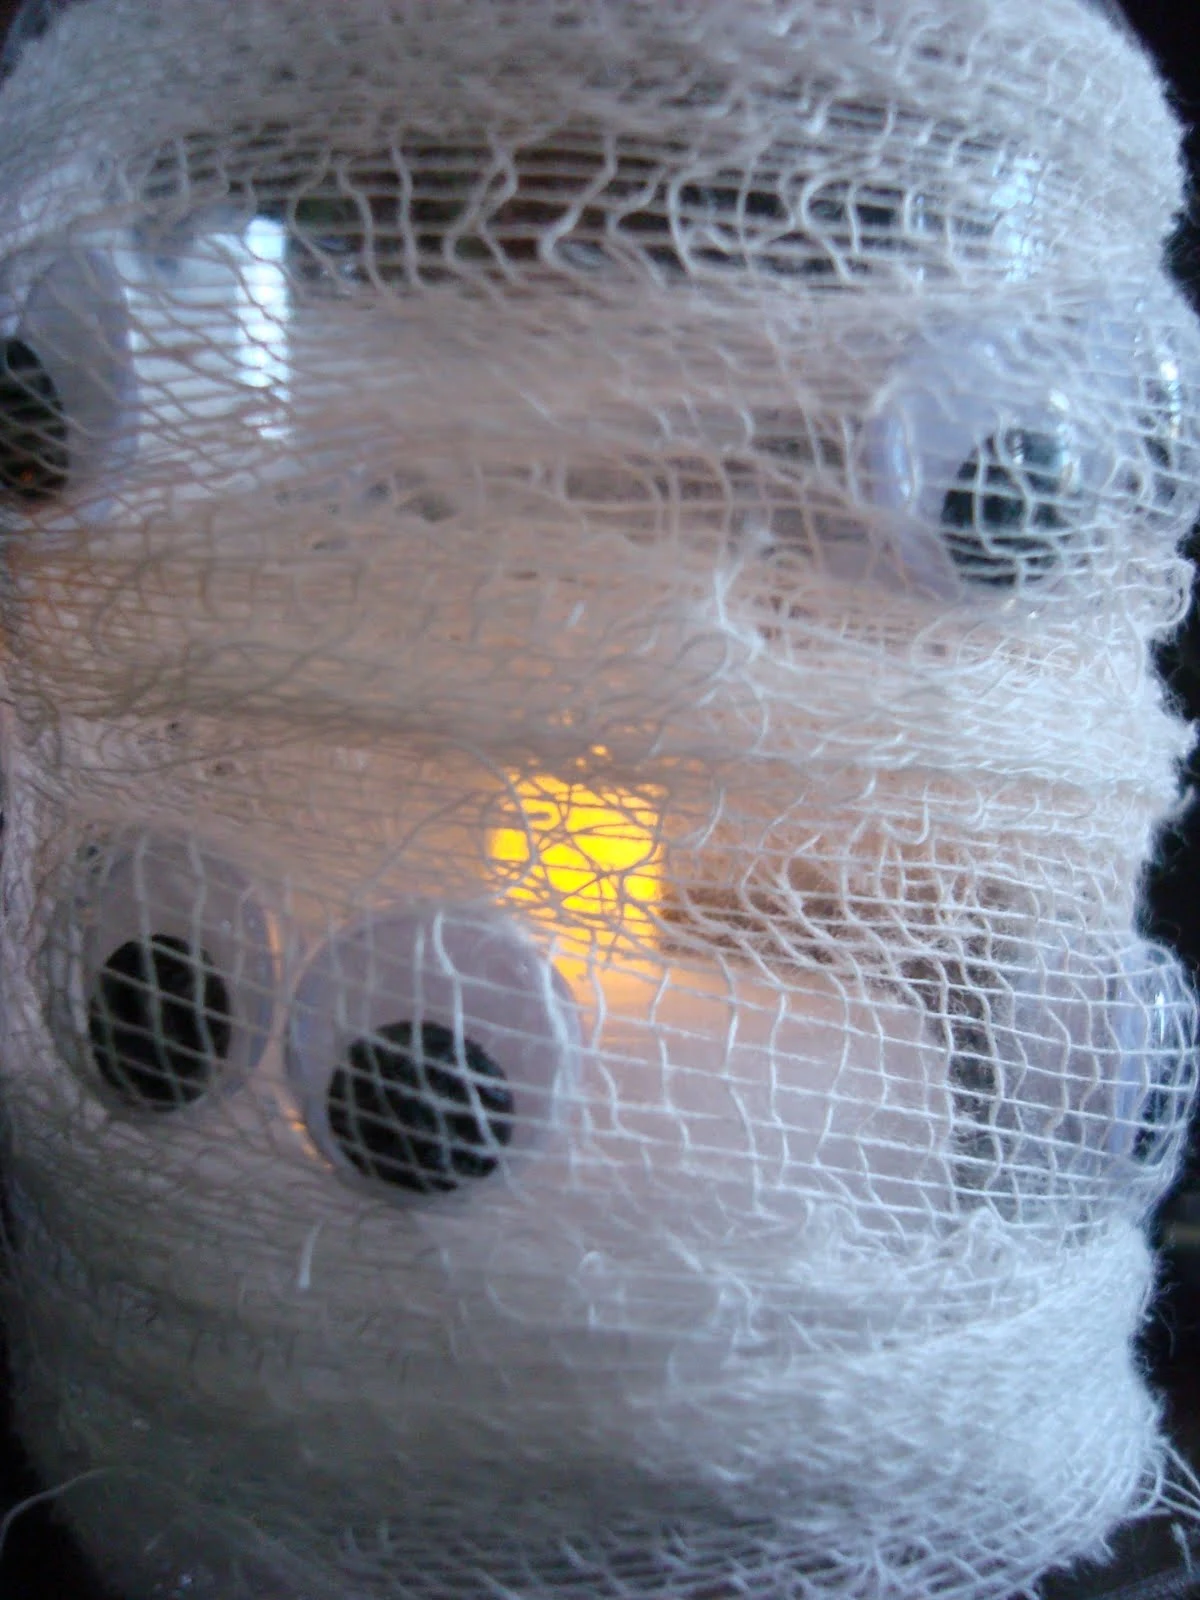
I took some inexpensive cheesecloth, cut it into strips and wrapped it like a mummy:
 UM, I know! Cuteness!! I just hot glued one end, then wrapped it and hot glued the other end. I used one long, skinny piece of the cheesecloth for each votive.
I dropped in some LED votives (they are all I use for decor like this anymore -- love them!), and this is what you get:


At night, the cuteness really shines through:


At night, the cuteness really shines through:
Oh my goodness gracious, they are adorable:
 What a fun project to do with the kids! My guy is still a little too small to do this one, but with some supervision, and an adult handling the hot glue, they could definitely join in.
I made eight of them for ten bucks -- but I bought new votive holders and googly eyes because what I had were too small. Cheap!
Do you love my little ghouls?
 What a fun project to do with the kids! My guy is still a little too small to do this one, but with some supervision, and an adult handling the hot glue, they could definitely join in.
 I made eight of them for ten bucks -- but I bought new votive holders and googly eyes because what I had were too small. Cheap!
See how I used them on our Halloween mantel here. And you can use your extra cheesecloth to make these cute cheesecloth ghosts!
Do you love my little ghouls?


Very cute!
ReplyDeleteREally cute!
ReplyDeleteI LOVE these!!! very cute!!
ReplyDeleteI love these!! I'm trying to think if I have Votives lying around or I might have to make a trip to the dollar. Store. I've been waiting for a new craft for my spooktacular next week. This just might be it.
ReplyDeleteCheck out my spooktacular posting tomorrow. I hope to maybe inspire you.
These are adorable! I might make these with my class if I can find some cheesecloth cheap.
ReplyDeleteVery clever & cute idea! YOu did an awesome job......Bonnie
ReplyDeleteThe mummy ones are adorable and the spooky eyes make me laugh! :)
ReplyDeleteSo cute!
They are ADORABLE! What a cute idea.
ReplyDeleteVery cute! I think I like the mummy best {maybe because that seemed easiest} but they both came out great.
ReplyDeleteThe mummy one is my fave...how cute!
ReplyDeleteWhat a fun idea! I am filing this at thecraftersfilebox.blogspot.com.
ReplyDeleteThanks so much for sharing!
I'm so making some of these!!! Total cuteness!
ReplyDeleteGreat idea, Thanks for sharing!
ReplyDeleteLove it thrifty girl!!!!! I'll do this with my girls who are always looking for a fun project.
ReplyDeleteRuthie
these are SUPER cute!
ReplyDeleteVery cute! Love your blog too.
ReplyDeletexo,
cristin @ simplified bee
we made those votives last year and I smiled when I found them again this year. I was not as smart as you and did tear the paper into tiny pieces :( But they are super cute!
ReplyDeleteSo cute!! Glad I saw this
ReplyDeleteRobyn
Robyn's Chic Scraps
So cute!! Wish I was doing "crafty" things rather than nailing hardwood flooring this weekend...went much more smoothly once we realize we were trying to nail the boards backwards!! LOL We had such an easy time of it doing the closet, but completely forgot what we were doing in the hallway!! Sad thing is the home improvement store was NO help, and even agreed with what "we" were saying...duh...we were nailing the WRONG side and even THEY didn't get THAT!!! Not asking for their opinion/help again!!! On a side note...the flooring looks fab now that we are headed in the "right" direction!!! LOL
ReplyDeletehehe! How cute! Thanks for sharing! :)
ReplyDeleteAdorable! I love cute Halloween stuff as opposed to the scary stuff that is out there.
ReplyDeleteI heart those little votives too! Great idea!
ReplyDeleteAdorable! Good luck with getting your Etsy shop up and running!
ReplyDeleteJanell
Oh my CUTE! I am posting a link to these and making some THIS WEEK!!!
ReplyDeleteAnd can I just say I am SO EXCITED for your Etsy store!! Can't wait to check it out!!
My kids would love to do this one! Great idea!
ReplyDeleteSo stinkin' cute! Can't wait to see your new shop!
ReplyDeletei saw the little eyes votive in the same magazine! been too cheap to buy some votives, so i'll save this one for next year! loooving the mummy!
ReplyDeleteSooooo cool!!
ReplyDeleteYou're right, that IS stinkin' cute! Thanks for visiting me on my blog...wow girlie girl, over 2,500 followers?!? Way to go!
ReplyDeleteHugs,
Anne
wuw them!
ReplyDeleteSo very cute
Those are stinkin' CUTE!!
ReplyDeleteVery Cute! I love those projects that are done in a snap and yield way adorable results! very Very Cute! Thanks
ReplyDeleteCute!! The mummy is my fave. :) I love simple little project like this...easy to do while little ones are napping. ;)
ReplyDeleteWhat cute votives!
ReplyDeleteDefinitely something I will try with my boys - thank you for the awesome idea!
ReplyDeleteThose are absolutely adorable! I don't really decorate for Halloween but I am tempted, now!
ReplyDeletehee hee heee... lovin' the little mummy wrapped ones.... hee hee VERY creative and easy peasy to do too!
ReplyDeleteDi
Stinkin' caaauuttte! Especially the mummies. I'm not a holiday decorator but I have some cheesecloth so might make them for my tween granddaughters.
ReplyDeleteToo cute!!!
ReplyDeleteEasy, fun and cute!!! Couldn't be better :)
ReplyDeleteI like the one you designed with the gauze and googly eyes best...it's hilarious! Love 'em!
ReplyDeleteSusan
Stinkin cute is right! I found you on Poppies at Play and linked you in from my blog, hope that's okay!
ReplyDeleteLove them! Have you ever seen/made glitter pumpkins? These would be very pretty in one of your displays. Here's mine at plowgianpage.blogspot.com Martha Stewart did then much better at marthastewart.com
ReplyDeleteCould it get any cuter than that? I mean seriously, a cheese cloth mommy! This one i even made my boyfriend come upstairs and look at! thanks for all your ideas, i tell you what, I might have some of these on my mantle tonight!
ReplyDeleteOMG those are cute!!!
ReplyDeleteAdorable! So creative! Happy belated birthday!
ReplyDeleteLOVE them! So very cute - great job!
ReplyDeleteWow, I love this idea! Really cute!
ReplyDeleteI have linked you to my blog!
ReplyDeletethanks for the great inspirations!
http://myquarterlifecrisisjmu.blogspot.com/2009/10/halloween-round-up.html